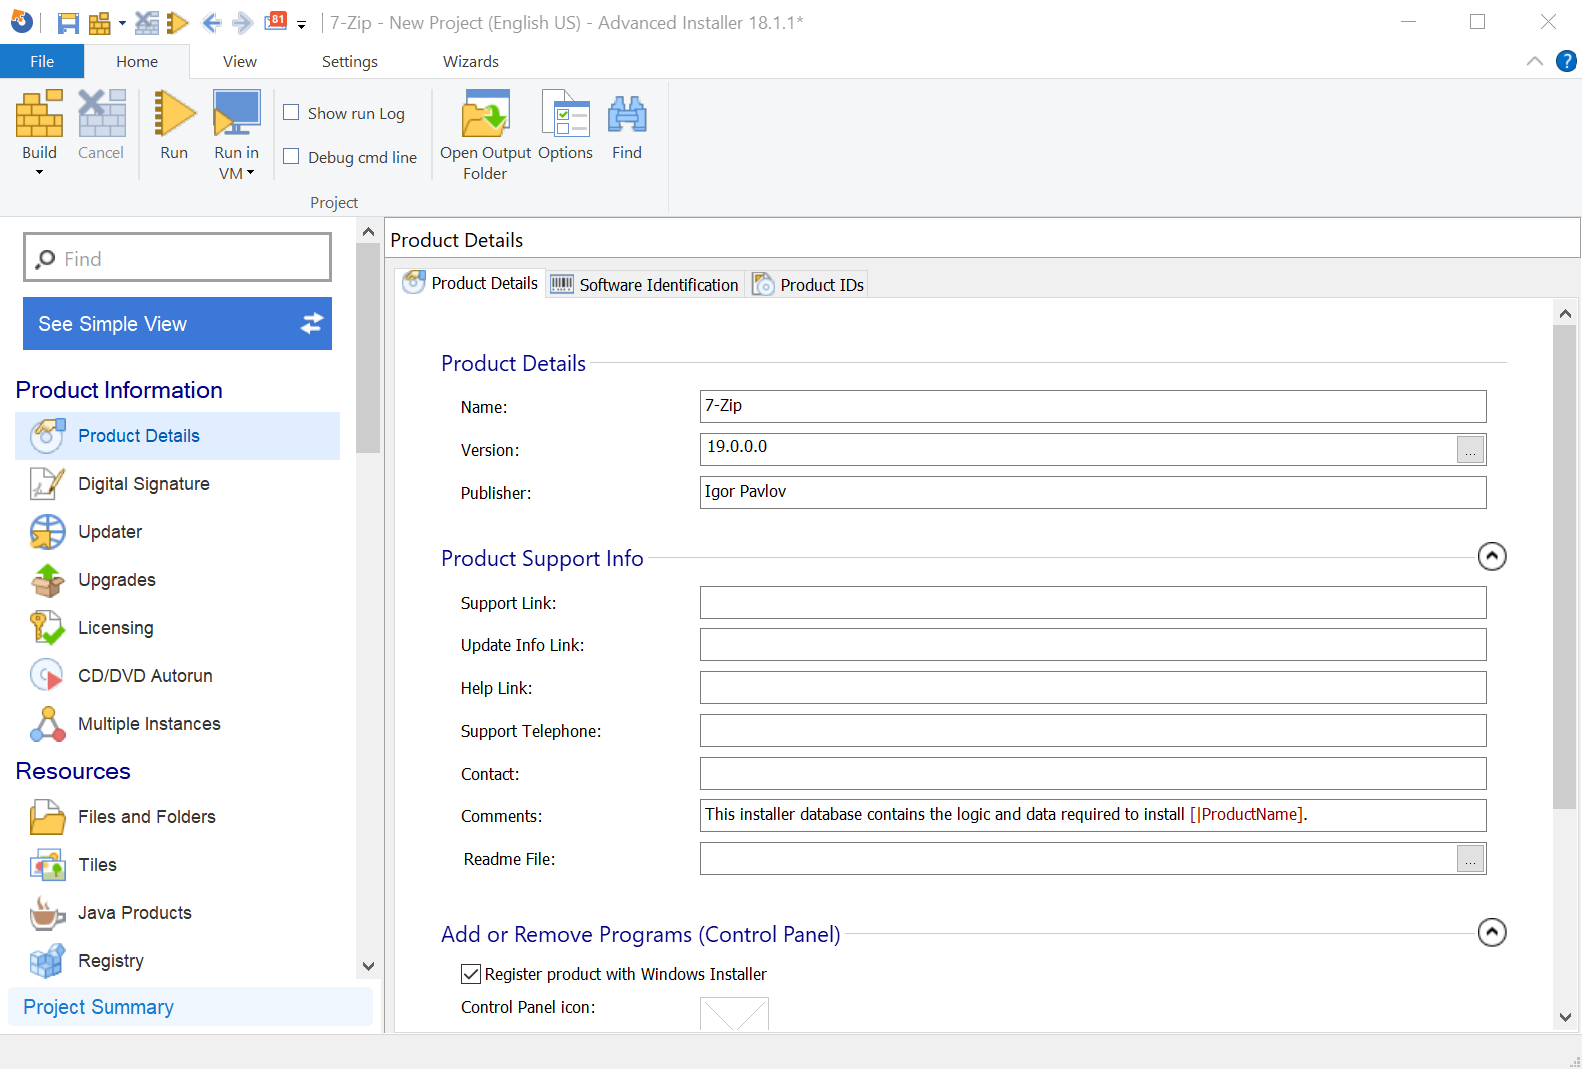
Repackaging an installation - The complete process
The following article uses options that are available starting with the Architect edition and project type.
This tutorial will walk you through the process of software repacking and creating a project based on capturing an installation. As an example, we'll repackage the 7-zip File Manager EXE into an MSI.
Visit our Repackager feature page and discover
more about the MSI & MSIX Repackager's complete functionality.
For a better result, perform the repackaging operation on a virtual
machine as described in the Repackaging an installation on a VMware virtual machine
tutorial.
1. Create a Repackage Installation project
If Advanced Installer is not currently running, launch it from the desktop icon or select it from the "Start" menu. When the application starts, from IT Pros tab, choose “Convert” > “Repackage Installation” project type.
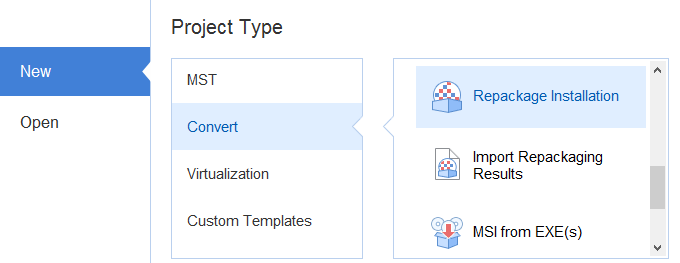
The Repackager launches and the project is saved as a .rpp file on disk.
2. Setting up the Repackager
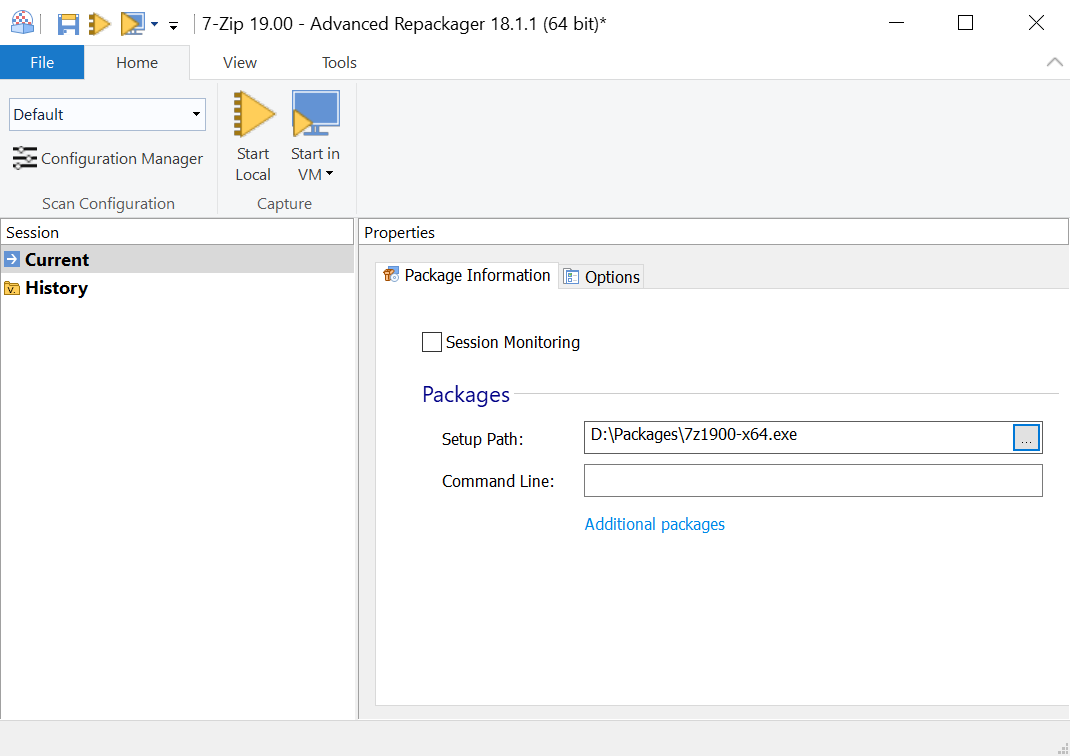
After you select what installer you want to repackage, you can begin configuring the operation.
2.1 Package Information
The package information from the installer is displayed here. You can also configure multiple applications to be repackaged at once, use "Additional packages" link to add them. For more information about this tab see this page.
2.2 Customize Options
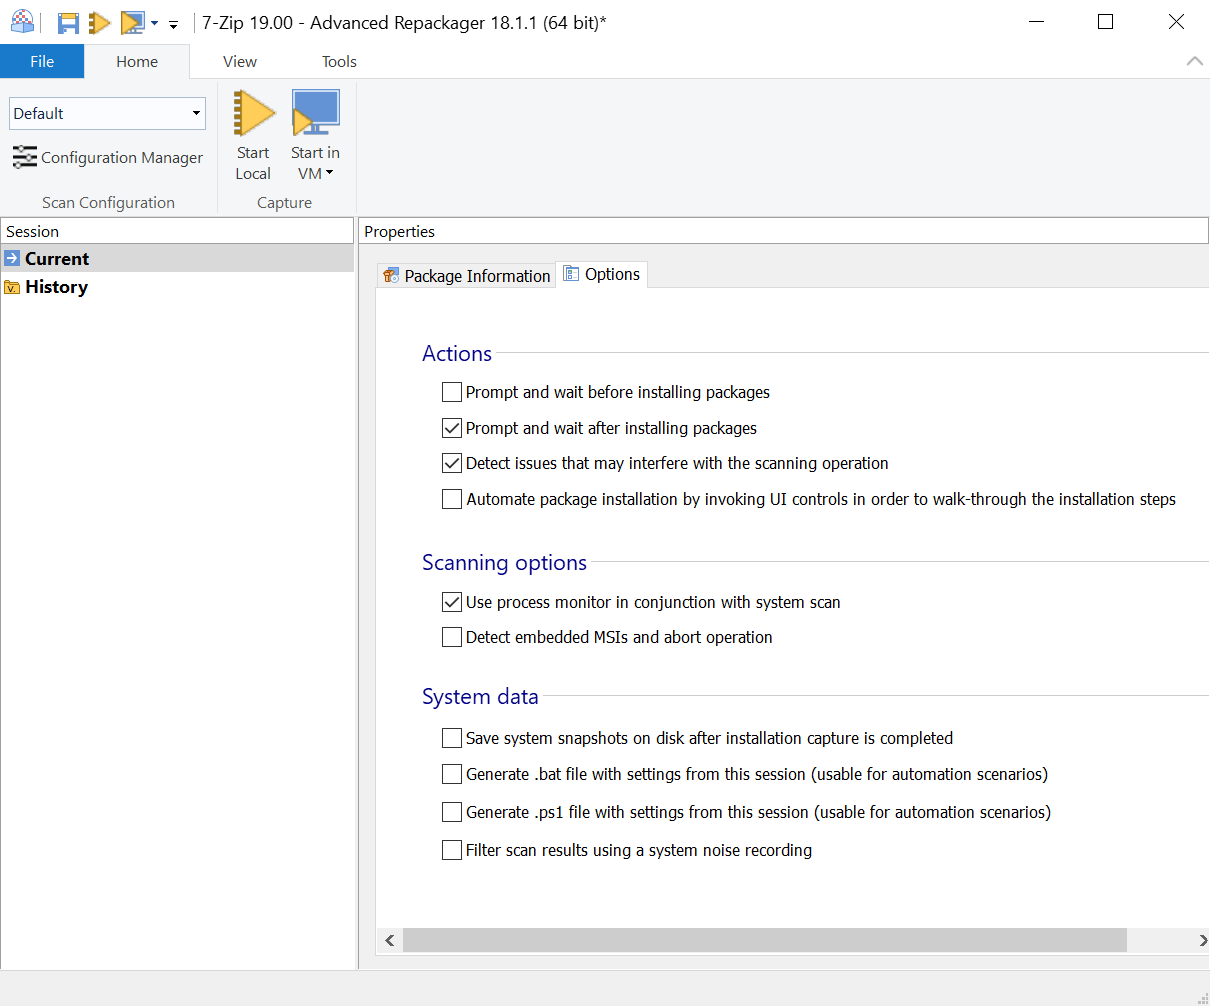
The Options tab lets you choose actions and configurations for the repackaging operation. For more information about this tab see this page.
There are a few options that are checked by default, but for this tutorial, we also check "Generate .bat file with settings from this session," which creates a .bat file for automation in future repackaging operations.
2.3 Create an installation profile
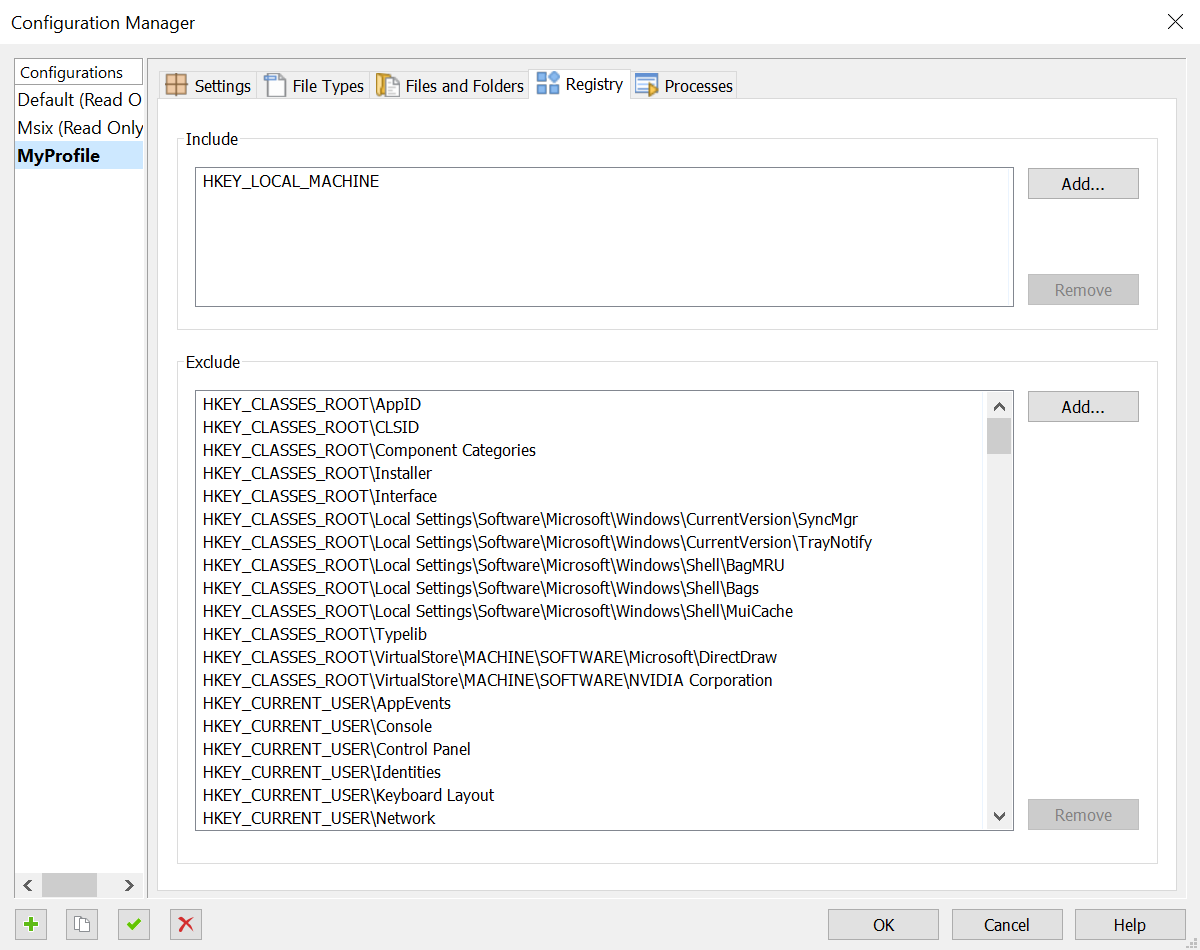
Press the "Configuration Manager" button from the Home tab and begin to customize your capture profile.
Create a new profile "MyProfile," which we have tweaked to search for system changes only in the "ProgramFiles" folder and in the "HKEY_LOCAL_MACHINE" registry hive, as the setup package installs per machine. All the other settings remained as in the "Default" profile.
We set this newly created profile as active. The profile that is "active" is that one that is used during the system scan unless specified otherwise at the beginning of the installation capture.
3. Installation capture
Before you proceed, make sure that you close all unnecessary running applications to avoid "false positive" capture results from active file and registry system access.
An installation capture is done by comparing system snapshots taken before and after the package installation. Optionally filter the scan results using a system noise recording.
To begin the installation press the "Start Local" button ![]() .
.
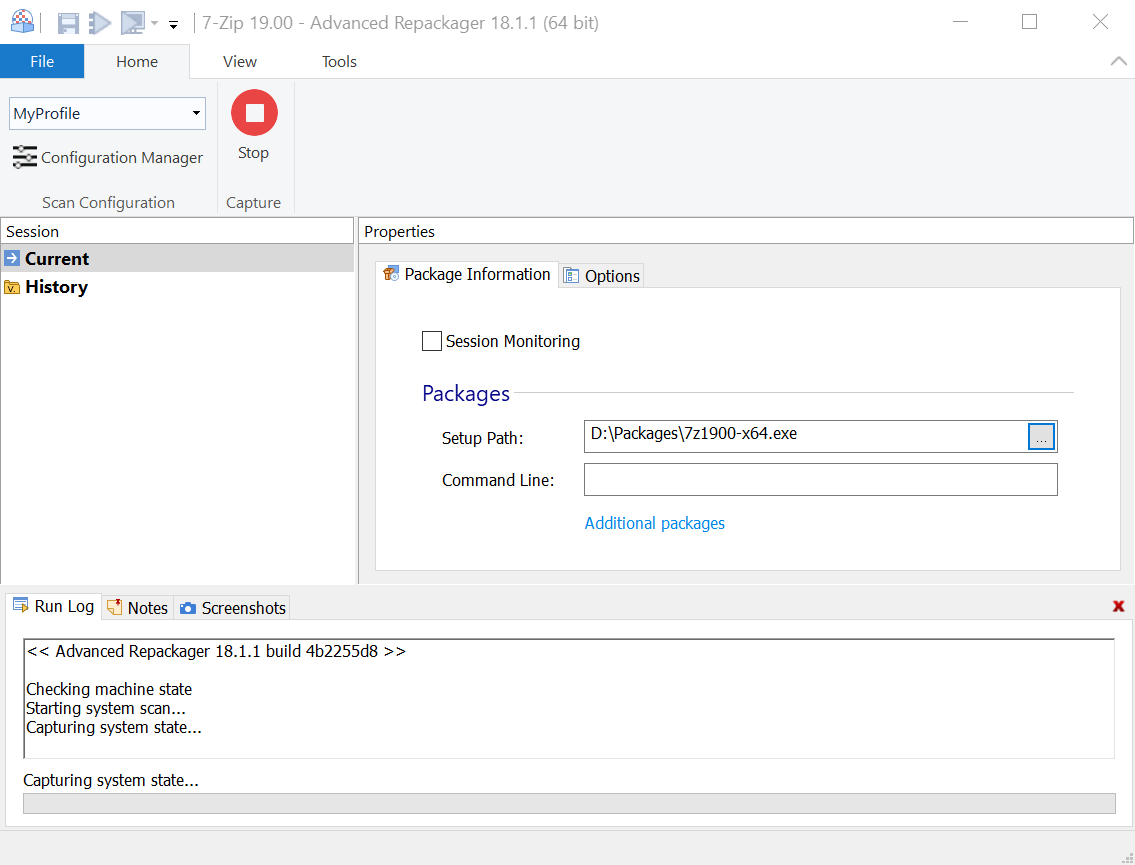
4. Package installation
The package is launched, and after the installation is complete, the system is scanned again for changes.
The result is saved as a session under History and as a .rpk file on the disk.
Press "Open in Advanced Installer" to make the final touches on the newly repackaged installer.
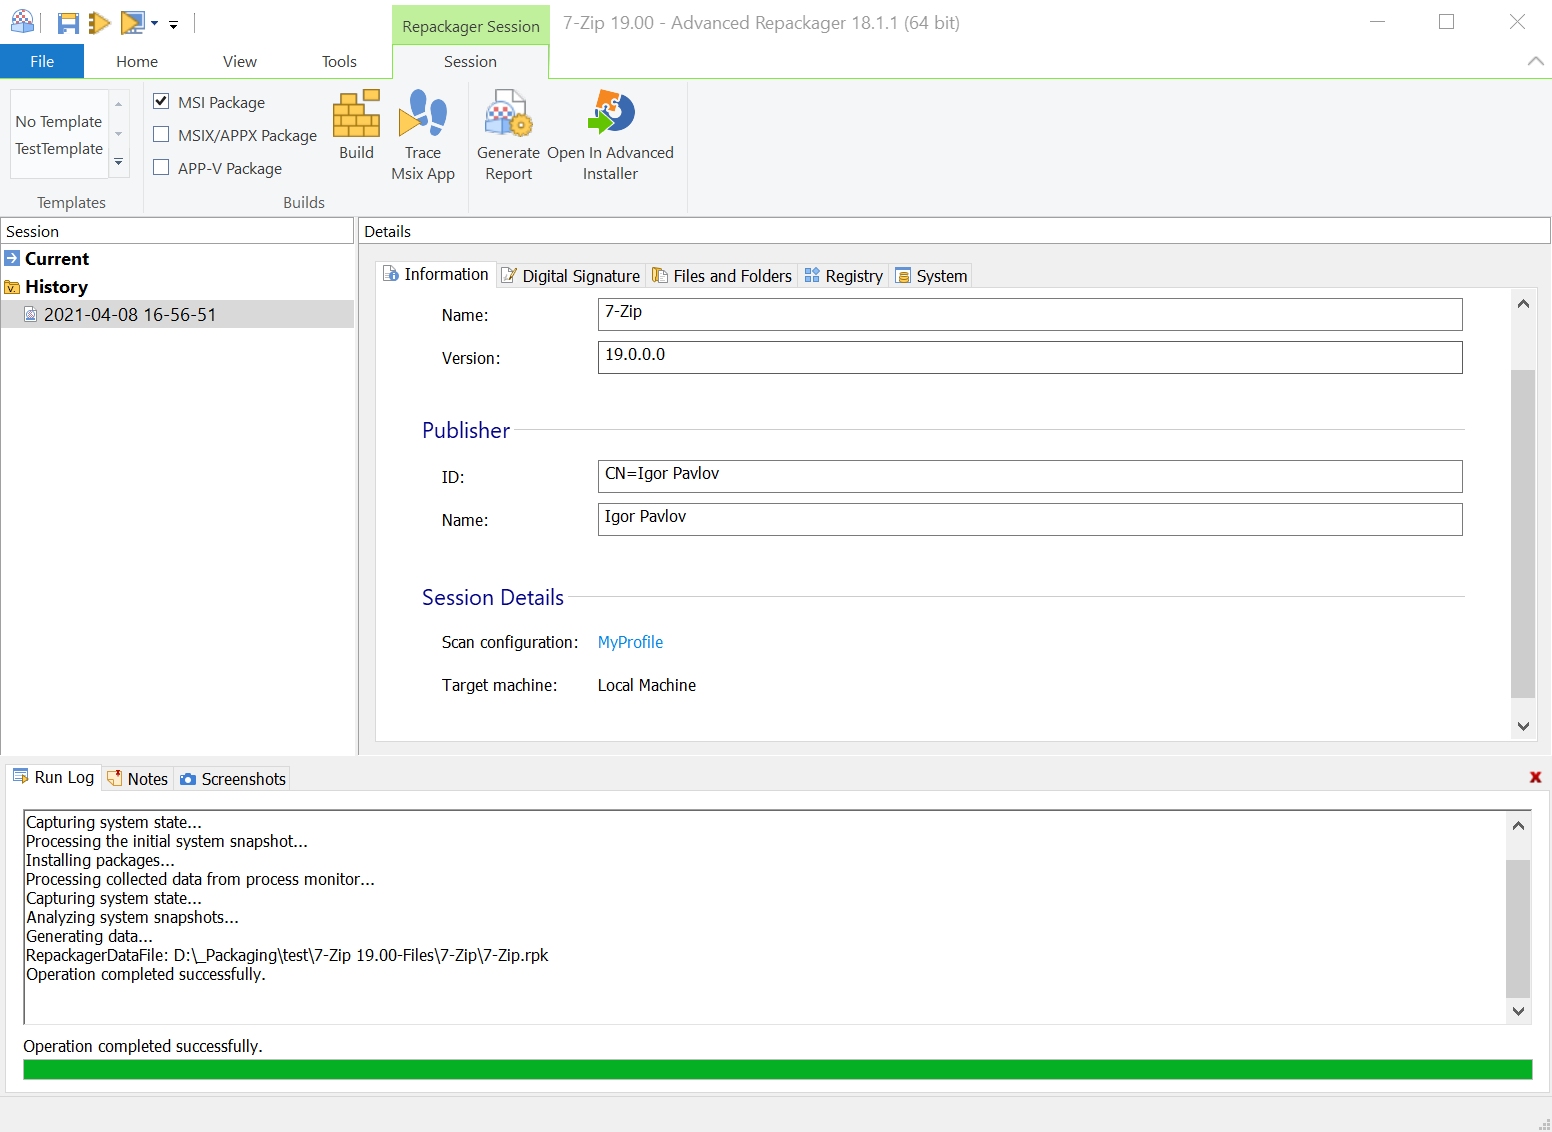
5. Customize the project
After the project is opened, you should review the Advanced Installer project and adjust it to your new package deployment needs.
