Importing an MSIX Package
The following article uses options that are available starting
with the Professional edition and project
type.
This tutorial will guide you in importing an MSIX package into an Advanced Installer project. At the end of this tutorial you will find a step-by-step video on how to create a new MSIX package from scratch.
1. Start an "Import MSIX Package" project
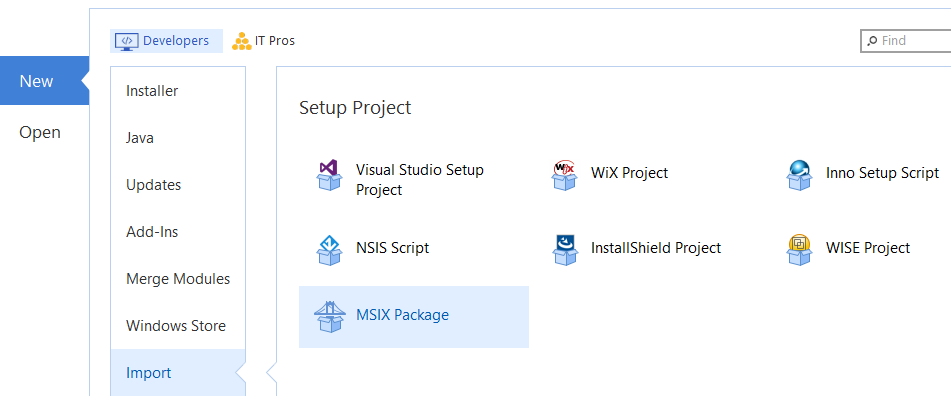
If Advanced Installer is not currently running, launch it by double-clicking a desktop icon or selecting it from the "Start" menu. When the application starts, you will see a dialog where you can choose “Import” > “MSIX Package” project type.

The MSIX Import Wizard will be launched assisting you to configure the import settings.
2. Collect Information
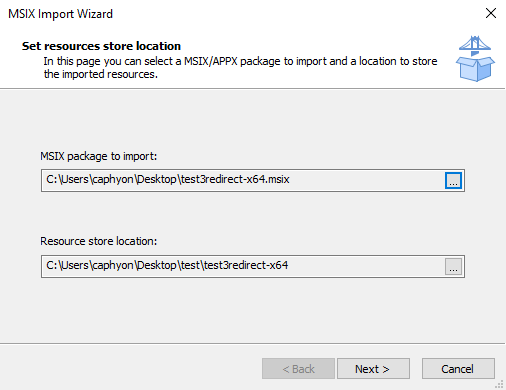
In this dialog select the location of the MSIX file you want to import and specify a work directory where the resources will be extracted.

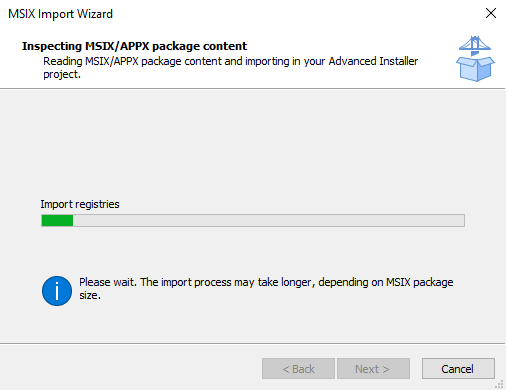
Press the button so that Advanced Installer can inspect the MSIX package.
Creating a new MSIX package
The following video shows how to create a new MSIX package from scratch using Advanced Installer:

