Creating a new Virtual Machine and automatically install its Operating System
The following tutorial uses options that are available starting
with the Enterprise edition and project
type.
This tutorial helps you create a new virtual machine for testing the installation and automatically installs the operating system on it. You can use it to create new VMware , Hyper-V or vSphere virtual machines.
1. Create a new Enterprise project type
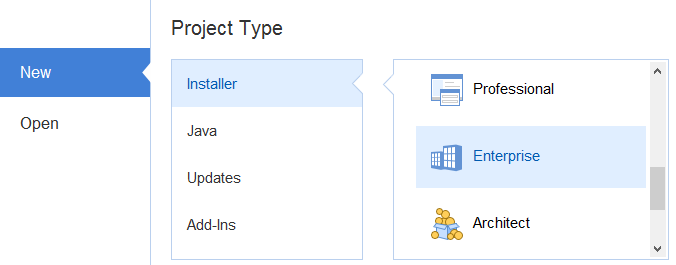
To create a new Enterprise project go to New and choose Installer > Enterprise.
Configure the project as you need and continue with the next step when you are ready to test the installation in a virtual machine.
2. Start the "Prepare a Virtual Machine" wizard
The wizard can be accessed from the dropdown in the "Home tab" from the ribbon.
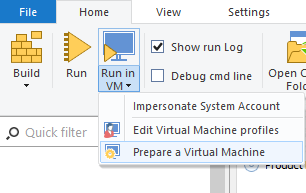
After selecting "Prepare a Virtual Machine" from the dropdown, you will get the welcome dialog:

3. Prepare the virtual machine
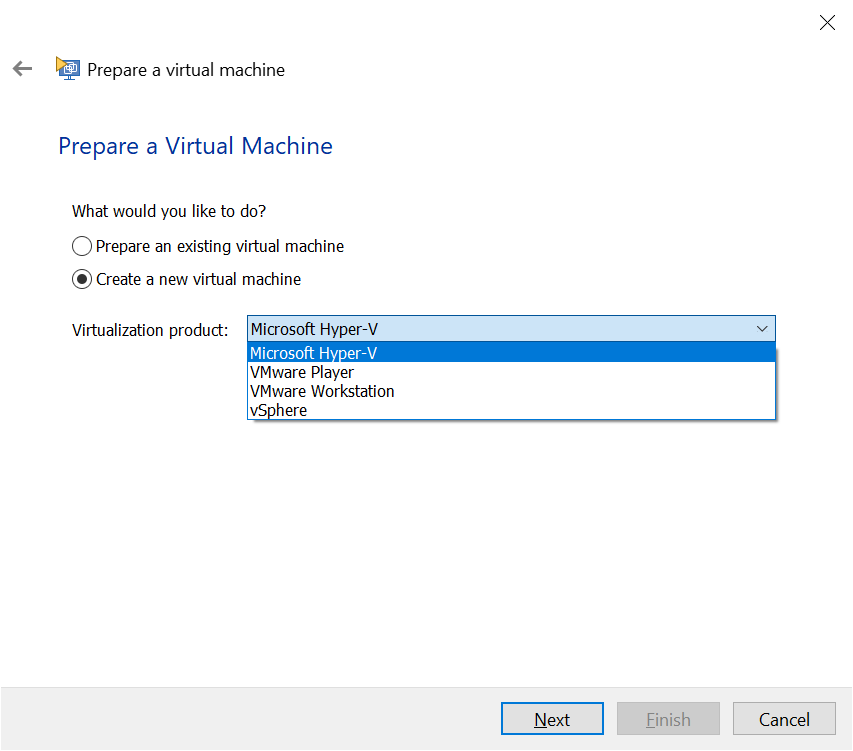
Select "Create a new virtual machine", and from the
"Virtualization product", you can choose Hyper-V, VMware Player, VMware
Workstation, or vSphere.
In this tutorial, we create a virtual machine
using Microsoft Hyper-V .
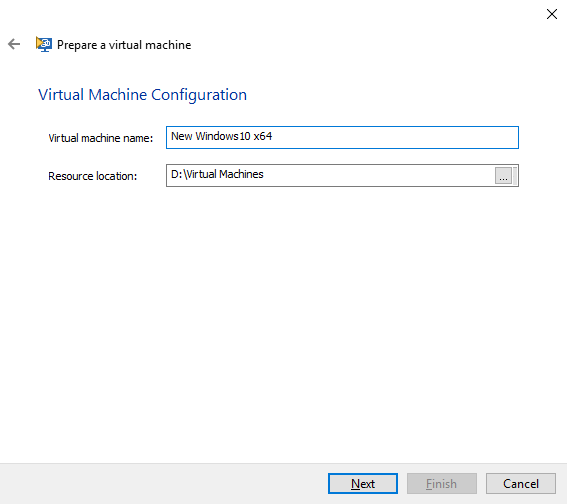
4. Configure the virtual machine
Specify the machine name and the location where it will be saved in.
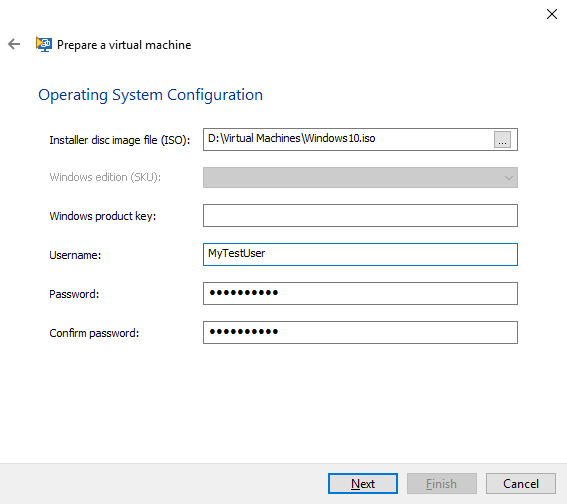
5. Operating System Information
In this dialog, you can select the ISO file of the operating system that will be installed on the virtual machine.
By pressing the wizard will start to create the virtual machine and install its operating system using the provided information.
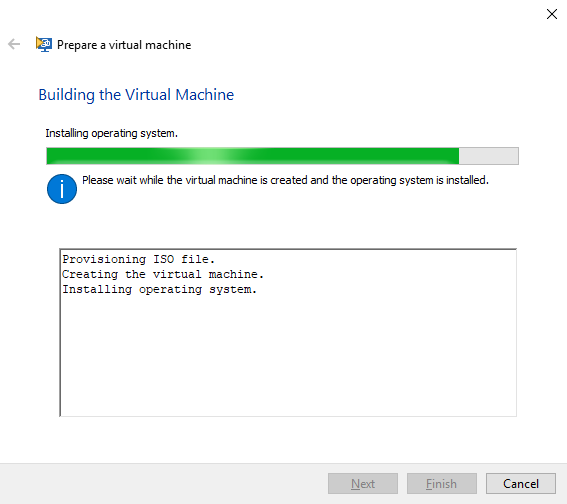
6. Inspect the installed OS
Once the wizard finishes installing the OS, you can inspect it to make sure it's configured according to your testing requirements.
When you are ready, press the button to close the wizard.

7. Verify the new VM profile
Back in Advanced Installer, a new profile was created based on the information provided when creating the virtual machine. This profile was automatically set as the default one. To see its details, select "Edit Virtual Machine profiles" from :
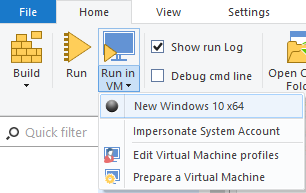
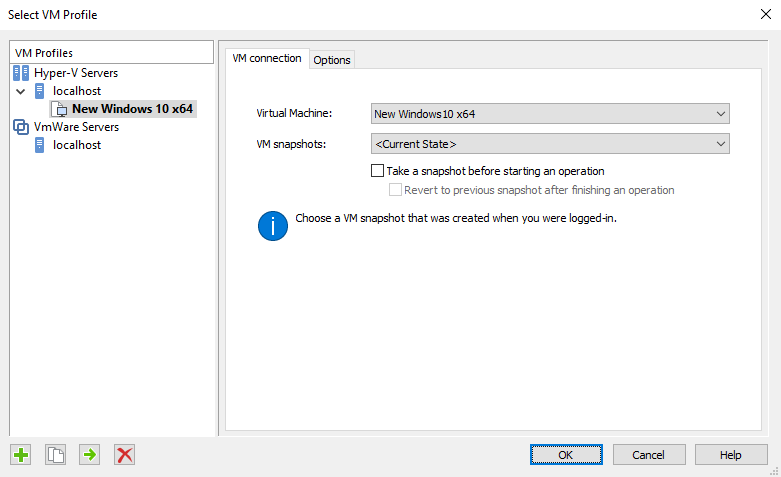
The Edit VM Profiles dialog will be opened:
