Convert a legacy package to the MSIX/APPX format
The following article uses options that are available starting with the Architect edition.
In this tutorial, we'll look at how you can convert an EXE package into the new
MSIX format so that it can be published on the Windows Store, or sideloaded directly
on the end users machines.
We recommend you do the repackaging process on a clean virtual machine so that the
results are more accurate.
In this scenario, we are going to use a Hyper-V virtual machine.
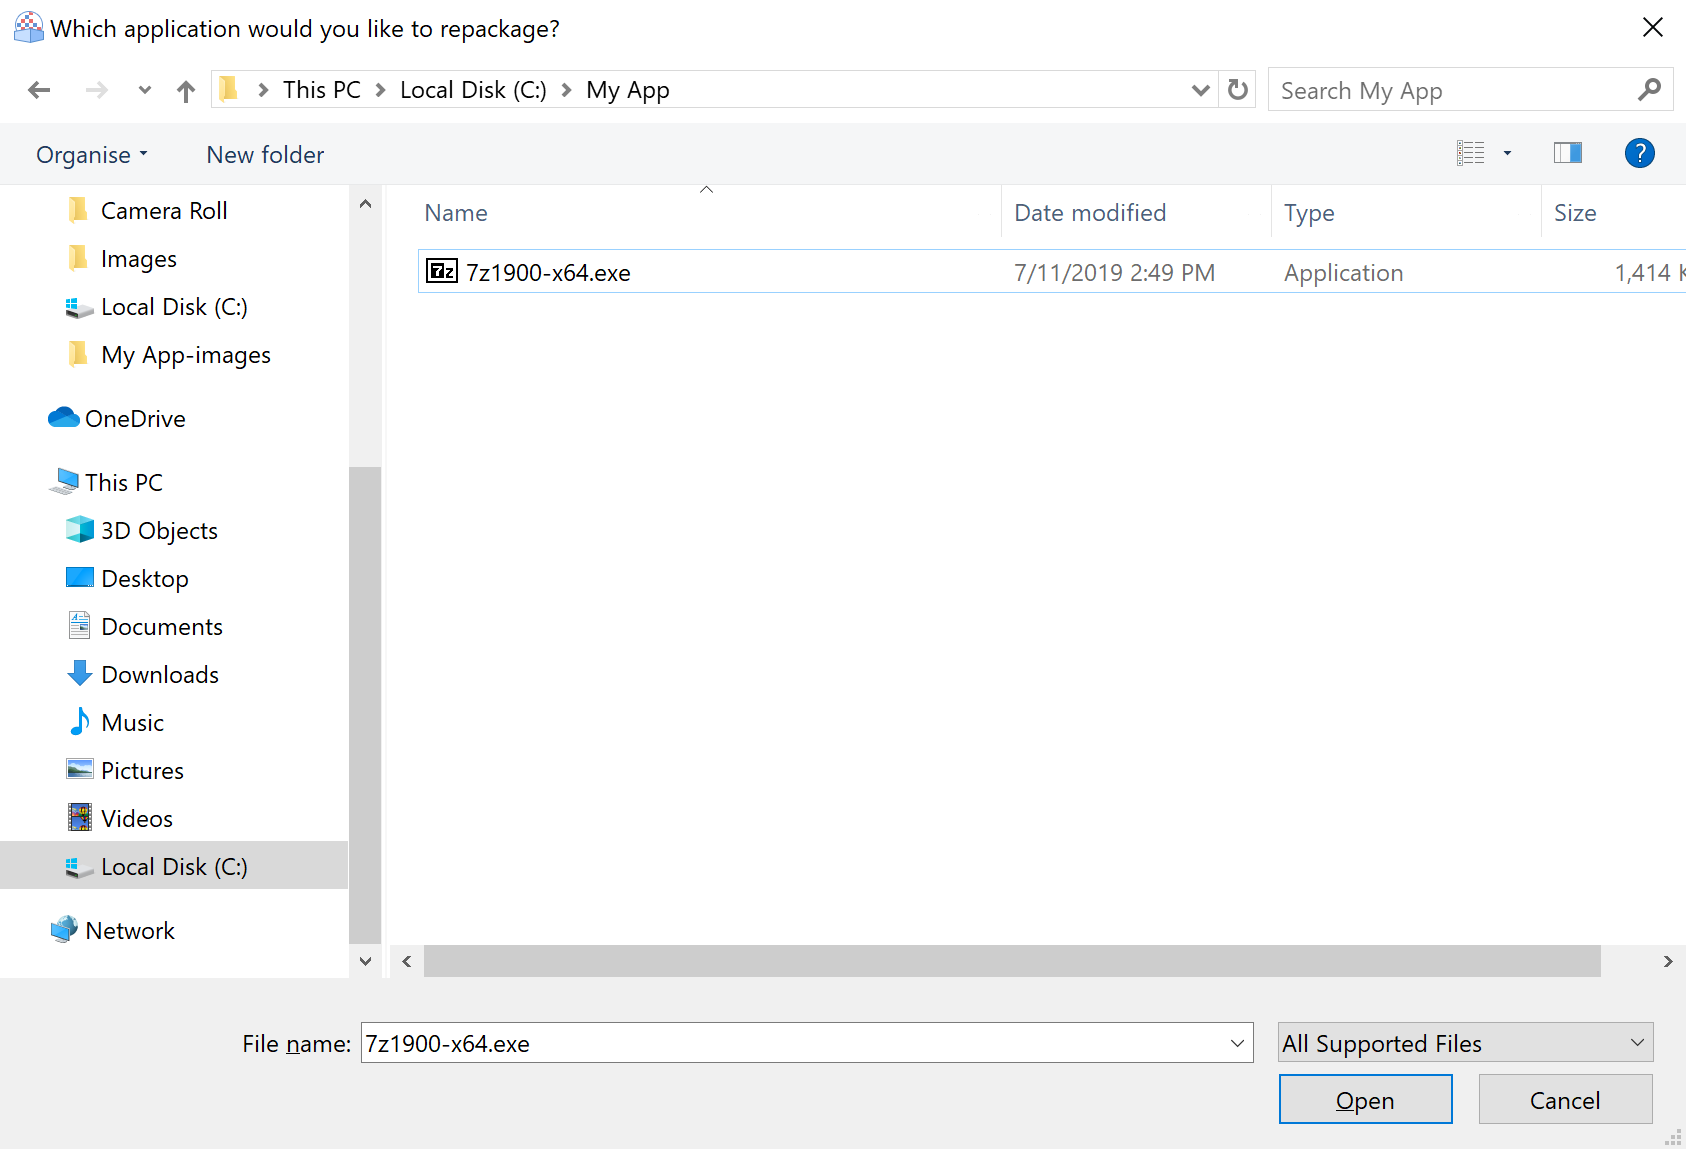
1. Import your package
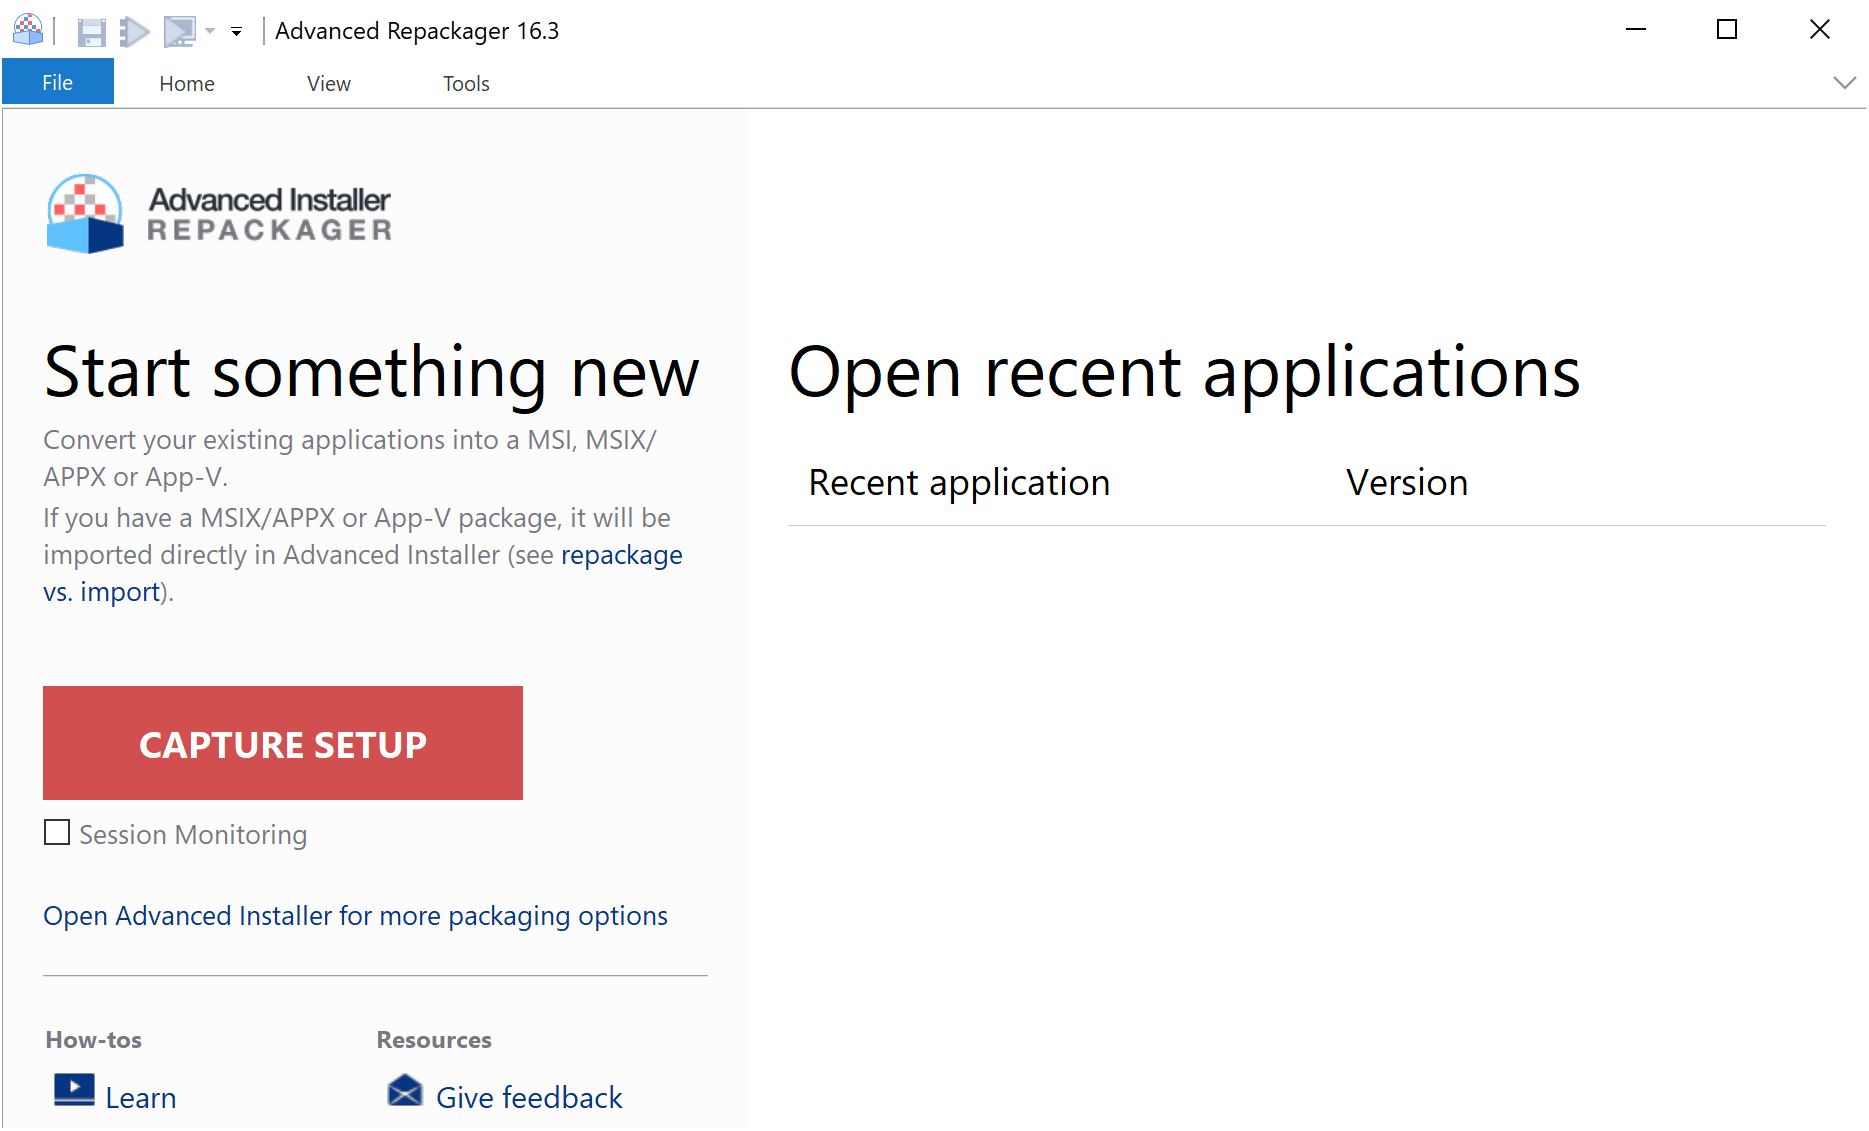
Open Advanced Installer Repackager, which will be used as an EXE to MSIX converter, and click on Capture Setup to start the repackaging process.

3. Convert your EXE package to MSIX
The two available options let you convert on your current machine or a virtual machine.
- Start Local - for this option, you need to make sure that no background applications interfere with your conversion. This can cause some output issue, so a Windows image running inside a VM is recommended.
- Start in VM- for this option, the converter automatically connect to the VM (Hyper-V or VMware), launch the old installer inside, capture it and use those resources to generate the MSIX package, back on your development machine.
Next, we select to convert the application in an existing virtual machine and use a Windows 10 Hyper-V image for this conversion.

Before starting the repackaging operation you need to save your project locally.
4. Install on the Virtual Machine
The virtual machine launches, and you have to install the EXE package.
The repackager takes a system snapshot before and after the installation, this way, it knows what resources your package contains and how to include them into your MSIX.

5. Complete Conversion
After the conversion is done, you can customize the content by selecting what Files, Folders, Registry, and System changes you want to add to your new Advanced Installer project.
This option is available because, at times, unnecessary resources might be captured.

6. Signing the package with a certificate
Before building and installing the app, it has to be digitally signed.
Go to the Digital Signature section and select your certificate.

7. Create the build
After that, select Open in Advanced Installerfrom the toolbar
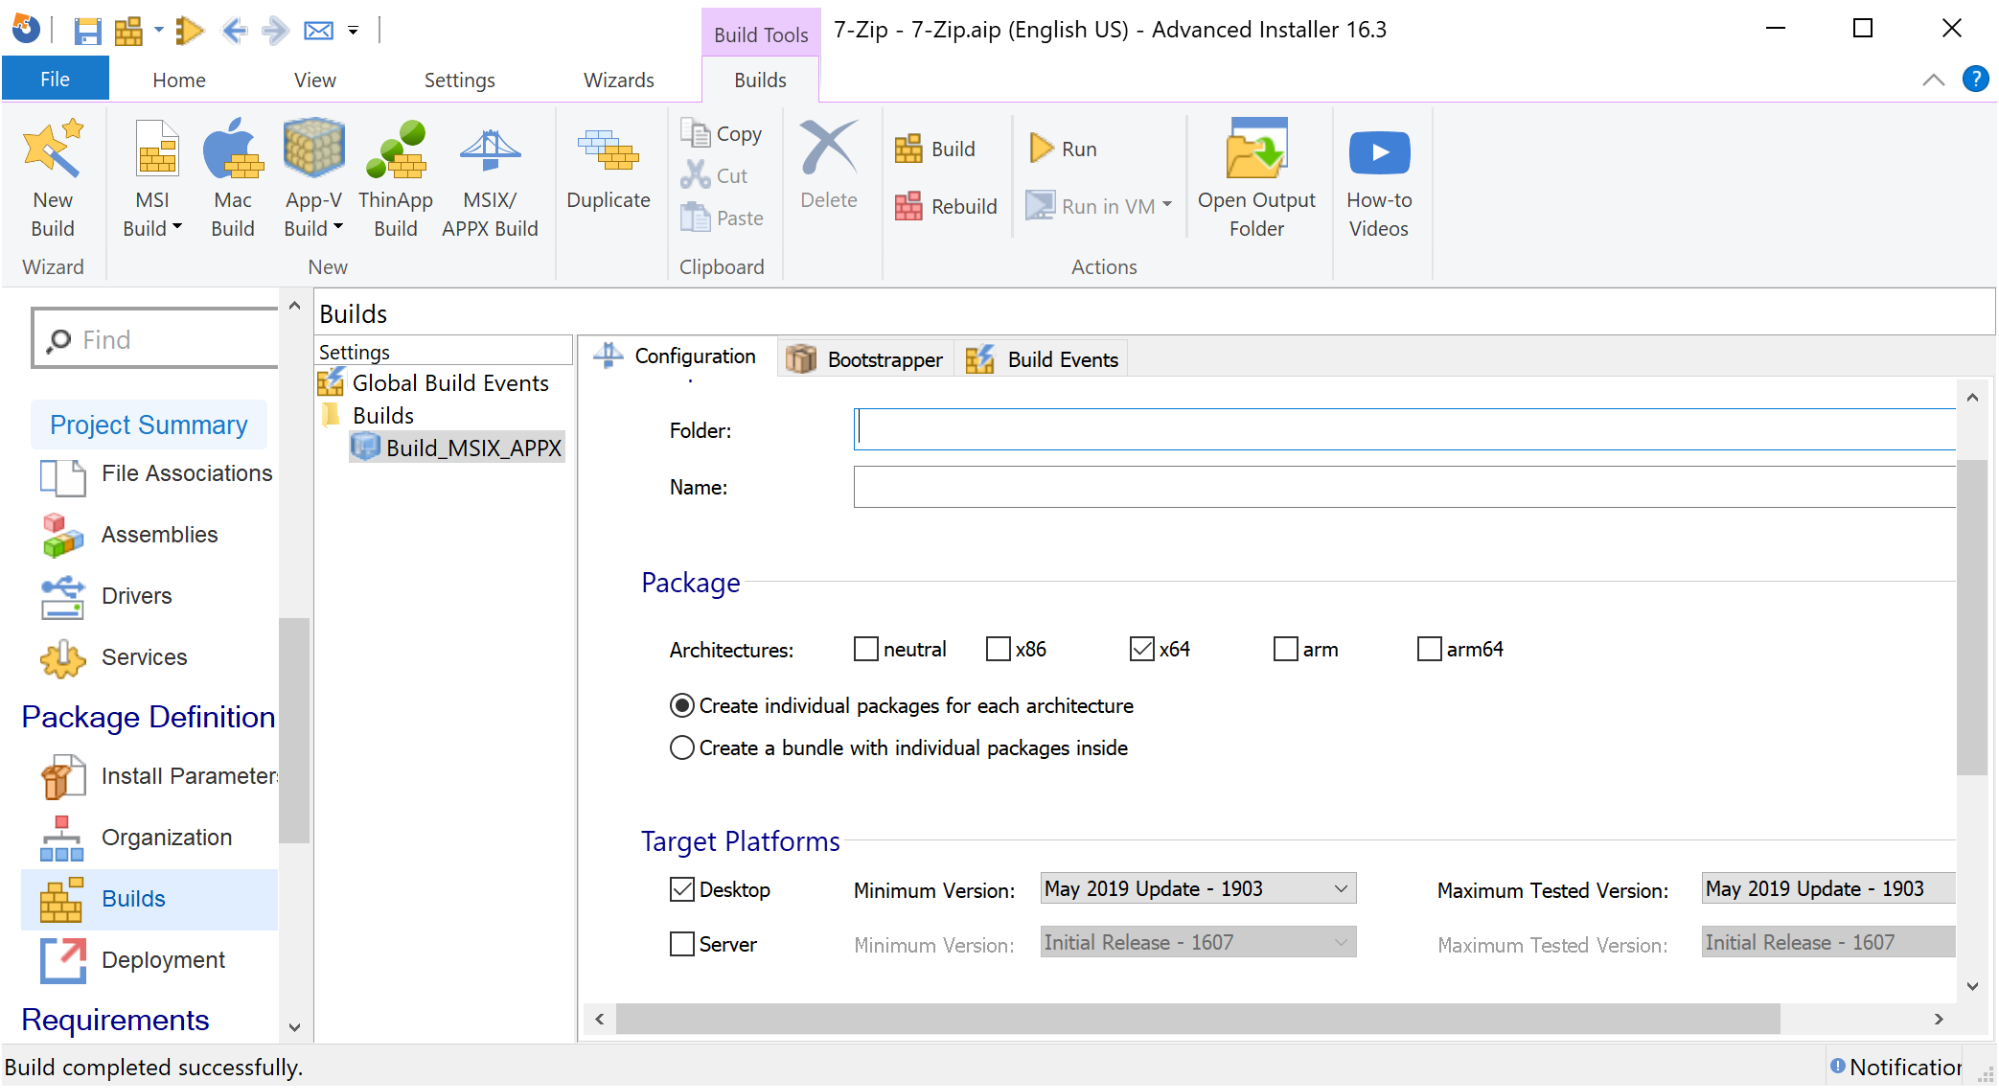
Go to the Builds page and from Target Platforms choose the Minimum and Maximum Version you want. Select version 1903 to create an MSIX package.

8. Build and Run the MSIX
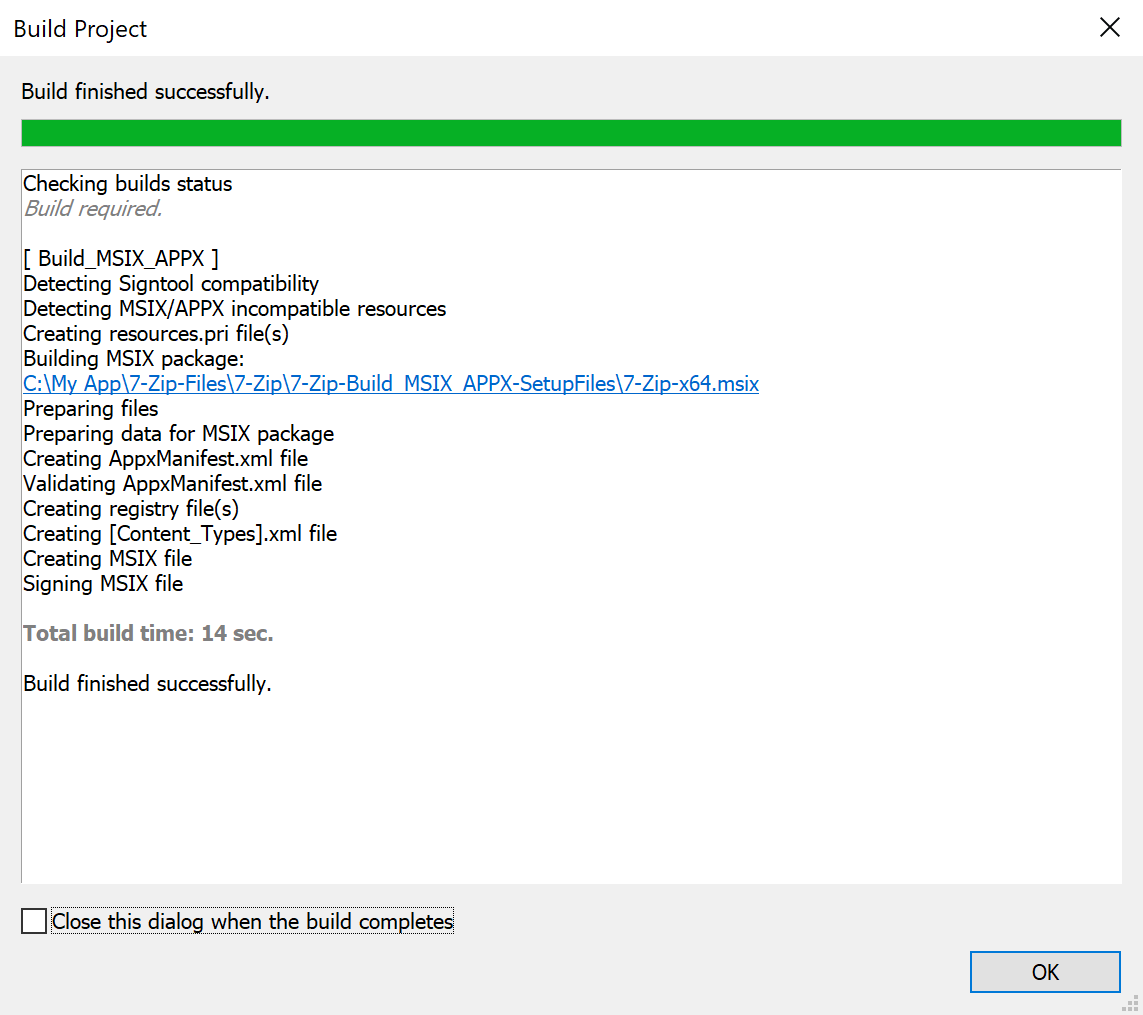
After you have finished customizing your package it’s time to save and build.

Go to your Advanced Installer output folder and double-click on your new package to begin the installation process.

