Repackaging an installation on a Hyper-V virtual machine
The following article uses options that are available starting with the Architect edition and project type.
This article will walk you through the process of building a project based on capturing an installation. We'll repackage the 7-zip File Manager EXE nto an MSI and serve this as an example for illustrating our method.
If you want to choose a virtual machine work environment, the next steps are for you. For
those willing to do the repackaging process on their own local machine, please see our Application
Repackaging Tutorial - Repackage an Installation tutorial.
1. Create a Repackage Installation project
If Advanced Installer isn't already running, double click the desktop icon or single click it from the "Start" menu. When the program launches, select “Convert” > “Repackage Installation” as the project type.
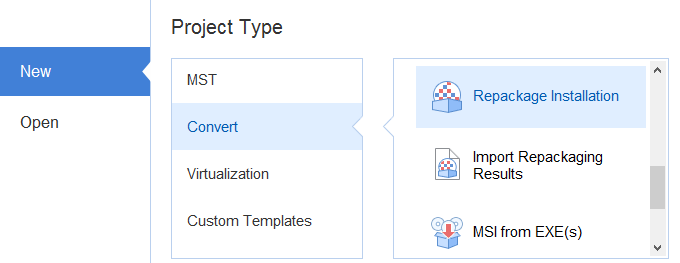
The Repackager launches and the project is saved as a .rpp file on disk.
2. Setting up the Repackager
After you've decided which installer to repackage, you can start setting the process.
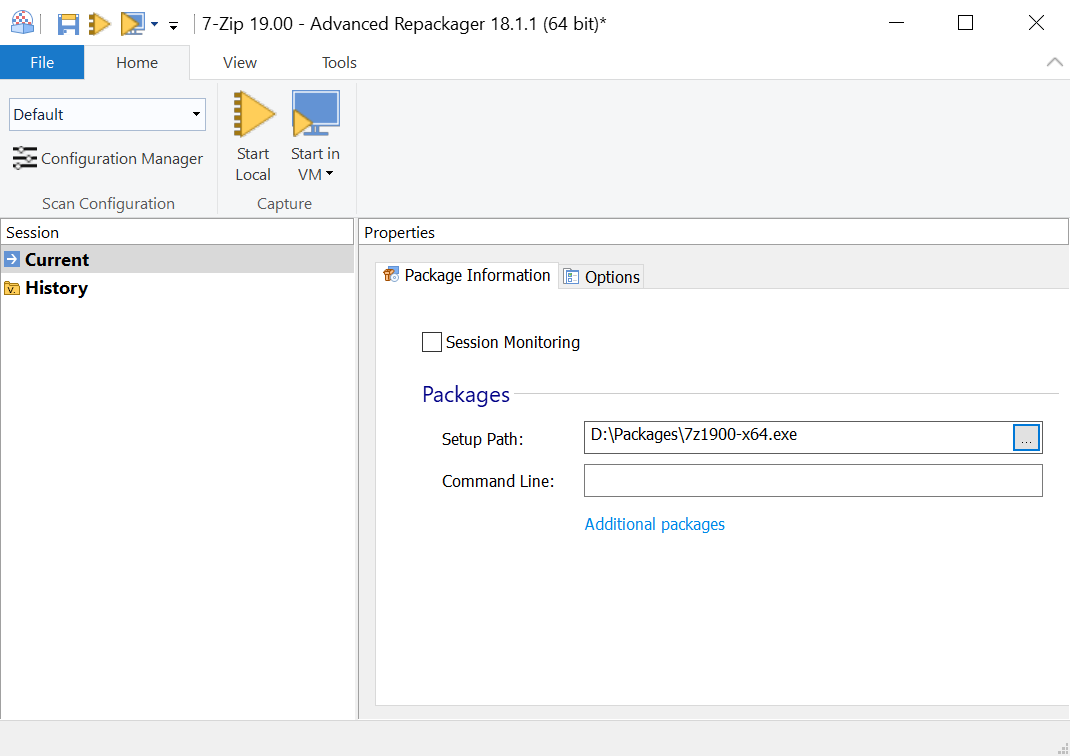
2.1 Package Information
The package information from the installer is displayed here. Use the "Additional packages" link to add and configure multiple applications and repackage them all at once. This page contains further information about this tab.
2.2 Customize Options
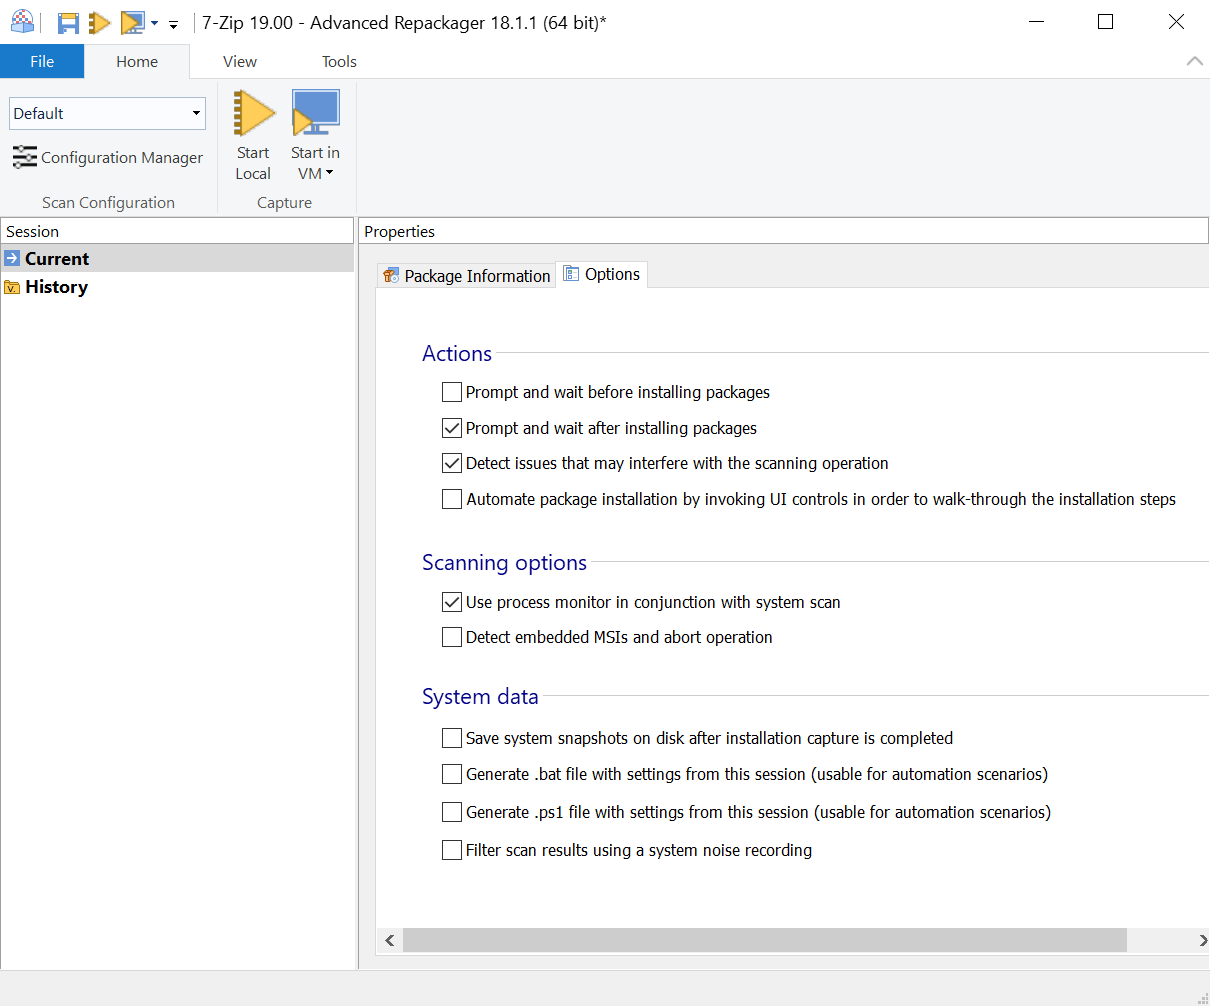
The Options page allows you to customize the repackaging process by configuring the actions and parameters. For more information about this tab see this page.
There are a few default options, but for this example, we additionally select "Generate .bat file with settings from this session" which builds a .bat file for automation in future repackaging processes.
2.3 Edit a virtual machine profile
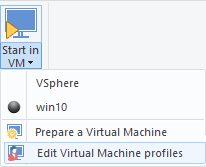
Click the down arrow on the "Start in VM" button, select the "Edit Virtual Machine profiles." option and select or configure a virtual machine profile.
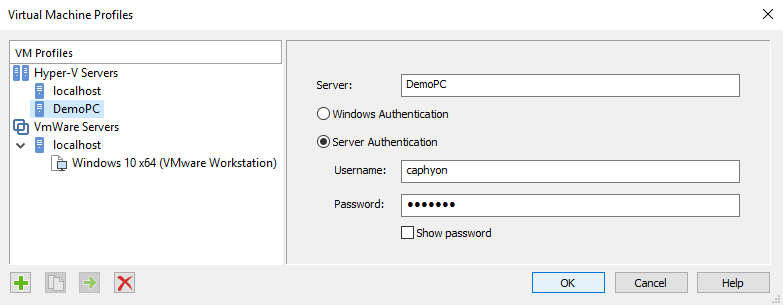
2.4 Select the virtual machine host
You can use virtual machines from localhost or connect to remote Hyper-V hosts in your sub-network. Use the "New Server Connection" context menu option while Hyper-V Servers is selected in the left pane, then configure the connection credentials.
2.5 Select the virtual machine profile
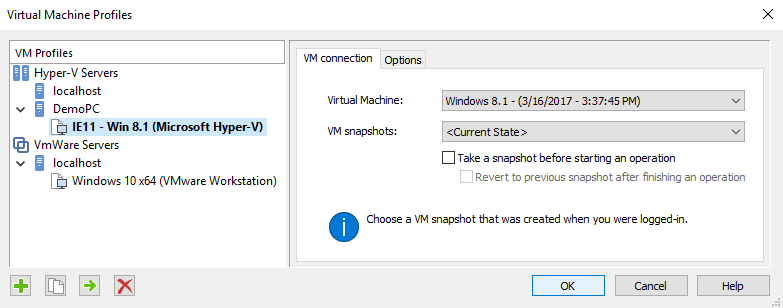
Select/configure the virtual machine profile with the snapshot to be used as the host for the repackager then press .
It is important you first prepare the virtual machine before starting your first
capture. In the case of remote connections, having Advanced Installer tools installed on the VM is mandatory. Please check the requirements for repackaging in Hyper-V machines to
make sure your environment is correctly setup.
2.6 Create an installation profile
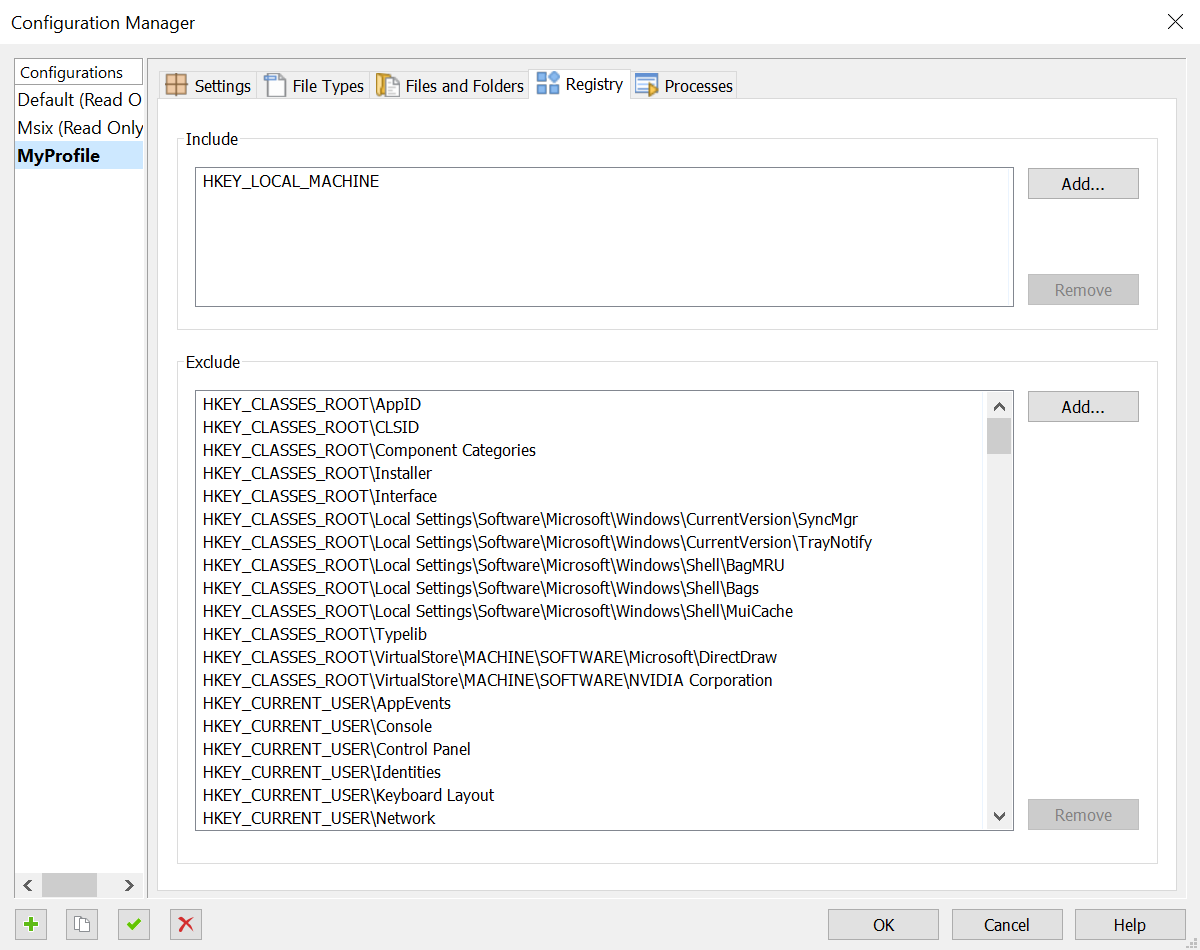
From the Home tab, select "Configuration Manager" and begin configuring your capture profile.
Create a new profile "MyProfile," which we have tweaked to search for system changes only in the "ProgramFiles" folder and in the "HKEY_LOCAL_MACHINE" registry hive, as the setup package installs per machine. All the other settings remained as in the "Default" profile.
We set this newly created profile as active. The profile that is "active" is that one that is used during the system scan unless specified otherwise at the beginning of the installation capture.
3. Installation capture
To avoid "false positive" capture results from active file and registry system access, make sure you shut down any unneeded operating apps before proceeding.
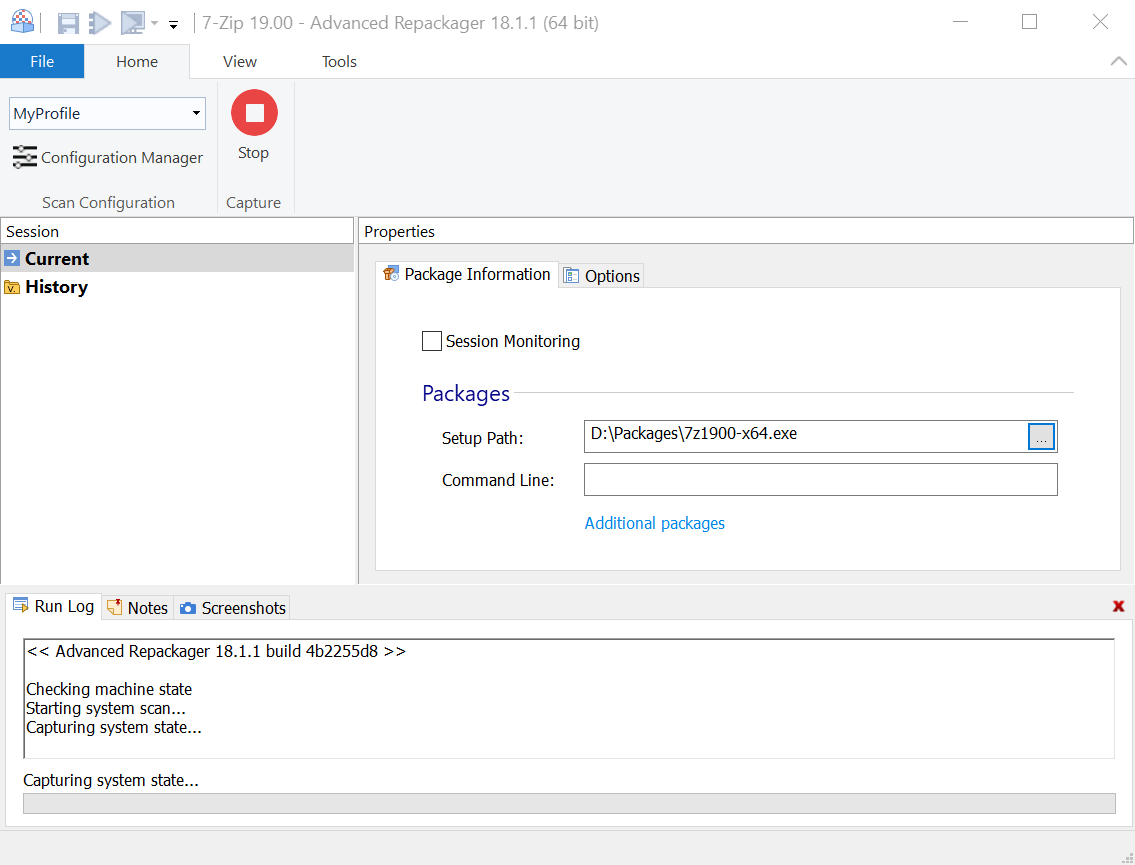
An installation capture is done by comparing system snapshots taken before and after the package installation. Optionally filter the scan results using a system noise recording.
To begin the installation press the "Start in VM" button ![]() .
.
4. Package installation
The package installation is started, and once completed, the system is inspected for changes again.
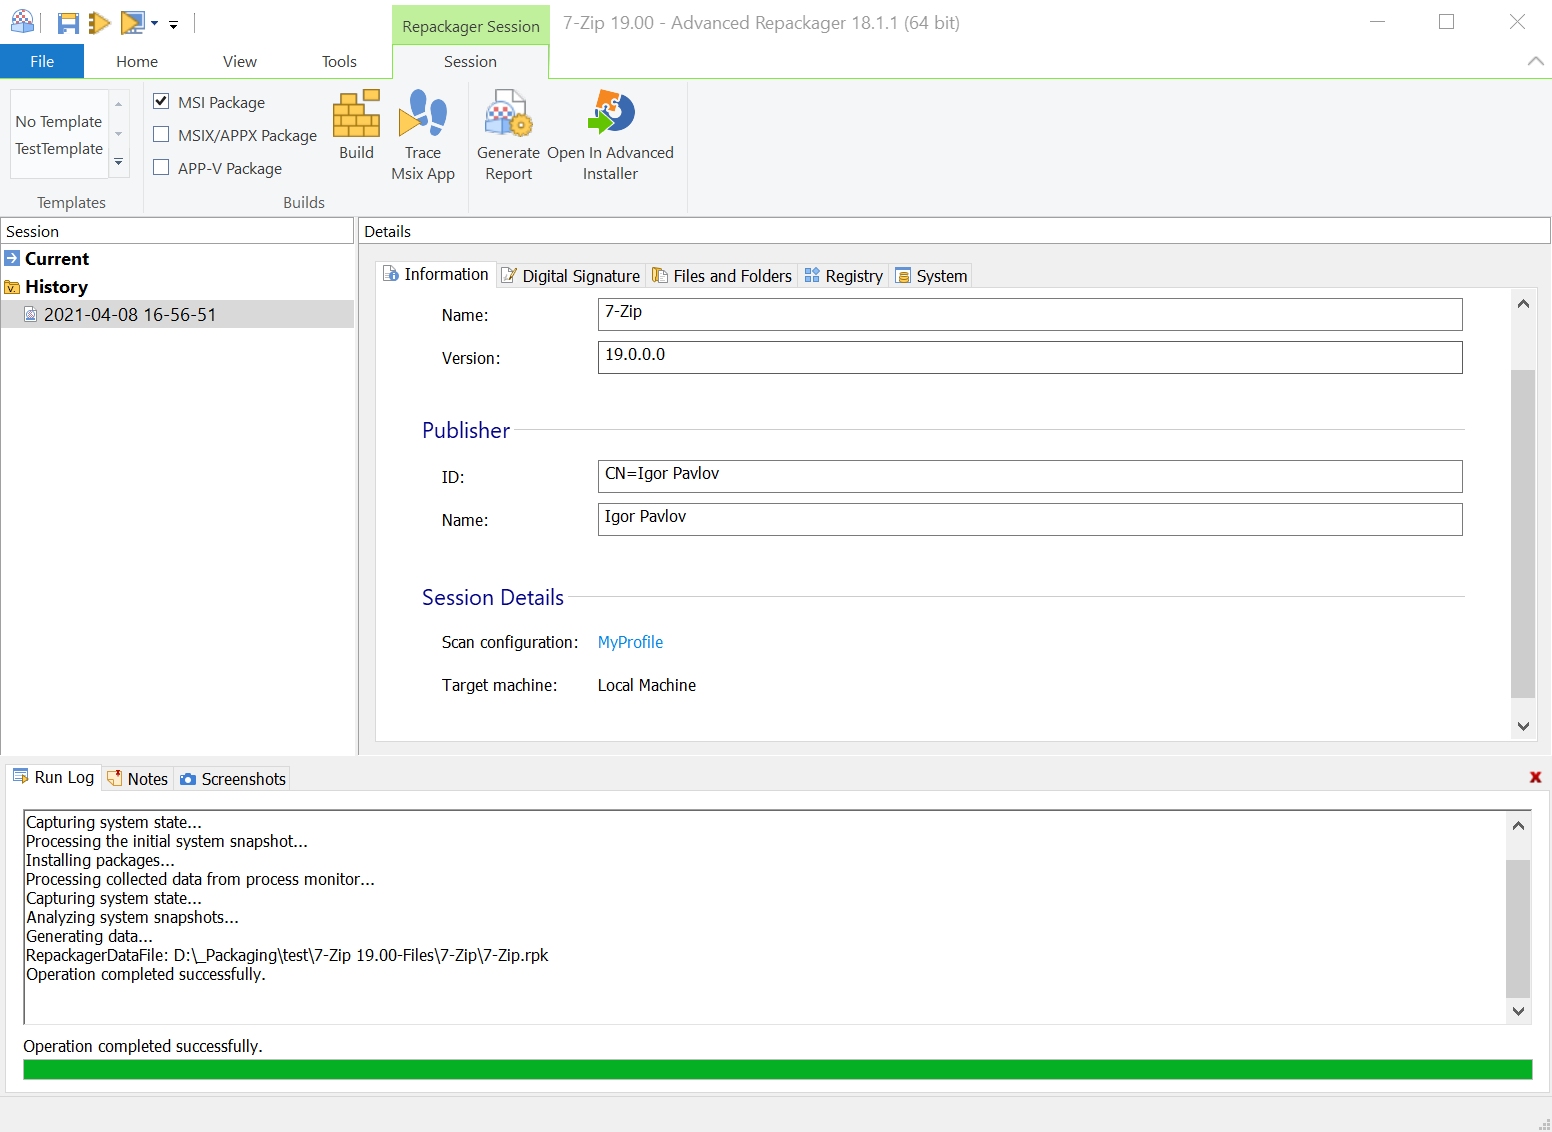
The result is saved as a session under History and as a .rpk file on the disk.
Select "Continue in Advanced Installer" to complete the repackaging process.
5. Import results
Press the button to import the installation capture results, into the new Advanced Installer project.
![]()
6. Customize the project
Following the import of the installation capture results, you should revise the Advanced Installer project and make any necessary adjustments to meet your new package deployment requirements.