Creating a Mac OS X package for a Java application
The following article uses options that are available starting
with the Professional edition and project
type.
This tutorial will guide you through the packaging of a Java application into a Mac OS X compliant package.
1. Create project
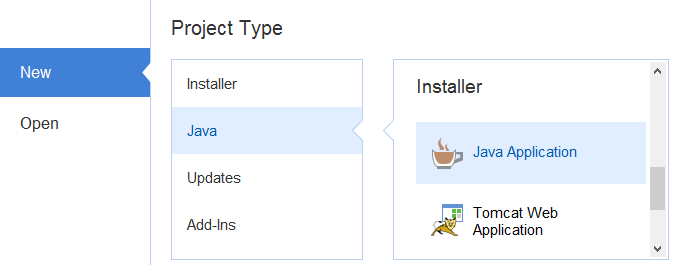
Start Advanced Installer. Launching Advanced Installer automatically starts a new installation project. Choose “Java” > “Java Application” as the project type.

![]() A good idea is to save and name the
project at this point. Use the “Save” menu item under the
“File” menu or the Ctrl+S keyboard
shortcut and let's name it MacOSXPackage.aip.
A good idea is to save and name the
project at this point. Use the “Save” menu item under the
“File” menu or the Ctrl+S keyboard
shortcut and let's name it MacOSXPackage.aip.
2. Add Installation Files
![]() Go to the Files and
Folders page by clicking on “Files and Folders” on the
left pane.
Go to the Files and
Folders page by clicking on “Files and Folders” on the
left pane.
![]() Right click “Application
Folder” and select “Add Files”. Browse to the
source folder on disk of your JAR file and select it. Click
OK.
Right click “Application
Folder” and select “Add Files”. Browse to the
source folder on disk of your JAR file and select it. Click
OK.

3. Add the Mac OS X build
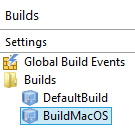
![]() Go to the Builds page by clicking on
“Builds” on the left pane.
Go to the Builds page by clicking on
“Builds” on the left pane.
Create a new Mac OS X build by clicking on the toolbar button.

4. Define Java Product
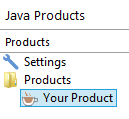
![]() Go to the Java Products page by clicking on
“Java Products” on the left side page
menu.
Go to the Java Products page by clicking on
“Java Products” on the left side page
menu.
![]() Create a new Java Product
by clicking on the toolbar
button.
Create a new Java Product
by clicking on the toolbar
button.

Click on the button and browse to and select the JAR file you added in “Files and Folders” page. Click OK.
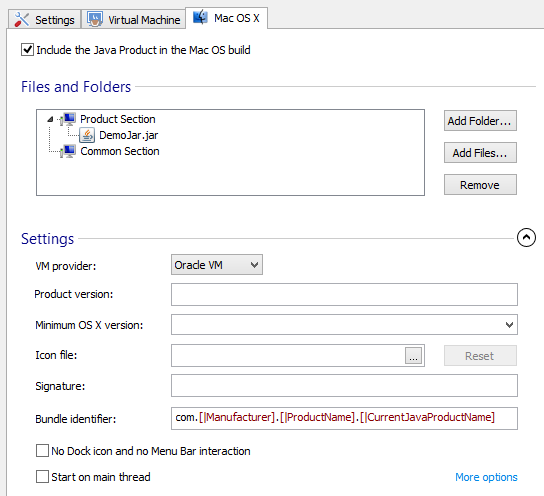
Go to “Mac OS X” tab and check the “Include the Java Product in the Mac OS build” option.

5. Build
![]() Click on the
toolbar button. Two setup packages will be built: a Windows compliant
setup and a Mac OS X compliant package. The built Mac OS X package is a
self extracting ZIP archive.
Click on the
toolbar button. Two setup packages will be built: a Windows compliant
setup and a Mac OS X compliant package. The built Mac OS X package is a
self extracting ZIP archive.