How to import and convert an MSI to an MSIX without repackaging it?
The following article uses options that are
available starting with the Architect edition and project
type.
This tutorial will guide you in converting an existing MSI into an MSIX without repackaging it.
When should you use this conversion method?
Let’s suppose you have an MSI package and you want to convert it into an MSIX package without relying on an intermediate project file.
The only solution is to use the “Quick MSI to MSIX ” project type, which enables you to generate MSIX files from MSI files using the QuickEdit mode.
This method allows you to import and convert simple MSI packages more efficiently instead of going through the whole repackaging process.
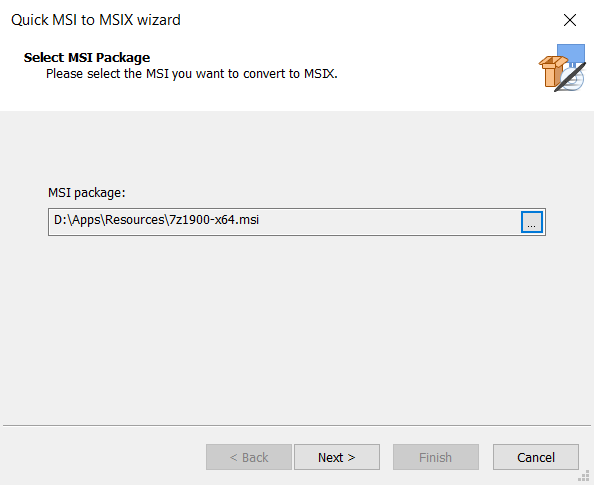
For this tutorial, we’ll convert the 64-bit version of the 7-zip File Manager.
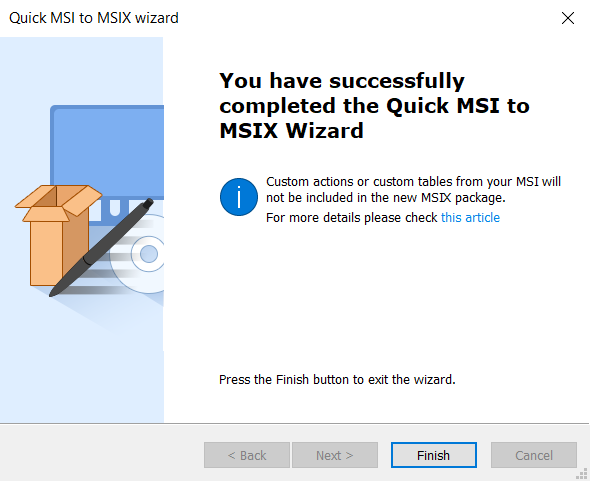
Custom actions or custom tables from your MSI will not be included
in the new MSIX package. For more details, please check this article.
1. Start a Quick MSI to MSIX project
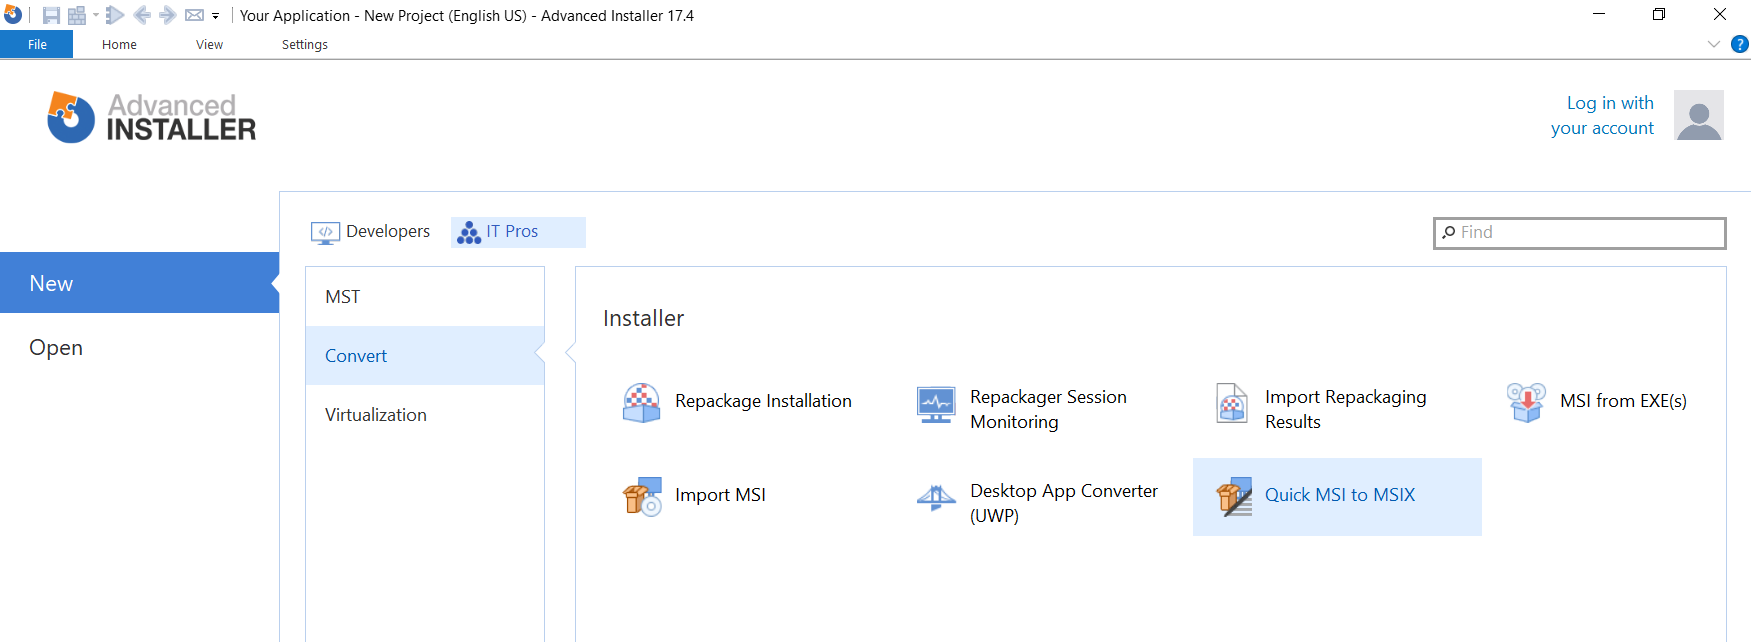
If Advanced Installer is not currently running, launch it by double-clicking a desktop icon or selecting it from the "Start" menu. When the application starts, go to the IT Pros tab. There you will see a dialog where you can choose "Convert" > "Quick MSI to MSIX" project type.

Double-click on the "Quick MSI to MSIX" project type to launch the wizard.
3. Import the MSI

The import process may not add all the resources of the
original MSI. So after importing you should inspect the resulted project
to make sure that everything is OK.
5. Sign the MSIX package
In order to install the MSIX package, we have to sign it with a trusted certificate.
- Go to the Digital Signature page
- Check "Enable signing"
- From the drop-down, select "Use from Personal certificate store
and choose your code signing certificate"

6. Build and install the MSIX package
- Press the Build button in the ribbon
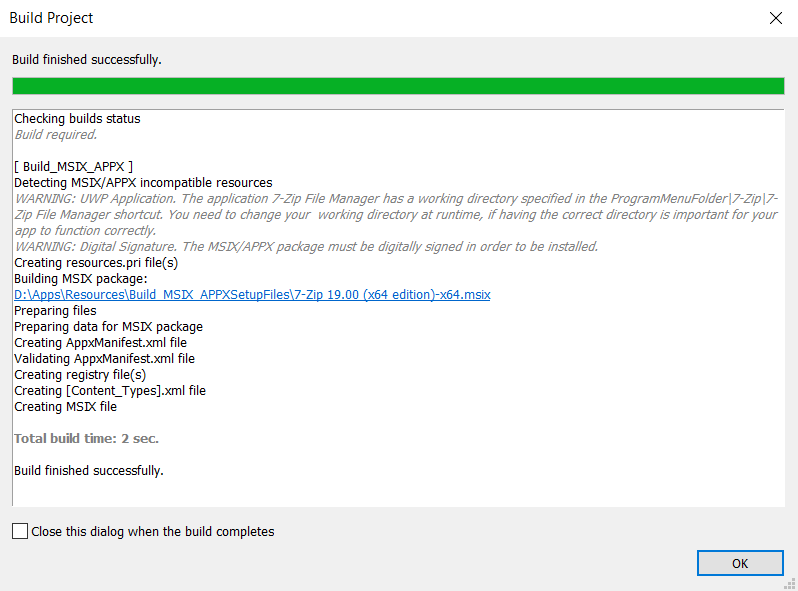
- After the build is complete, open the output folder by clicking the path in the build log
- Install the MSIX package


