Importing a Desktop Bridge AppX Package
The following article uses options that are available starting
with the Professional edition and project
type.
After using Microsoft's DAC or our own DBSC to convert your old installer to AppX, most likely you may need to maintain it, create upgrades, etc. This tutorial will guide you in importing your Desktop Bridge AppX package into an Advanced Installer project so you can further customize it from the familiar UI.
1. Start a "Desktop Bridge App" project
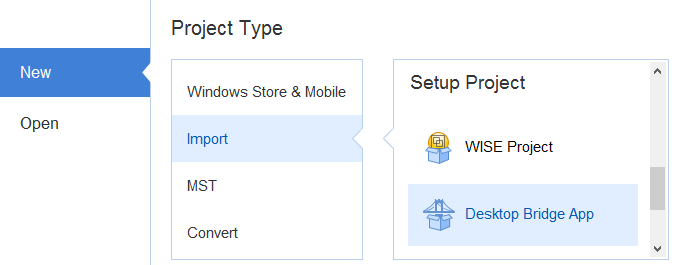
If Advanced Installer is not currently running, launch it by double-clicking a desktop icon or selecting it from the "Start" menu. When the application starts, you will see a dialog where you can choose “Import” > “Desktop Bridge App” project type.

The AppX Import Wizard will be launched assisting you to configure the import settings.
2. Collect Information
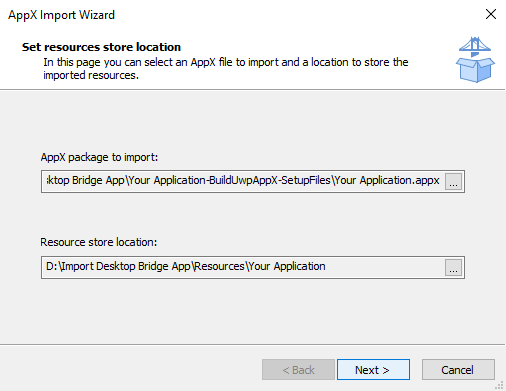
In this dialog select the location of the AppX file you want to import and specify a directory where the resources will be extracted.

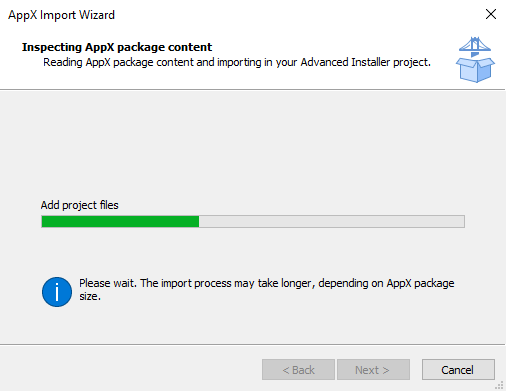
Press the button so that Advanced Installer can inspect the AppX package.
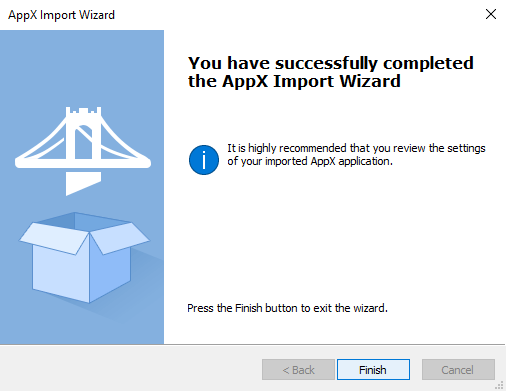
5. Customize AppX package
Once you have the AppX imported, you can verify the imported elements and further customize it from the Advanced Installer UI, as shown in this video:
6. Debug AppX package
If you're building the installer project as part of your solution or simply want to use Visual Studio to debug it, follow these steps:
- open Visual Studio and create a new "Advanced Installer Project" or add it to your existing solution
- expand the project(AIPROJ) in the Solution Explorer and delete its child AIP file
- right-click on the AIPROJ -> "Add..." -> "Existing item" and point to the AIP file created previously from the import wizard
- proceed as described in Debug Desktop Bridge Applications article

