Importing Visual Studio Application
This tutorial will guide you to import a Visual Studio solution into an Advanced Installer project.
- 1. Start a "Visual Studio Application" project type
- 2. Enter details about your product
- 3. Select a distribution type
- 4. Set project and package paths
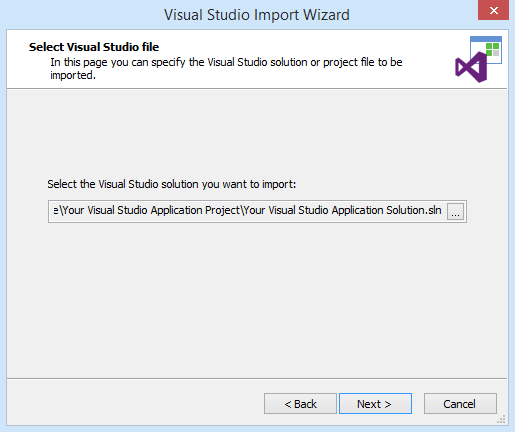
- 5. Select Visual Studio file
- 6. Detected configurations
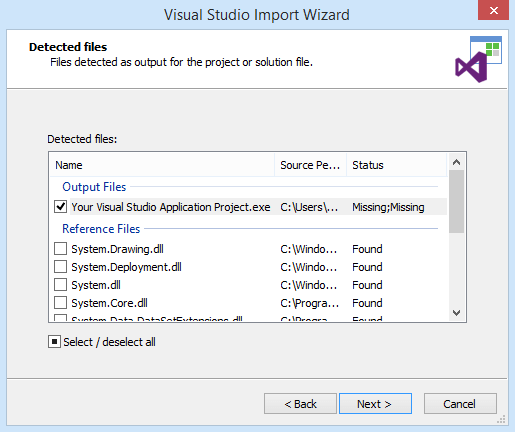
- 7. Detected files
- 8. Create shortcuts for your applications
- 9. Configure VC++ prerequisite or merge modules
- 10. Application execution
- 11. Configure installation UI
- 12. Select build languages
- 13. License Agreement
- 14. Import Visual Studio project
1. Start a "Visual Studio Application" project type
If Advanced Installer is not currently running, launch it by double-clicking a desktop icon or selecting it from the "Start" menu. When the application starts, you will see a dialog where you can choose “Installer” > “Visual Studio Application” project type.
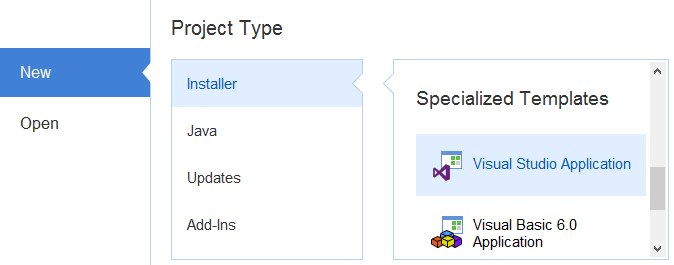
The "Visual Studio Import Wizard" will be launched assisting you to configure the import parameters.
2. Enter details about your product
These are the names the user will see.
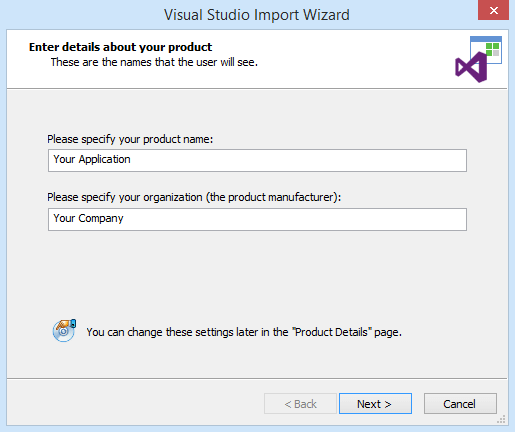
You can change these settings later in the Product Details Tab.
3. Select a distribution type
Choose the external structure of your installation package.
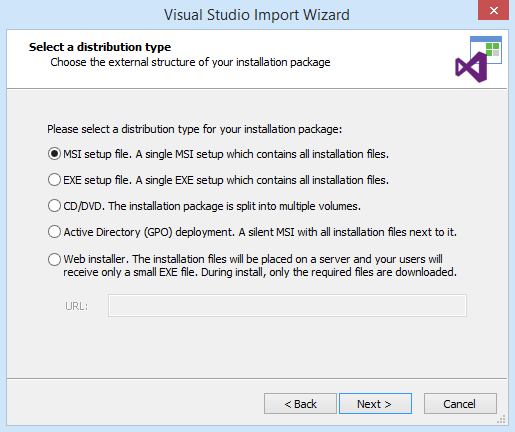
You can change these settings later in the Configuration Settings Tab from the Builds Page.
4. Set project and package paths
Specify project location, output folder and package name.
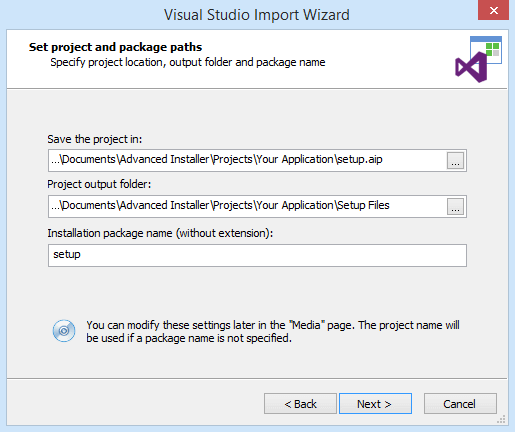
You can change these settings later in the Configuration Settings Tab from the Builds Page. The
project name will be used if a package name is not specified.
6. Detected configurations
Choose what project or solution configuration you want to import.
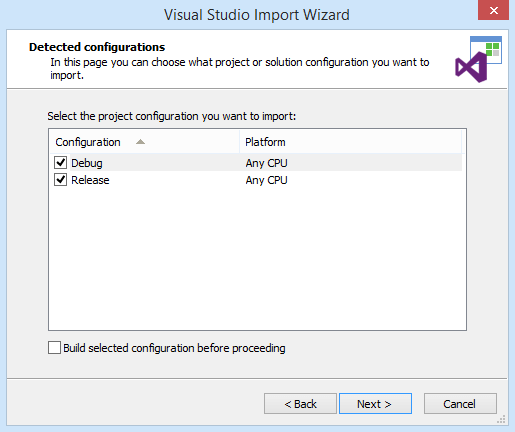
Optionally, you can choose to Build selected configuration before proceeding.
8. Create shortcuts for your applications
Choose which files will have shortcuts. For every file you can specify where to create shortcuts.
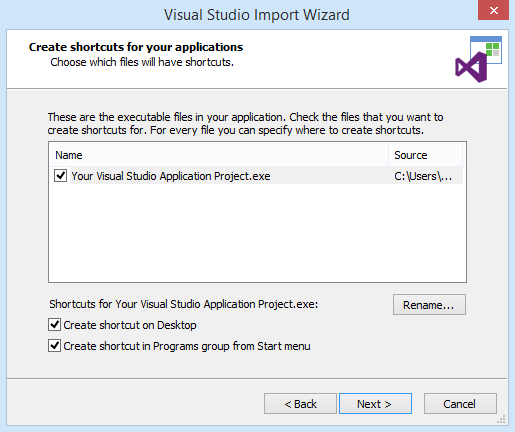
Optionally, you can create shortcuts with the name you need either on the Desktop, or in the Programs group from the Start menu.
You can configure the shortcuts later from the Files and Folders Page - Installer Project.
9. Configure VC++ prerequisite or merge modules
Add VC++ Redistributable prerequisite or merge modules to project.
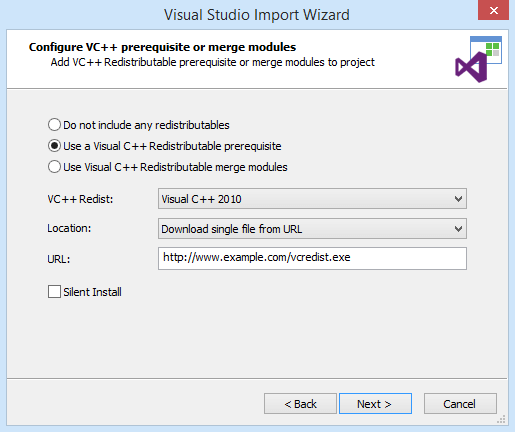
You can change these settings later from the Prerequisites Page - Installer Project or the Merge Modules Page.
10. Application execution
Specify when your application should be launched.
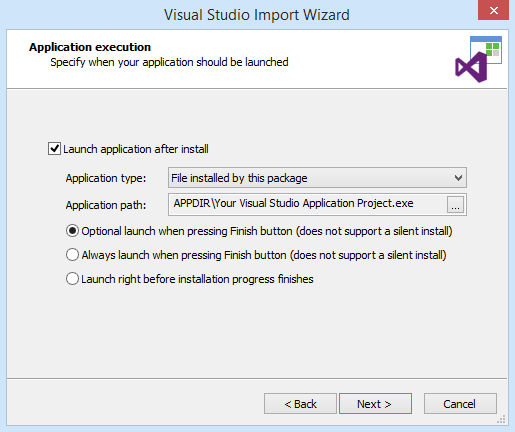
You can change the first option later from the Dialog Editor Page > ExitDialog > Finish Actions Tab. The
last two options' implementation is described in the How to launch a file after an installation article.
11. Configure installation UI
Set the UI theme and main installer dialog.
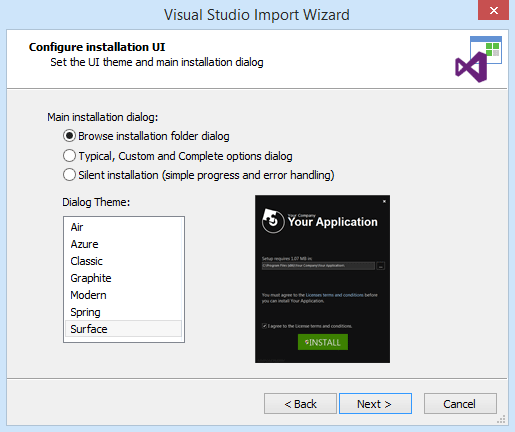
You can change these settings later from Dialog Editor Page, Install Parameters and
Themes Page.
12. Select build languages
Specify the languages in which to localize your package.
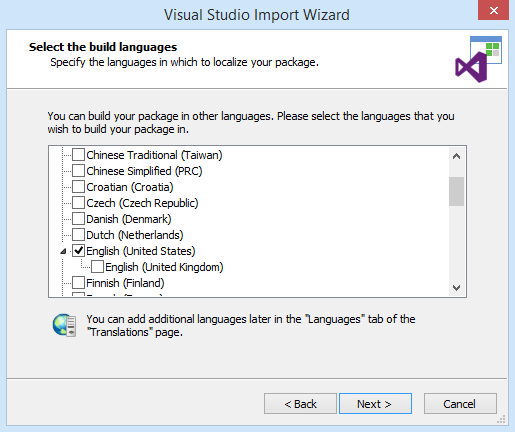
You can change these settings later from the Translations Page.
13. License Agreement
Specify a License Agreement file for the project language.
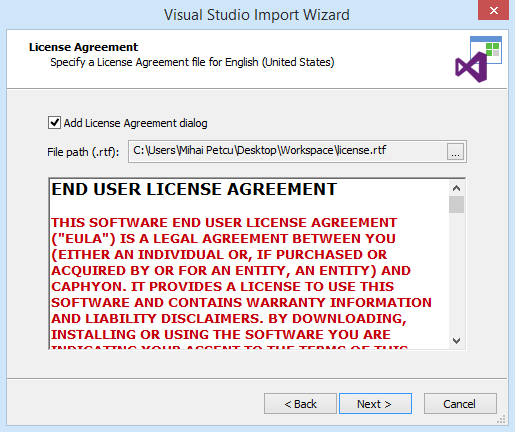
You can change these settings later from the Dialog Editor Page.
14. Import Visual Studio project
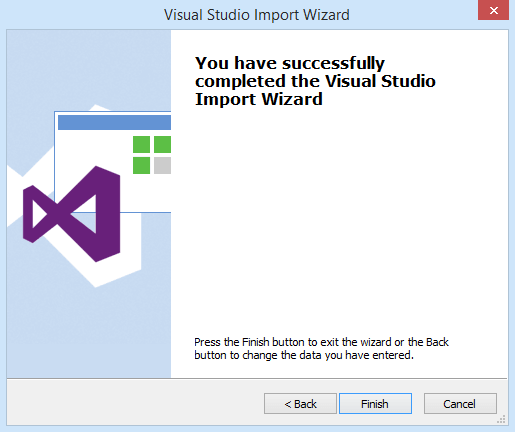
Press button to import the solution or project file into a new Advanced Installer project.
