How To Embed CAB Files in MSI
One of the most asked questions in the industry is related to CAB files and what embedding options these have within the WiX Toolset.
Let's see how CAB embedding works within WiX Toolset, what differences are there when using different versions and how you can use Advanced Installer to manage your CAB files in your MSI.
How CAB Embedding Works In WiX Toolset
To control CAB embedding within your Wix Toolset project, you will need to use the following option:
<MediaTemplate EmbedCab="yes"/>
Just set the EmbedCab value to “yes” or “no” according to your needs - and you're ready to start.
To see how CAB embedding works, let's create a simple MSI with WiX Toolset.
For this example, we added a single file called “Trace32.exe” in the package.
The code for the WSX file is as follows:
<Wix xmlns="http://schemas.microsoft.com/wix/2006/wi">
<Product Id="*" UpgradeCode="12345678-1111-2222-3333-666666666666"

Name="My First Installer" Version="1.0.0.0" Manufacturer="My Company" Language="1033">
<Package InstallerVersion="200" Compressed="yes" Comments="Hello, this is my first installer"/>
<MediaTemplate EmbedCab="yes" />


<Directory Id="TARGETDIR" Name="SourceDir">
<Directory Id="ProgramFilesFolder">
<Directory Id="INSTALLDIR" Name="MyFirstInstaller">
<Component Id="Files" Guid="11111111-2222-3333-4444-555555555555">
<File Id="File1" Source="Trace32.exe"/>
</Component>
</Directory>
</Directory>
</Directory>

<Feature Id="Feature1" Level="1" Title="First feature" Description="This is the one and only feature in this installation">
<ComponentRef Id="Files"/>
</Feature>
</Product>
</Wix>
Once we have the MSI configured as needed, it's time to build it:
1. Create a new batch file in the same folder along with the example.wsx file.
2. Save it as make_msi.bat.
3. Inside the batch file, paste the following code:
"C:\Program Files (x86)\WiX Toolset v3.11\bin\candle.exe" example.wxs
"C:\Program Files (x86)\WiX Toolset v3.11\bin\light.exe" example.wixobj
@pause
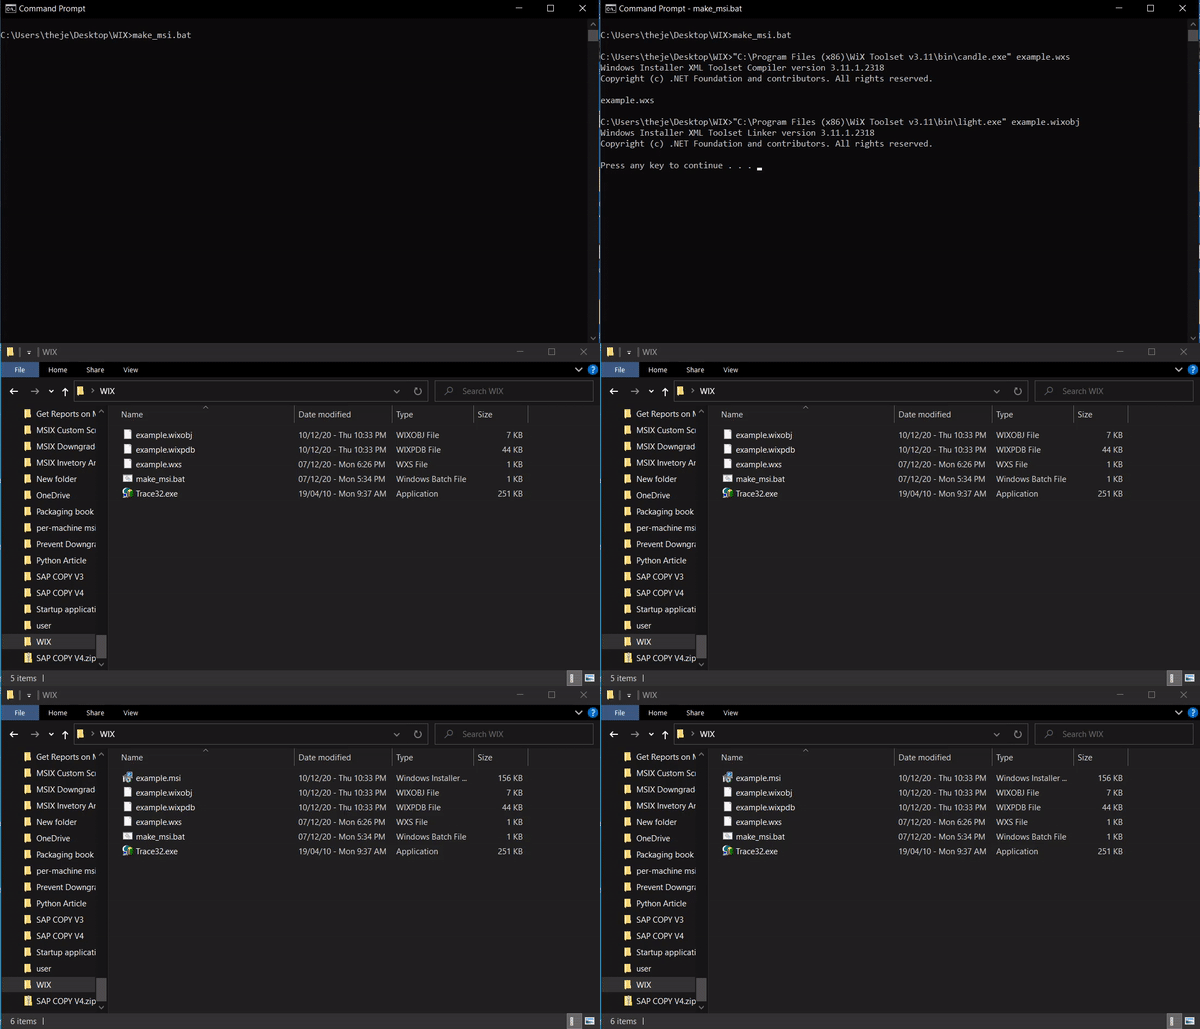
When everything is ready, execute the make_msi.bat file - this quick build will result in the example.msi that will appear in the folder.

After executing the .bat file, the CAB file was embedded inside the MSI. If you don’t want the CAB file to be embedded, change the following line within the example.wsx:
<MediaTemplate EmbedCab="no"/>
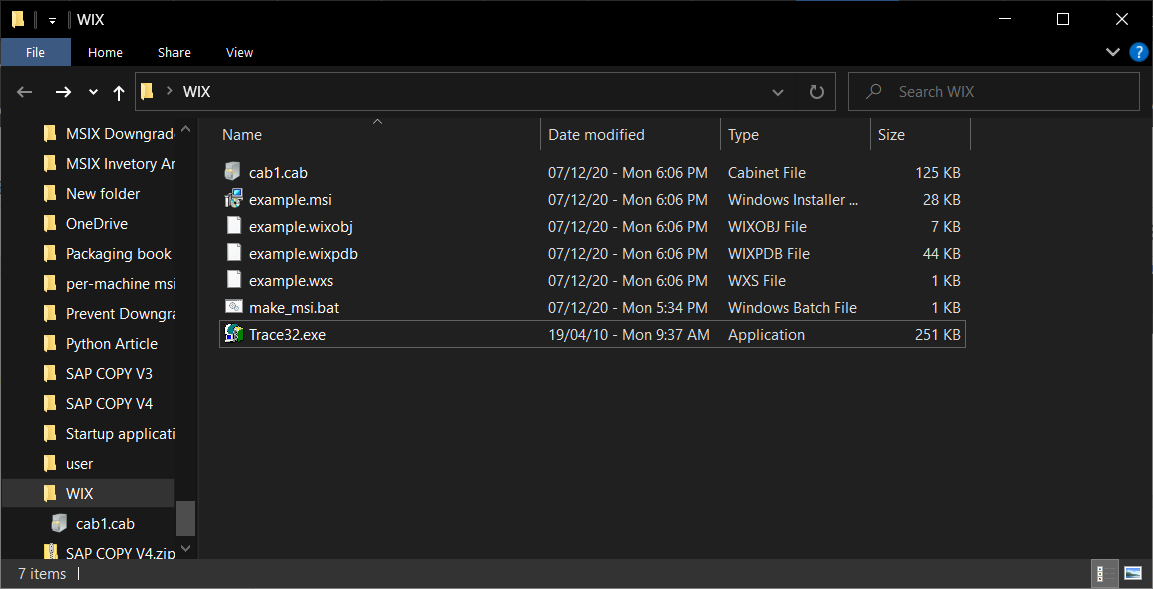
If you change it and run the make_msi.bat again, a CAB archive named “cab1.cab” will be created next to your MSI.

What Are The Differences When Embedding CAB Files In Different WiX Versions?
Before WiX version 3.8, the MediaTemplate element did not exist and CAB files had to be declared independently:
<Media Id="1" Cabinet="cab1.cab" EmbedCab="yes"/>
This method still works after version 3.8, but if you want to use it, the WSX file should use this code:
<Wix xmlns="http://schemas.microsoft.com/wix/2006/wi">
<Product Id="*" UpgradeCode="12345678-1111-2222-3333-666666666666"

Name="My First Installer" Version="1.0.0.0" Manufacturer="My Company" Language="1033">
<Package InstallerVersion="200" Compressed="yes" Comments="Hello, this is my first installer"/>
<Media Id="1" Cabinet="product.cab" EmbedCab="Yes"/>
Keep in mind that if you are using a WiX version higher than 3.8, you can't use MediaTemplate and Media elements at the same time. Either you declare a template which will be used across all the CAB files (as seen in the first example), or you declare each CAB manually and define if it’s embedded or not.
Using Advanced Installer's GUI to Manage CAB Files Within Your MSIs
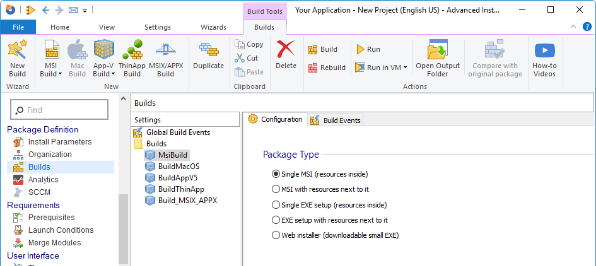
Advanced Installer offers multiple options to handle CAB files within your MSI. Watch our tutorial video to see how it works.
If you want to see a comparison between WiX and Advanced Installer,
check our article titled Bundles-WiX vs.
Advanced Installer, where we discuss the basics of WiX - such
as where to get it, how to install it, and how to create a bundle of two
MSI applications with it.
I hope you found this information helpful and easy to implement.
