Today we will be discussing how we can use PowerShell to access Windows API functions.
This all started when a user asked me if I could provide a sample VBScript that utilizes the WritePrivateProfileString function.
The above function is used to copy a string into the specified section of an INI file.
The reason why he wanted to use such function is because we wanted to overcome a corner-case scenario that was not covered by our predefined support.
After spending almost one day trying to achieve this using VBScript, I ended up gaving up and trying to accomplish this using PowerShell (because it is much more documented and up to date than VB).
Let's consider we have the following "sample.ini" file on our Desktop folder:
Code: Select all
[section]
name=InsertNameHere
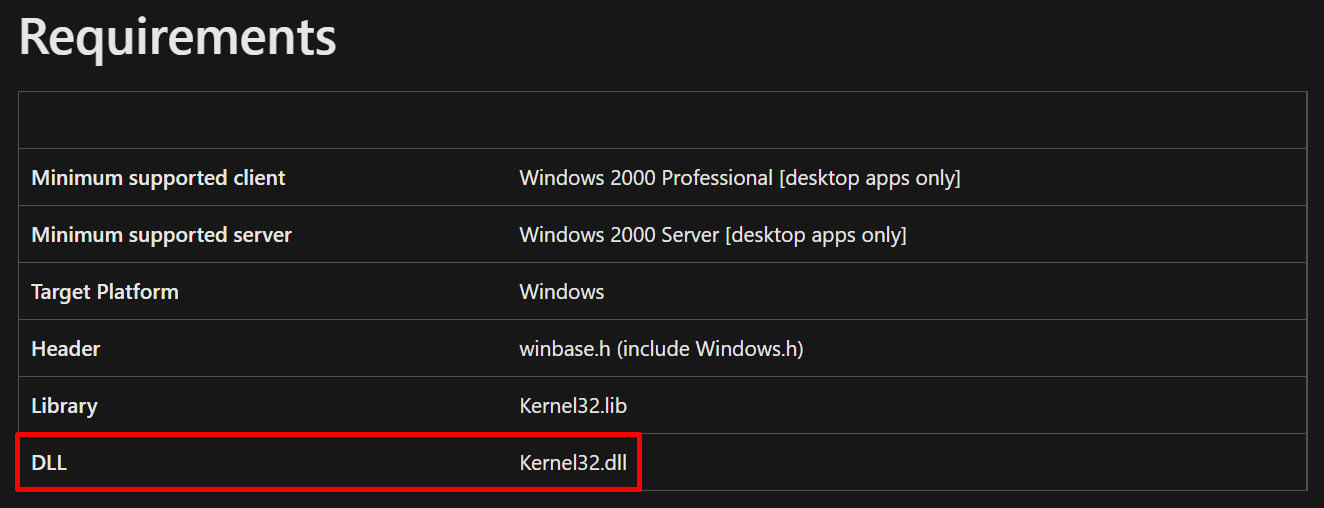
age=25In order to start this task, we have to gather some information about the function. From the above article I've linked about the function, we can see that it is included in the "kernel32.dll" file.
With that being said, we would need to import the "kernel32.dll" and then declare and further use the function we need.
Here, I would like to point one article which have tremendously helped me and another resource:
1. Use PowerShell to Interact with the Windows API: Part 1
2. PInvoke.net
Definition (form their website):
With the information given above, we can find the signature of the WritePrivateProfileString function on PInvoke.net: WritePrivateProfileString (kernel32)PInvoke.net is primarily a wiki, allowing developers to find, edit and add PInvoke* signatures, user-defined types, and any other information related to calling Win32 and other unmanaged APIs from managed code (written in languages such as C# or VB.NET).
From the above, we can see that the signature of the function is:
Code: Select all
[DllImport("kernel32.dll", CharSet=CharSet.Unicode, SetLastError=true)]
[return: MarshalAs(UnmanagedType.Bool)]
static extern bool WritePrivateProfileString(string lpAppName,
string lpKeyName, string lpString, string lpFileName);Given the above details, here is how our final script would look like:
Code: Select all
$typeDefinition = @"
    using System.IO;
    using System.Runtime.InteropServices;
    using System.Text;
    public static class IniFile
    {
        [DllImport("kernel32.dll", CharSet = CharSet.Unicode, SetLastError = true)]
        [return: MarshalAs(UnmanagedType.Bool)]
        private static extern bool WritePrivateProfileString(string lpAppName,
           string lpKeyName, string lpString, string lpFileName);
        public static void WriteValue(string filePath, string section, string key, string value)
        {
            string fullPath = Path.GetFullPath(filePath);
            bool result = WritePrivateProfileString(section, key, value, fullPath);
        }
    }
"@

Add-Type -TypeDefinition $typeDefinition

function Set-IniValue {

   param (
       [string]$path,
       [string]$section,
       [string]$key,
       [string]$value
   )

   $fullPath = [System.IO.Path]::GetFullPath($path)
   [IniFile]::WriteValue($fullPath, $section, $key, $value)
}

$path = "C:\Users\Catalin\Desktop\sample.ini"
$section = "section"
$key = "name"
$value = "Catalin"

Set-IniValue -path $path -section $section -key $key -value $value- first of all, we create our IniFile class, in which we add the signature and we create the WriteValue method (easier to understand it this way)
- we then make that available in our PowerShell session through the Add-Type cmdlet
- after that, we define a PowerShell function that uses the WriteValue method of the IniFile class in order to write to the file
- lastly, we provide the required parameters and run the function
This can be simply done by opening PowerShell ISE on your machine, copy pasting the script content there and then running it.
1. How to implement and test this in Advanced Installer
This is pretty easy and straight forward as well. Here is what we need to do:
- go to "Custom Actions" page
- add a "Run PowerShell inline script" custom action, with sequence
- copy paste the above code there
- schedule the custom action after the "Add resources" action group, with its' "Execution Time" set to "When the system is being modified (deferred)" and the "Run under the LocalSystem account with full privileges (no impersonation)" option checked. This is done so our custom action can run elevated
- build and run your project
And that is it! I hope you guys will find this useful.
For your reference, I will be attaching to this forum thread the .AIP file with the custom action already configured, which you can build and run on your end.
Best regards,
Catalin
