How to Create a Desktop Shortcut for a Windows Forms Application?
Creating a seamless user experience for an application often involves the use of shortcuts.
Desktop shortcuts offer a straightforward method for accessing any application. Now, the key question is: how can we create a desktop shortcut for an application deployed through an MSI package?
This article has you covered. It will guide you through the process of creating a desktop shortcut for a Windows Forms application installed via an MSI package. We'll use Visual Studio and the free Advanced Installer Visual Studio extension to build the installer.
Before moving on to the next steps, ensure you have the Advanced Installer extension for Visual Studio installed. If not, you can find it on the Visual Studio Marketplace.
1. Create the Application
Let’s start by creating a sample Windows Forms application in Visual Studio:
- Go to File → New → Project.
- Select Windows Forms App from the templates list.
- Name your project and click Create.
2. Add the Setup Project
Next, add the Setup Project necessary for creating the MSI package:
- Right-click on the Project Solution → Add → New Project.
- Choose the Advanced Installer Project template from the list of templates.
- Set a name for the project and create it.

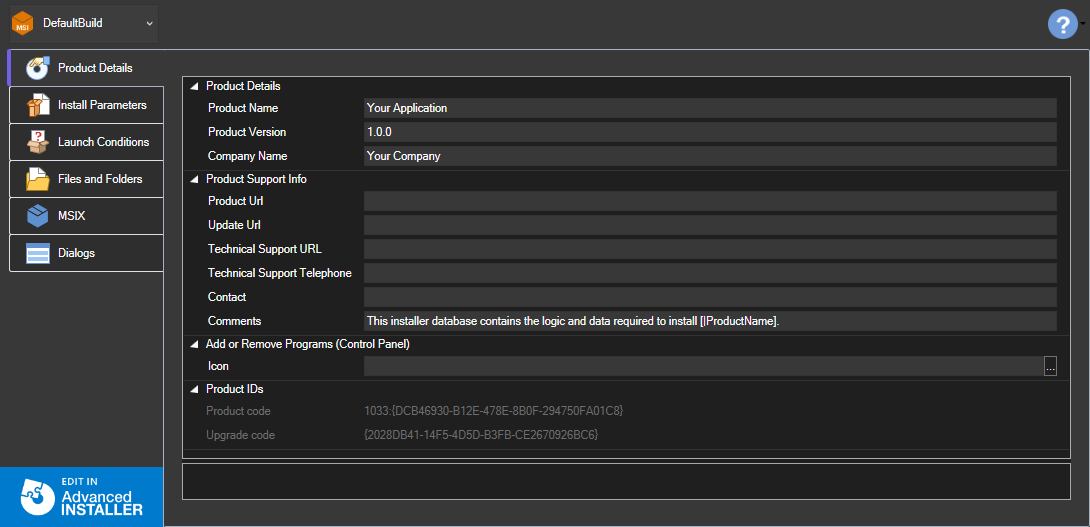
After creating the setup project, open the Advanced Installer Project (.aip) file to access and modify your installer's details.

3. Add the Project Output
Before we dive into creating the desktop shortcut, it's essential to include your solution's build output in the installer project:
- Go to the Files and Folders tab in the viewer and click on the Add Project Output button.
- In the opened dialog you have to select a publish profile and click the OK button.
If you don’t have a published profile yet, you will be prompted to create one.
Choose to publish to a local folder. After setting up this profile, there's no need to manually publish anything - the setup project will handle it automatically when you build it.
Then, go back to the Files and Folders tab, click on Add Project Output again, and pick the publish profile you just made.
4. Create the Desktop Shortcut for the Windows Forms Application
To create the desktop shortcut, follow these steps in Advanced Installer:
- Open your project in Advanced Installer by clicking the Edit in Advanced Installer button in the bottom left corner of the project viewer.
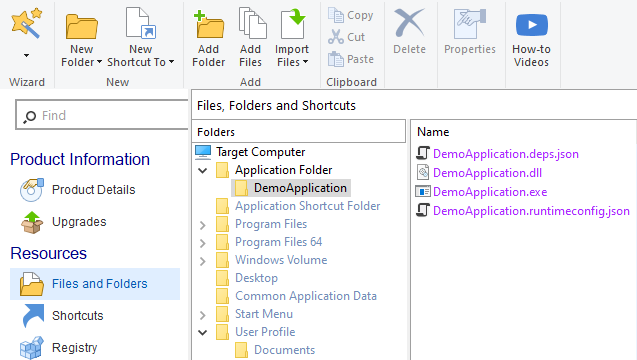
- Navigate to the Files and Folders page and locate the Application Folder.

- Right-click on the application's executable file and select New Shortcut to Installed File.
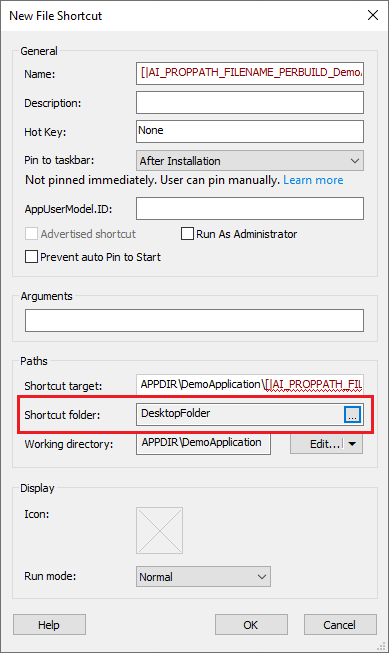
- In the New File Shortcut dialog, select Desktop Folder as the Shortcut folder, then press the OK button.

After saving your project in Advanced Installer, return to Visual Studio. You’ll be prompted to reload the installer project since it was modified. Press the [Yes] button.
5. Build and Install the Application
It’s time to build the setup project to generate the MSI. Afterwards, run it to install the application. Once the installation is complete, you'll find the application's shortcut on your desktop.
