Use Logos for MSIX Application Installer Branding
Branding an installation package plays a key role in today’s competitive digital landscape. It helps you differentiate your application in a crowded marketplace. Especially, for those in the application packaging industry, understanding how to brand an MSIX package is crucial to building trust and enhancing user experience.
MSIX, as part of the Universal Windows Platform, is widely recognized as a modern technology for distributing and installing apps.
If you’re looking to master the art of branding your MSIX package using Advanced Installer, this guide is tailored just for you.
Let's dive in!
How to Generate the Package Assets
Your installer's first impression matters; it’s the initial point of contact with the user. And, the first step in branding your MSIX package is to customize the installer with your logo.
Here's how you can make it resonate with your brand in Advanced Installer:
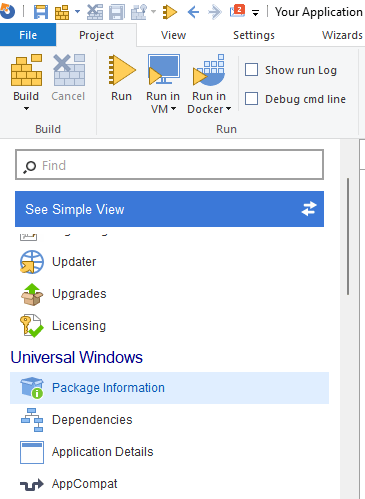
Using Package Information View: Here you can define general information about the package and describe how the package appears to users.

Logo Options:
1. Create Externally: Generate the assets externally in formats such as .png, .jpeg, .jpg and then load them as needed.

2. Use Asset Generator: Just provide the source image, it will generate all required assets in multiple formats including: .png, .jpeg, .jpg, .tiff, .tif, .bmp, .gif, .ico, .pdf, .ai, .svg.

The support for the.svg (Scalable Vector Graphics) image format ensures high-quality visuals, and is the feature that truly makes the difference.
To render a single .svg at all required resolutions, no upscaling or downscaling is required unlike with raster images.
Alternative Asset Generation:
- Create a new Installer Project and save it.
- Pick an image as the Control Panel icon (the steps to add an image are presented below in this article).
- Add the MSIX build.
Once the MSIX build is added, the package assets will be generated automatically. Be aware that if the project is not saved, the assets will not be generated.
How to Generate Application Assets
Once the package assets have been generated, let’s see how to personalize Windows Store App visuals, like its default tile, splash screen, or badge logo with Advanced Installer:

Visual Assets View:
As you can see, there are several assets you can add. Let’s explain where each one is used:
1. The default Tile is used for the Start menu. If you provide a short name for the application it will be displayed directly on the tile. You can also select the tile size that should display the app’s name and also customize the color of the tile.
2. The Tile Logo specifies the images used when rendering the tile in various formats:
- Small, Medium, Wide, Large → for pinning to Start Menu, depending on the size required.
- App Icon → for the application icon, pinning to Taskbar and when uninstalling the MSIX.
3. The Splash Screen are used for displaying the Splash Screen when launching the application
4. The Badge Logos are displayed when using Lock screen notifications (from "Application Details" view).
To generate the assets from the Visual Assets view, you have two options:
- One option is to generate them externally and upload them separately. The supported formats are .png, .jpeg and .jpg.
- A much better option is to generate them within the view using the Asset Generator. It creates all the assets required for your application by loading a single source file. For this option, the supported formats are .png, .jpeg, .jpg, .tiff, .tif, .bmp, .gif, .ico, .pdf, .ai, .svg. Among all these format options, we need to highlight the support for the .svg format.
Alternative way to generate the application assets:
- Create a new MSIX Package and save it.
- Add an executable file.
- Add a shortcut to that executable file and assign an image to it (you can find below in this article how to add the image).
Once these steps are completed, the application assets will be generated automatically. Be aware that you need to save the project before, otherwise the assets will not be generated.
How to Add Control Panel Icon
Adding a logo for the Control Panel icon provides an intuitive identification and enhances the user experience.
To add the logo, follow the next steps:
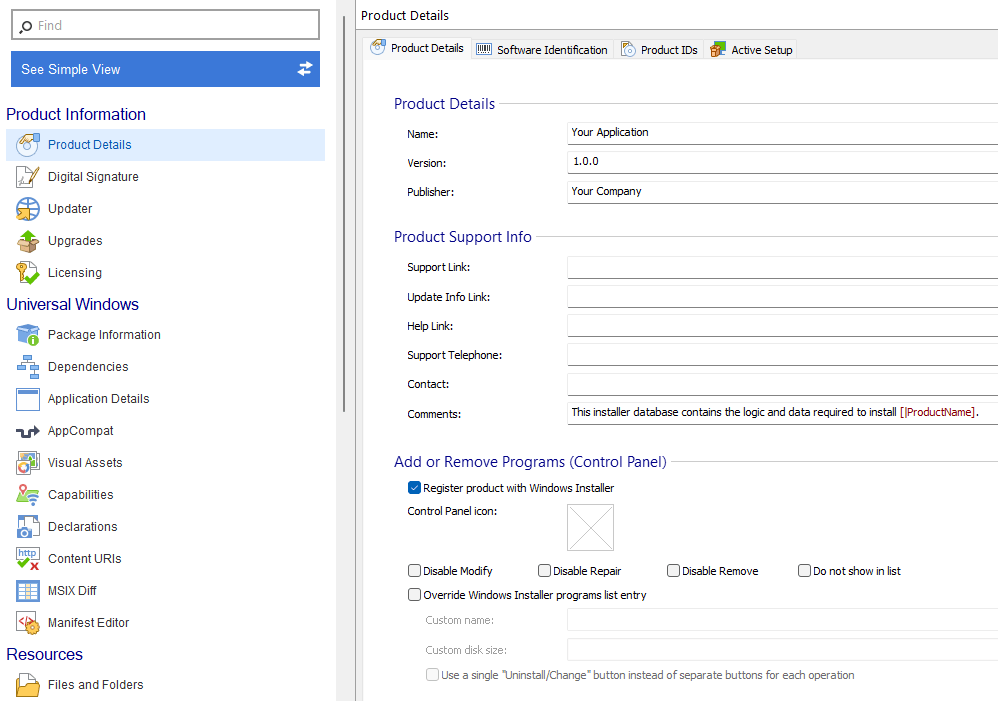
- Go to the Product Details view.
- In the Add or Remove Programs section pick an image for the Control Panel icon. The supported image formats are: .ico, .exe, .dll, .msi.

How to Add Logo for File Association
To help users visually identify and associate specific file types with your application, you can add logos for file associations. Follow the next steps to achieve this:
- Go to File Associations view → click on the New Extension toolbar button → select the executable file.
- Select the [|Manufacturer].[|ProductName] → locate the Display section and select an icon. The supported formats are: .ico, .exe, .dll, .msi.
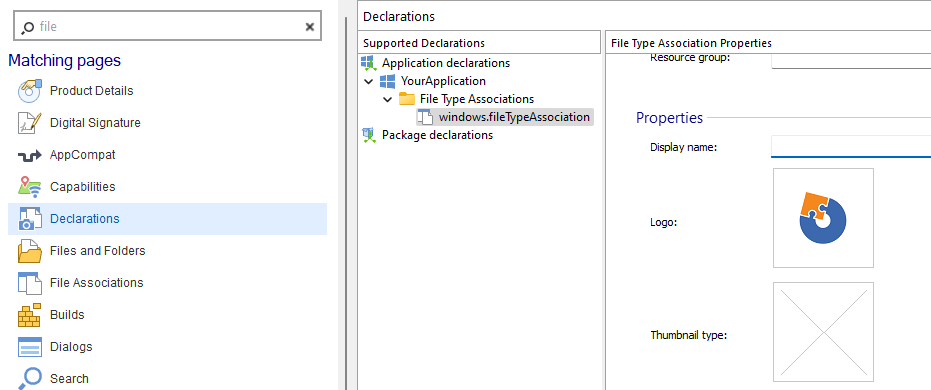
- Go to the Declarations view → windows.fileTypeAssociation and notice the same logo

How to Add a Shortcut Icon
As an extra touch to your branding, make the shortcut more recognizable by adding your logo.
To add a logo for a shortcut:
- Right click on the created shortcut and go to Properties.
- In the opened dialog, locate the Display section and pick your logo for the shortcut. The formats supported here are: .ico, .exe, .dll, .msi.

Conclusions
Advanced Installer's user-friendly interface makes branding your MSIX package an effortless experience. From visual assets to logos for file associations, this guide provides you with comprehensive steps to create a strong brand identity for your installation package.
Whether you're an IT professional or a developer in the application packaging industry, following this guide will help you provide an engaging user experience that resonates with your brand. Make the most out of MSIX technology and step up your game in the competitive market!
Ready to take your MSIX packaging to the next level? Get started with branding your installer effortlessly using Advanced Installer's intuitive interface
Start your 30-day free trial today!
