Repackage Java Runtime and Create an MSI Installer
Java is one of the most recognized frameworks, made popular by many things, the most important of all WORA (Write once, run anywhere). But, if you want to run any type of Java code on a machine, you obviously need to install the Java Runtime (JRE) first.
In this article, we’ll go through the steps of repackaging the 32 bit Java installation and creating a customized MSI package ready to be deployed, plus a few tips and tricks for where you can find/store certain settings.
Repackaging Java Runtime
To start repackaging we need a clean machine in VMWare, VirtualBox or any other Virtual Machine Software Program, the Java offline installer which can be downloaded here and Advanced Installer.
Once Advanced Installer is installed on the machine and the offline installer is copied we fire up the Advanced Repackager.
In Advanced Repackager click Capture Setup and browse to the java installer executable. In this case, we will leave all the standard settings for capture, for a more in-depth tutorial you can check our article here.
By default the local repackaging in VM is more powerful and clean, so let's click on Start Local and select a place where your project is saved. Wait for the initial system check, install java, press ok and that’s it, you now have a recaptured installation of Java.
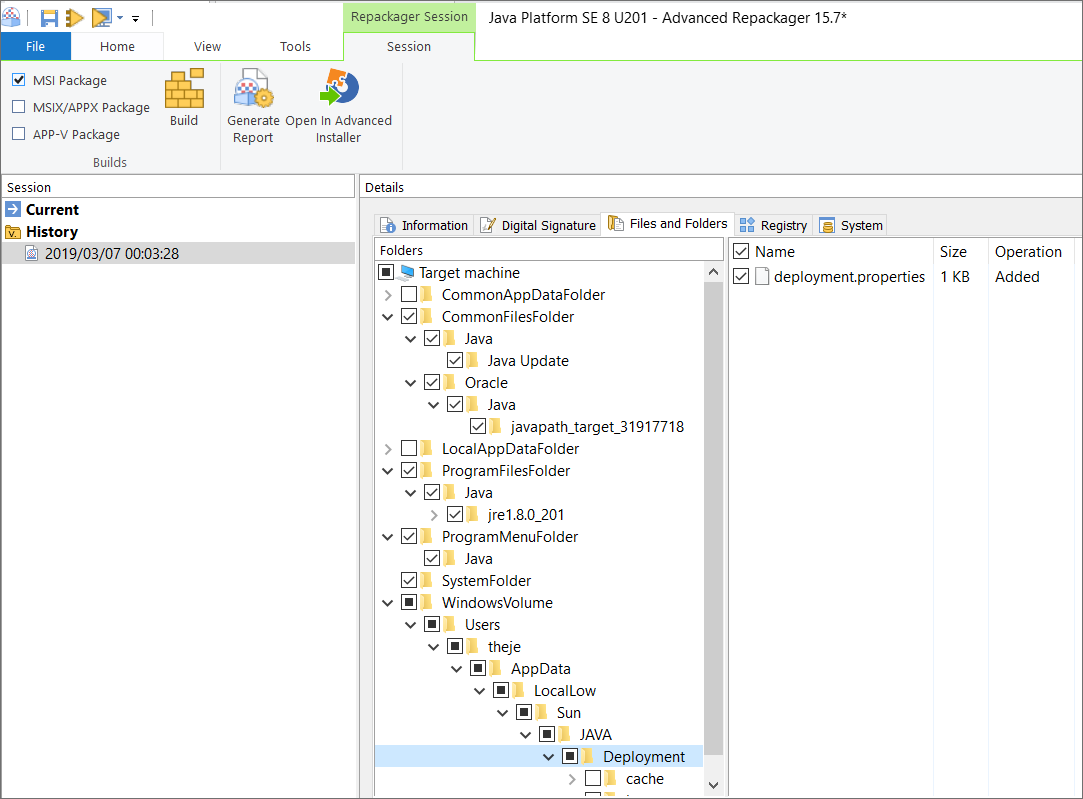
Now let’s do a little bit of cleanup. In the Advanced Repackager go to Files and Folders tab and exclude everything from the MSI package, except for the following locations:
- CommonFilesFolder\Java
- ProgramFilesFolder\Java
- ProgramMenuFolder
- SystemFolder
- Appdata\LocalLow\Sun\Java which contains the deployment.properties

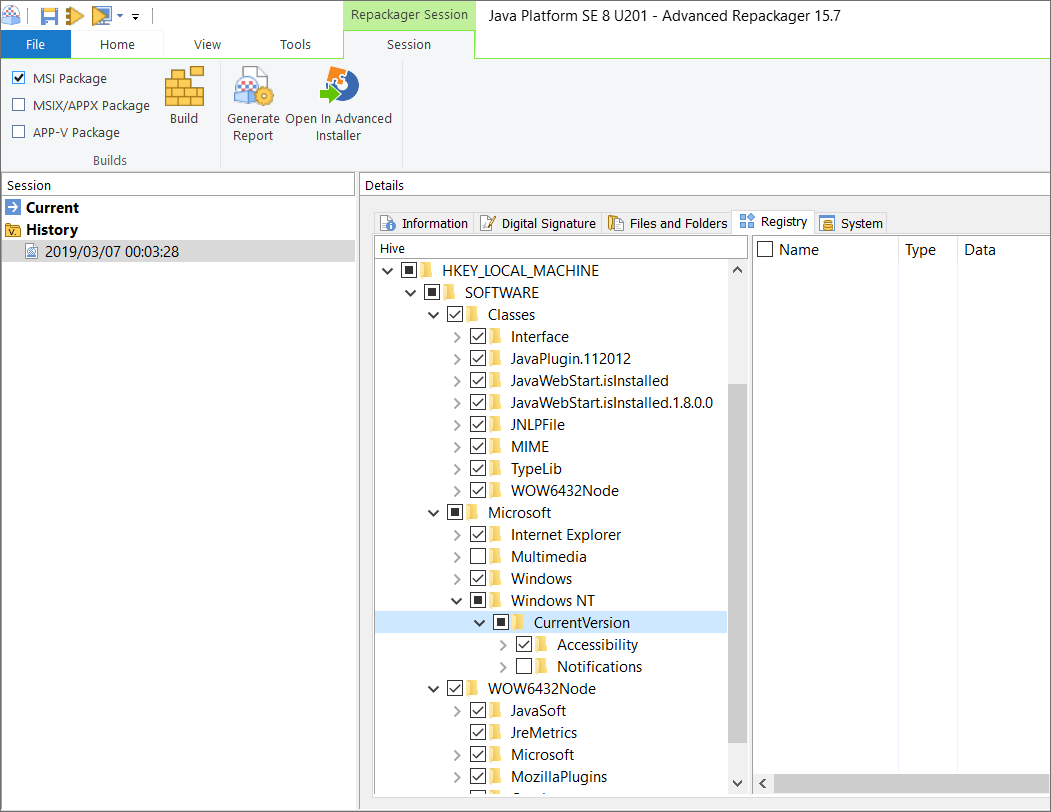
We do the same thing in the Registry tab. Java places registry in HKCU and HKLM. This is how it looks after a little bit of cleanup:

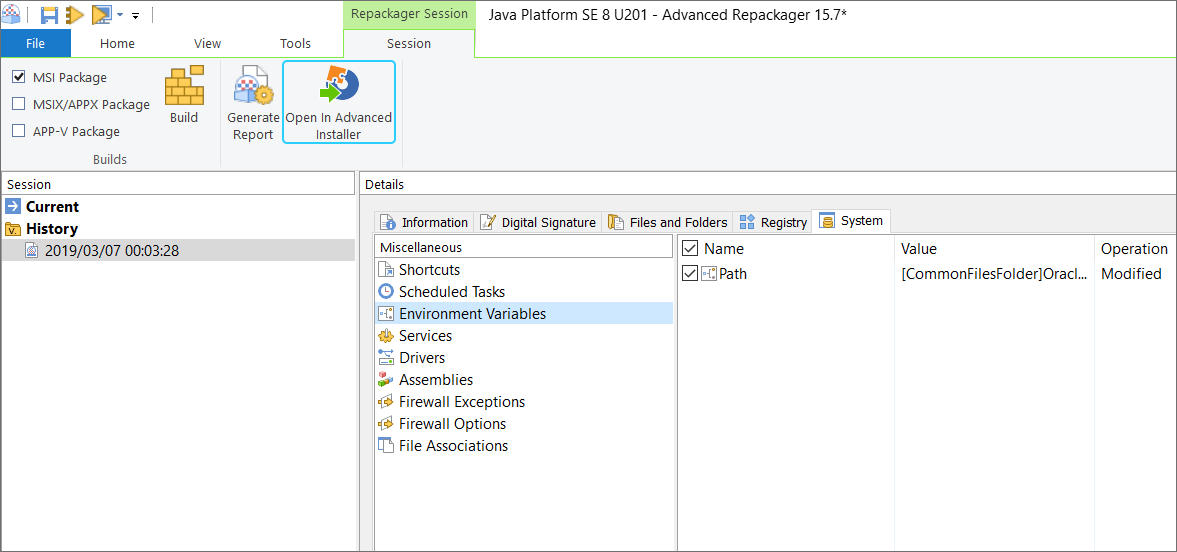
In the System tab, we need to mark the checkbox for the Environment Variable added by the installer. You can also customize to leave/remove the shortcuts but in our case, we will keep this as close as the vendor sources.

Advanced Installer allows you to edit your entire package contents, giving you access to MSI tables, Custom Actions, and many more, so let’s open the project with it.
If we check the environment variable that the installer places, we see that it’s pointing to [CommonFilesFolder]Oracle\Java\javapath, but we don’t have that path in our captured files, in our capture we have javapath_target_31917718. At installation, Java creates a folder javapath_target and with an additional hash. In our project, we must rename this folder to javapath_target so it matches the environment variable.
Let’s now build the MSI package and check if the installation works and if Java detects our repackaged version.
After a successful installation, we navigate here to check if java is detected, and turns out everything works as expected.

Conclusion
As we can see, Java is quite an easy repackaging process with minimal changes to the capture.
Indeed, the application does contain user data and even if we have three advertised shortcuts, we still have two other ones that cannot be advertised and might lead to a situation where another user doesn’t start the advertised shortcut and the self-healing might not start, and even so, people don’t usually start the java shortcut. In cases like this, it’s recommended to use the Active Setup technology. We have a full article about this here.
Video Tutorial
Tips & Tricks
Here are some useful tips on where certain settings are being kept and how you can customize them.
Disable Auto-Updates
To disable auto-updates you need to modify the key HKLM\Software\JavaSoft\Java Update\Policy\EnableJavaUpdate to 0.
If you disable the auto-updates it’s probably best you disable the notifications as well, you can do that by changing HKLM\Software\JavaSoft\Java Update\Policy\jucheck\NotifyDownload and HKLM\Software\JavaSoft\Java Update\Policy\jucheck\NotifyInstall to 0.
Add sites to Exception Site List
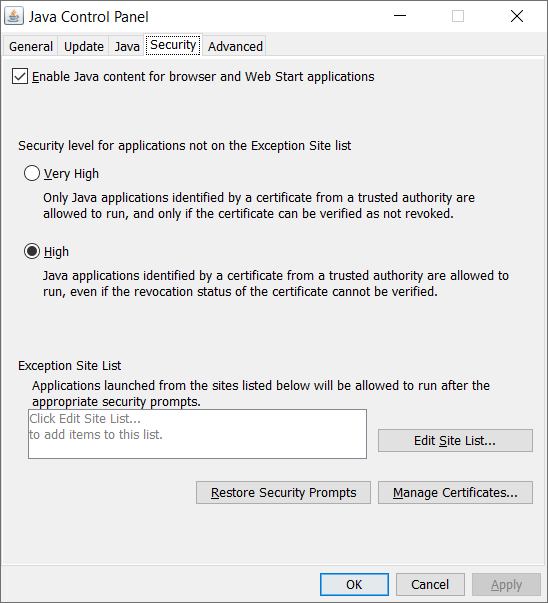
Java offers the possibility to launch applications from certain sites which will be allowed to run after the appropriate security prompts.

To populate the list from your package you need to create a file exception.sites. In this file, you will write each site that you want to add to the list one by one on separate rows. For example http://site1.com, http://site2.com, etc.
Add the file in your package and copy it into %USERPROFILE%\AppData\LocalLow\Sun\JAVA\Deployment\security
Add certificates
In order to add trusted certificates to your installation, you must edit the file cacerts present in [INSTALLDIR]lib\security. In order to open this file, you need special tools that you can find online. The password to open the file is change it. Once opened with a specialized tool you can add/remove certificates to it.
Other settings
Many other settings like max cache size for the temporary internet files, security level, SSL, etc, can be configured in the file deployment.properties. This file can be placed on the user with the desired settings, but for easy use, you can copy it into [INSTALLDIR]lib\deploy
Subscribe to Our Newsletter
Sign up for free and be the first to receive the latest news, videos, exclusive How-Tos, and guides from Advanced Installer.