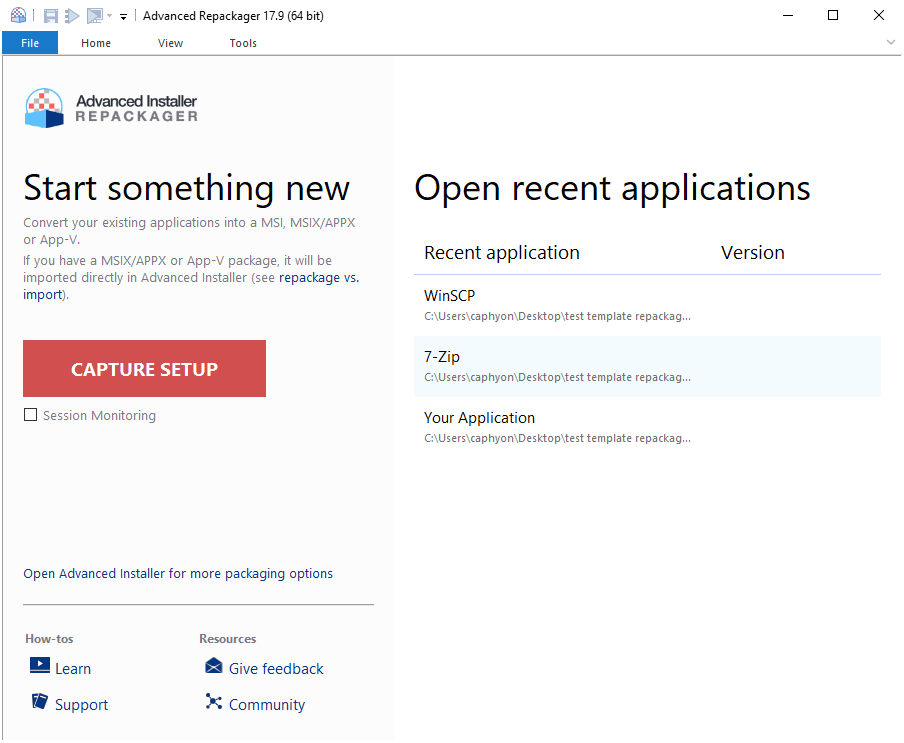
Repackager
The Repackager lets you convert your application installer into a new packaging format (MSI, MSIX/APPX, APP-V). The repackaging operation consists of taking an initial snapshot of the system before you install your application and one after, then the results are imported into an Advanced Installer project where you can begin to customize the new installer.
Visit our Repackager feature page and discover
more about the MSI & MSIX Repackager's complete functionality.
The repackaging operation doesn't modify your application.

Overview of the repackaging operation:
1. Select your installer
You can repackage any software installation or wrapper as you need, with the most common scenario in the industry being to repackage exe to msi.
You can choose a simple application if you only want to see which changes are applied when a certain application is started.
MSI files should not be recaptured, for those scenarios, we recommend creating a transform file.
If there is no installer and you just want to wrap the raw source files into a packaging
format, select "Session Monitoring".
2. Customize the repackaging operation
Once a setup is selected, you can configure multiple options in the repackaging operation. For example, if you want to chain multiple installations into the capturing process, you can click on Additional Packages and add as many as you want.
For more information regarding additional packages, see the Package Information tutorial.
Apart from that, the options tab lets you choose actions and further configuration options for the repackaging operation that should be taken before or during the installation process.
For more information about the options tab, see this
page.
By default, the Repackager is configured with two main Profile Configurations that declare advanced options for the repackaging process. These profiles are configured for general use (default) and for MSIX recapture operations; however, you can add your own custom profile to the list.
With these, you have a few helpful options:
- Choose to capture only certain file types.
- Exclude folders from the capturing process.
- Include/exclude certain registry keys that need to be scanned during the operation.
- Exclude processes in order to have as much of a clean capture as possible.
3. The Repackager launches the installer on your local machine or a VM and captures the changes done to the system
After all the customizations have been configured (if anything needs to be changed from the default state of Advanced Repackager), it is time to start the repackaging operation. With Advanced Repackager you have the option to start the repackaging process:
- Locally
- Inside a VM
- Inside a Docker image
We recommend that the repackaging process is done on a clean virtual machine and not the
local machine.
When it comes to the repackaging process on a local machine, the steps are quite straightforward, and all you need to do is just click on the Start Local button.
For the VM option, we offer the possibility to connect Advanced Repackager with multiple VM platforms:
For the Docker image option, the following article can be useful.
Advanced Installer also has built-in support for repackaging in Windows Sandbox if you need an isolated repackaging environment without the hassle of a big virtual machine.
4. The results are saved as a session
The session is composed of four operations:
- 1. The “initial capture” is done on the system to get the default OS state before the installation process starts.
- 2. The actual installation process is started, and the application(s) are installed.
- 3. The “second capture” begins to get all the changes done on the OS.
- 4. The Repackager compares the results from both captures, and according to the specified rules above it creates the “final session”.
Once a session is finished, further adjustments can be made to the captured content. Some of them are:
- Declaring additional information,
- Adding a digital signature,
- Reviewing and excluding files/folders,
- Reviewing and excluding registry information,
- Reviewing and excluding further system changes (shortcuts, scheduled tasks, users, environment variables, services, drivers, assemblies, firewall exceptions, firewall options, file associations, default programs).
5. Import the session results into Advanced Installer and start customizing the new installer(s)
You can choose the build when importing the session into Advanced Installer, the options include:
- MSI Package
- MSIX Package
- APP-V Package
By default, the MSI Package build is selected. Once you have the build selected, just choose Open in Advanced Installer, and everything will be transferred to the new project.
Once the project is generated in Advanced Installer, you can start to customize the package to fit your needs.
6. Build and create the new installer(s)
Once the project is configured, all that is left to do is build the new installer.
Due to a limitation in the design of our Repackager, it is recommended to avoid
using network share locations when selecting the location of the repackaged setup or
when choosing the output location of the repackage operation.
A more in-depth look at the repackager can be found in the Repackager Tutorial user guide.
Topics
- Repackage and Import
Repackage installations; import installers and installer projects. - Repackaging Best Practices
Best practices when using the Repackager - Session Properties
Configure a session - Check Machine State
Machine State dialog - Repository Manager - Repackager
Share resources between multiple projects - Edit Capture Profiles
Edit installation capture profiles. - Edit VM Profiles
Editing the profiles used for the installation in VM. - Prepare Docker Image
Prepare a docker image for the Repackager. - Windows Sandbox Configuration
Configure Windows Sandbox resources used for the repackaging process.