How to preserve application settings using registry values
When you design an installer using Advanced Installer you may want to take input from the user in order to configure the application more according to their needs.
You can do that in many ways such as saving the information in a XML/JSON/INI file using the Advanced Installer support for saving the user input or maybe using a custom action.
Even so, the most common method of saving these types of data is using registry values.
This tutorial will show you how to save the user input, back it up and restore it when you roll out a major upgrade, using registry values.
1. Preparing the dialog
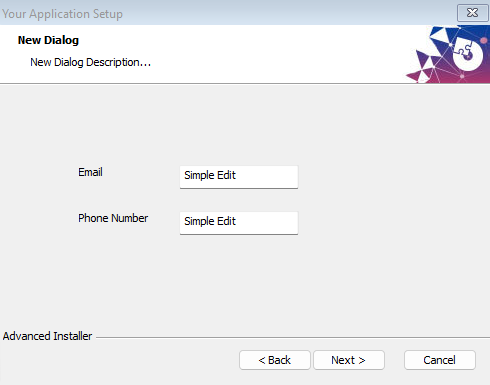
This step’s goal is to create the dialog in which the user will enter his data. Let’s say that you want the user to enter their email address and their phone number.
Go to the Dialogs page and create a new dialog. Then, add the edit boxes in which the user will type their email address and phone number:

Now, you have to associate the edit boxes to the properties in which you will store the values given by the user

Also, you want to change the Text field from the Display tab in order to pre-populate the fields with the existing information if there is such. You can do that by simply typing the property name, between square brackets, in the Text field.
2. Creating the registry values
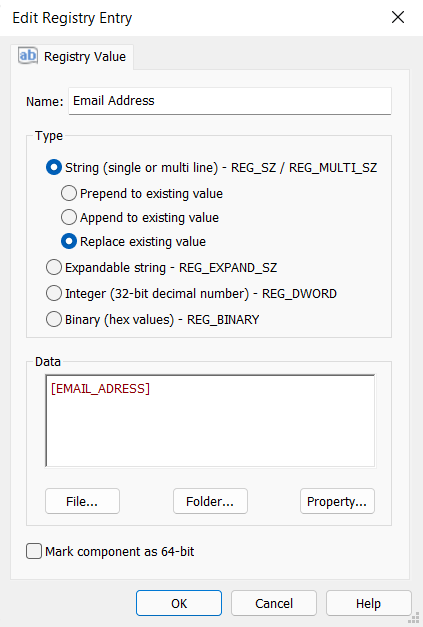
This step’s goal is to create the registry values in which you will save the values of the previously created properties.
Go to the Registry page and create two new registry values, one for the email address and another one for the phone number, specifying in the Daya field, for each one of them, their respective property.

3. Preserving the data at Major Upgrade
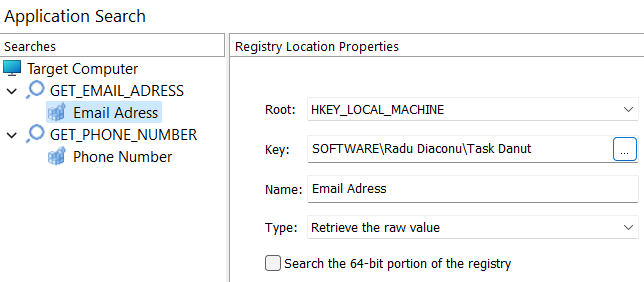
In order to display the already existing values for your properties, which are stored in the registry, you have to first search them in the registry.
Go to the Search page and create a search for each one of the properties you stored in the registry. For each one of them add a Registry Search Location pointing to the registry value in which their respective property value is stored.

These searches will store their results into newly generated properties with the same name as them. Now you have to link the search result to the installer property in order to display in the installer the existing property values.
You can do that by going to the Custom Actions page and adding a Set Installer Property custom action for each one of the properties you have stored.
