Building Transforms - Wise Package Studio vs. Advanced Installer
There are multiple package formats used for deploying Windows
applications, the most well-known being the MSI – Windows Installer. If
you didn't know already, an MSI is a database that can be easily
customized through the use of command line parameters or MST transform
files.
You can always install an MSI silently, so it gets installed
with the default predefined configurations, but that's not always what
you need. Sometimes, you might need to customize the MSI installer with
an MST transform file tailored to the
requirements and the needs of your organization.
Creating the MST
No matter if you used Wise or an Advanced Installer user, the steps to create a transform(MST) rely on the same technology background.
Basically, the tool launches the UI of the MSI package, letting
you select the features, customize the installation folder or choose any
other installation option as if you were normally installing it and
captures all this in an MST package
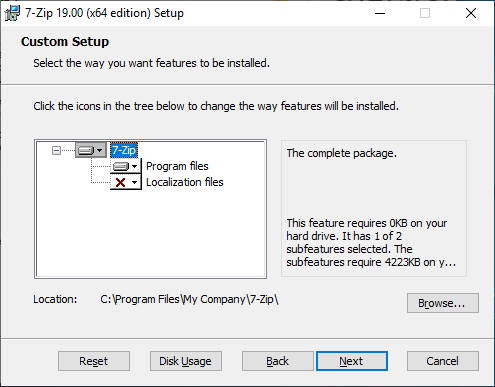
Let's take a 7-Zip MSI installer and go through the whole process. And for the sake of good understanding, let's take "Localization files" feature out and also change the install location to "C:\Program Files\My Company\7-Zip" as in the below screenshot.
Wise Package Studio
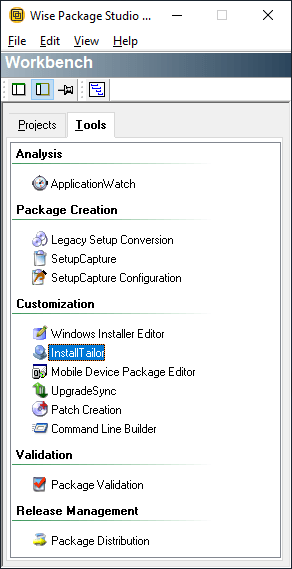
1. Open Wise Package Studio and on the left pane, browse to "Customization" and select "Install Tailor".
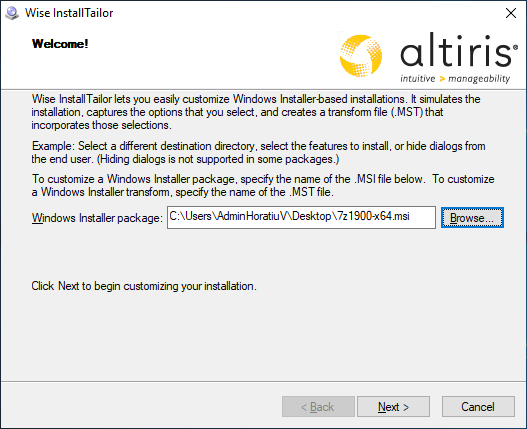
2. In the new window, select the MSI you want to tailor and then click "Next" and run through the installation wizard as you were normally installing it.
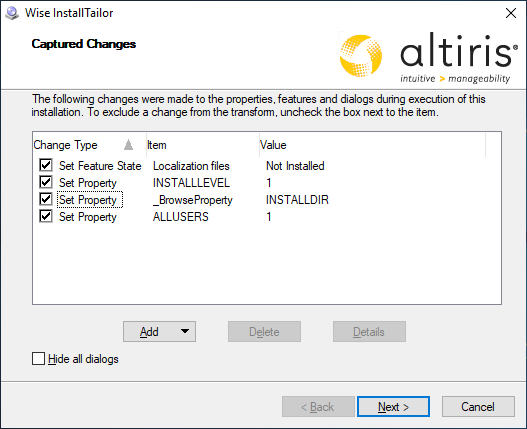
3. Review the changes captured and then click "Next".
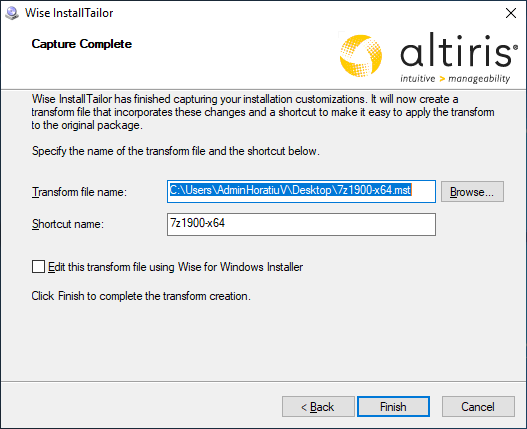
4. Enter the name of the transforms file you want to create, which includes all the reviewed changes and click "Finish".
Advanced Installer
1. Open Advanced Installer and on the left pane, browse to "MST" and select "Response Transform".

2. In the new window, select the MSI you want to be customized and then the MST, which contains all your customizations.

3. Add additional transform files if needed and then click "Next" and run through the installation wizard as you were normally installing it.

4. Review the changes captured and then click "Next".

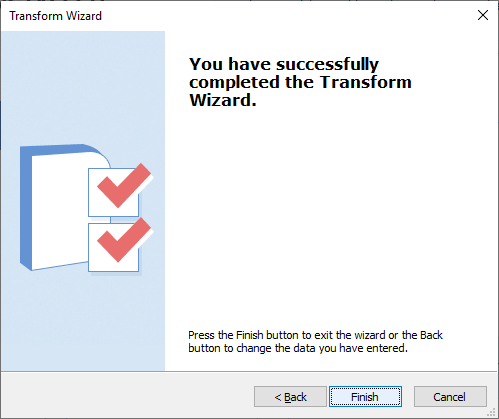
5. Click "Finish" and you have an MST file ready for deployment.
For a detailed step by step tutorial on building transform files with Advanced Installer, check our user-guide.
Subscribe to Our Newsletter
Sign up for free and be the first to receive the latest news, videos, exclusive How-Tos, and guides from Advanced Installer.