MSIX Packaging Tool: Guide me in!
Introduction
If you missed out on our previous blog articles about MSIX, make sure to check out this comprehensive guide to get insights about the technology and the changes it brings to the industry. To continue understanding the different tools and best practices MSIX has, this article will go into the MSIX Packaging Tool. We discuss what it is, how it works, and finally, we will show a side by side comparison using our free Advanced Installer Express edition.
What is the MSIX Packaging tool?
The MSIX Packaging Tool is a Microsoft software that you can use to repackage your existing Windows applications into the MSIX format, edit existing MSIX packages, and also create modification packages.
As we've talked about in our blog, MSIX comes with various limitations which may affect some processes, and in this particular case, you will see that not all applications can be fully converted.
Note: You can check out a side by side comparison between MSI and
MSIX capabilities here.
First things first, to get the MSIX Packaging tool, all you need to do is download it for free from the Microsoft Store. Here are the requirements:
- A valid Microsoft Account to have access to the store
- Windows 10 with a minimum version of 1809
- Admin privileges on the machine in order to run the tool
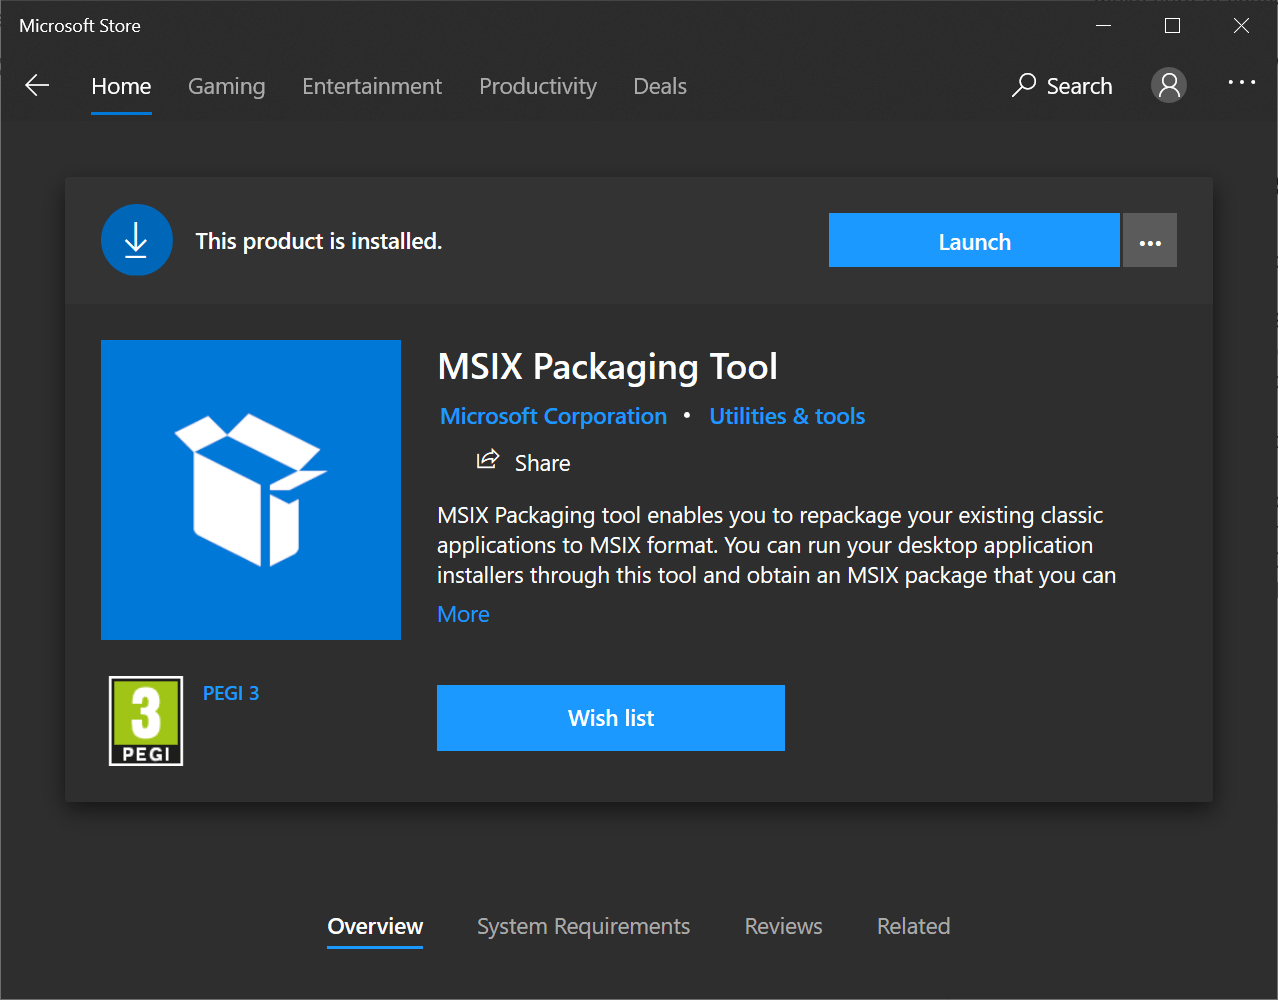
If you are using an Insider build version of Windows, you will also
need to participate in the Windows Insider
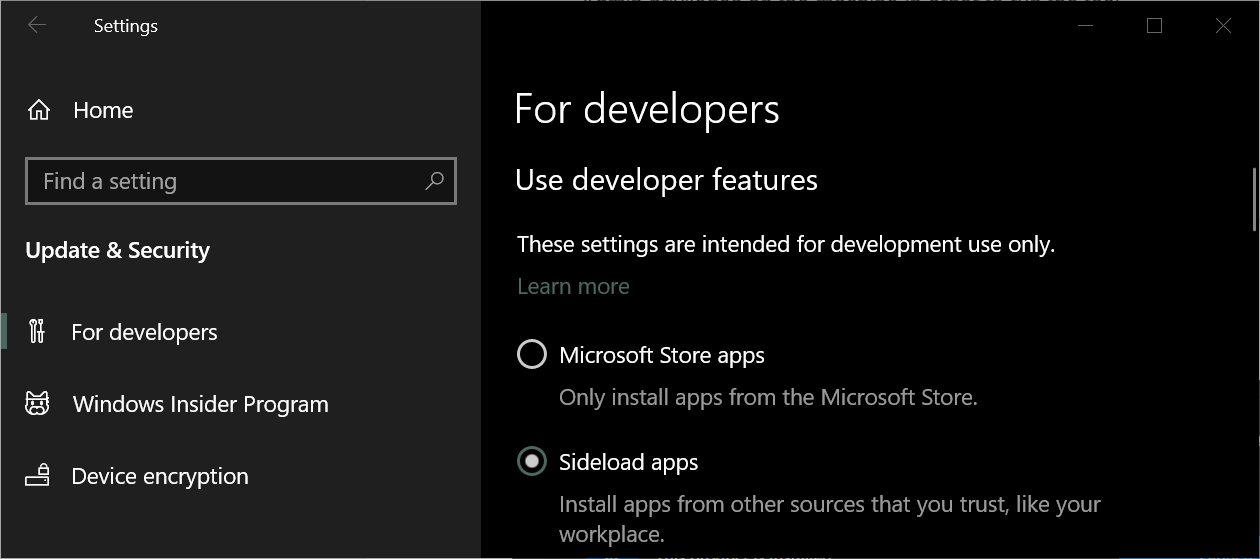
Program. Additionally, if you are using a Windows version
older than 2004, you need to enable sideloading in order to manually
install the MSIX application.
How does it work: Feature presentation
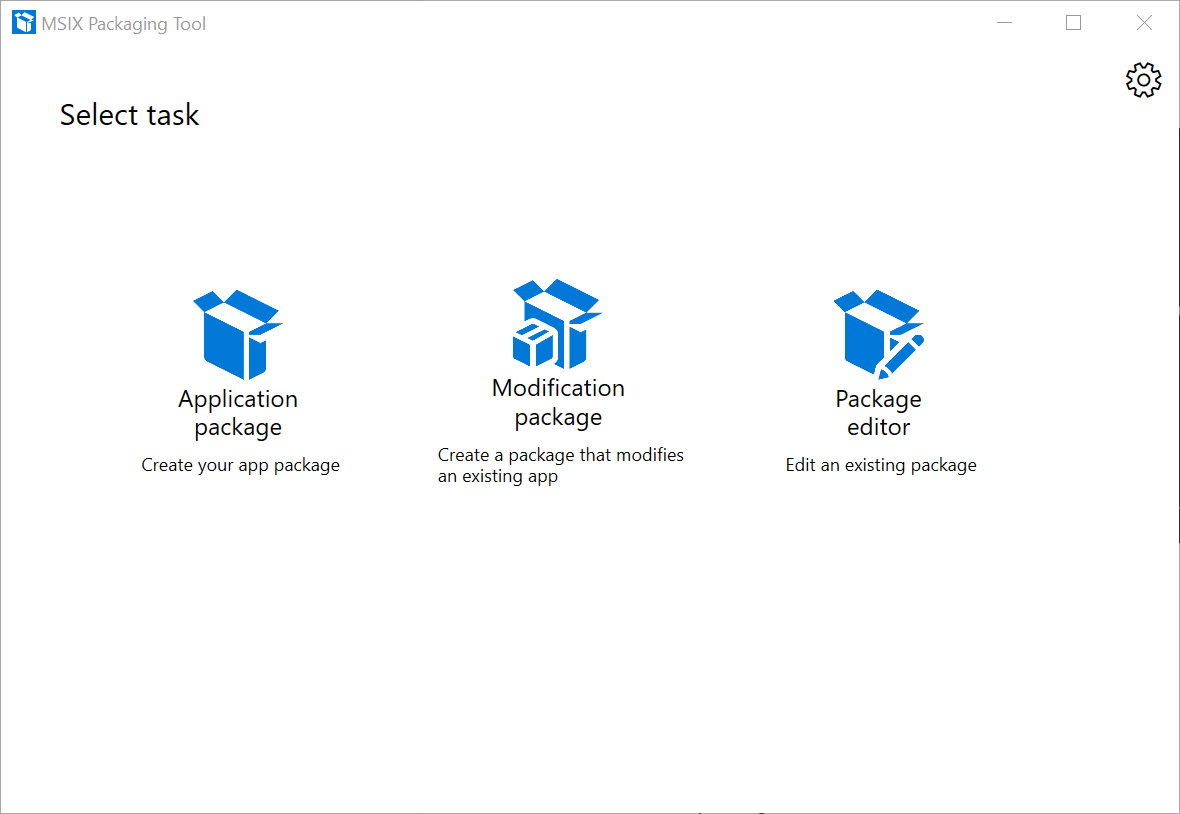
When opening the MSIX Packaging Tool, we are greeted with a simplified interface. Besides the settings button on the top-right corner, we will see the three following features presented as tasks:
- Application package → Create your stand-alone MSIX Package
- Modification package → If you have an MSIX and need to do a modification package
- Package editor → Edit an existing package
Let’s take a closer look at each individual task to see how it fits our needs and how it works.
1. Application package
This is the starting scenario when creating an MSIX package. As far as requirements go, you will need the base application that will be repackaged as an MSIX, and a certificate. Remember, all MSIX packages must be digitally signed.
Click here to learn more
about MSIX digital signing.
Step 1. Select environment
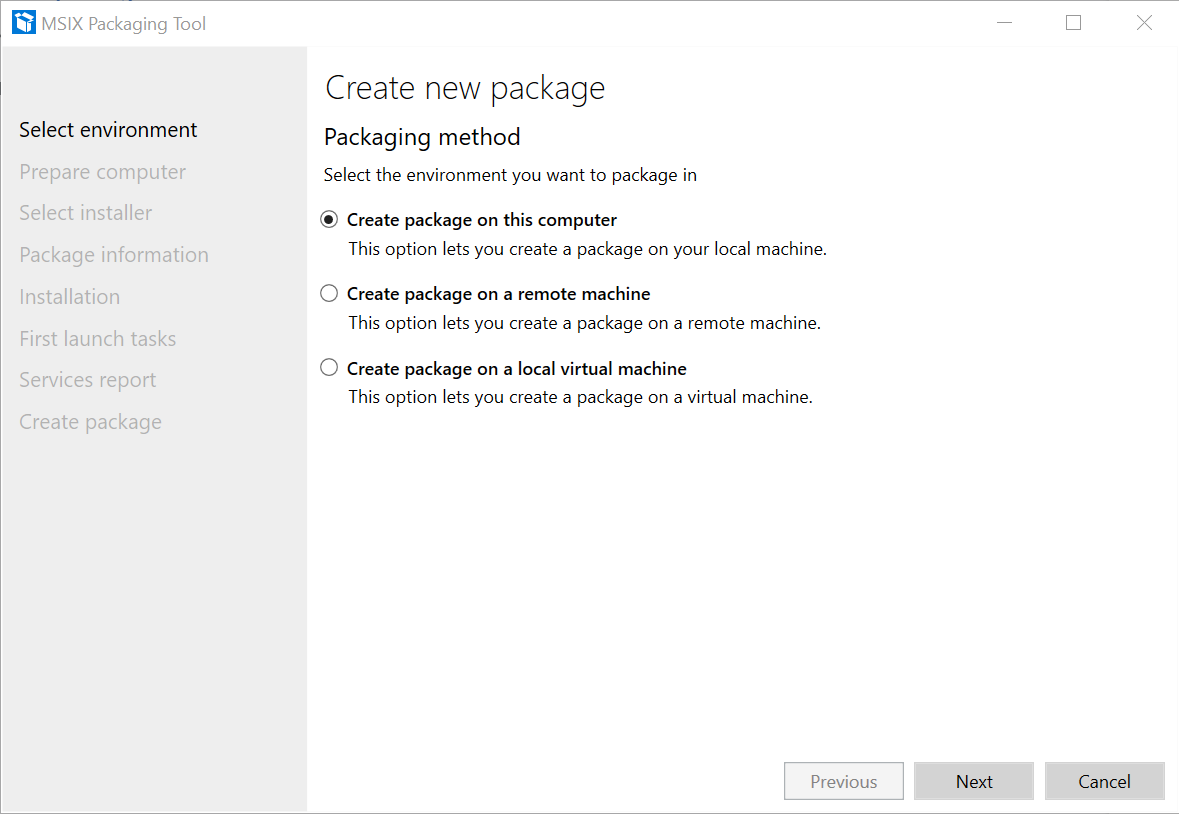
No matter which option you choose, it is a best practice to create the package on a clean machine, similar to the one you are using to deploy the app. This helps to avoid compatibility issues.
Personally, I prefer to run the process in a virtual machine where the MSIX packaging tool is installed to avoid misconfiguration and communication problems that may occur between machines.
Step 2. Prepare computer
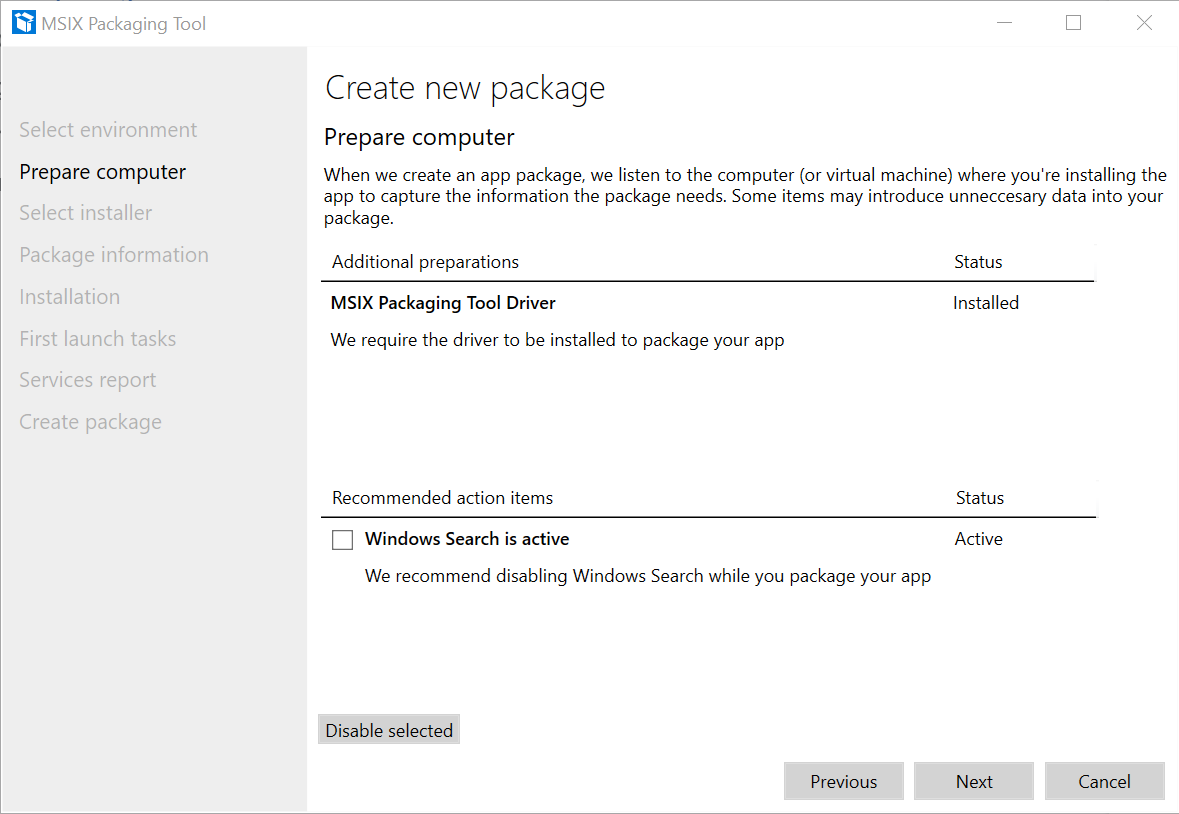
The MSIX Packaging tool has a detection method that launches prior to starting the repackaging process. It detects if the required Tool Driver is installed and also if any services, pending restarts, or other interfering items are active and need to be disabled.
Step 3. Select installer

In the Select Installer step, you will browse for your base application installer, and specify install arguments when needed. Since the MSIX Packaging Tool acts like a repackager, it also lets you create a package without an installer. How? By adding files and running operations on the operating system during the process.
Also, a crucial step here is to define the signing method and actually sign the package. We can't stress this enough as it is a significant change: every MSIX package must be digitally signed. There is no exception.
The repackager will make two snapshots. One before and one after you
install the app or make any modifications in the OS (i.e. copying files,
running executables, etc.). In the end, it will compare the two
snapshots and the result will be the MSIX package.
To come to our aid, Microsoft created a best practice
guide for repackaging an application using the MSIX Packaging
Tool.
Step 4. Package information
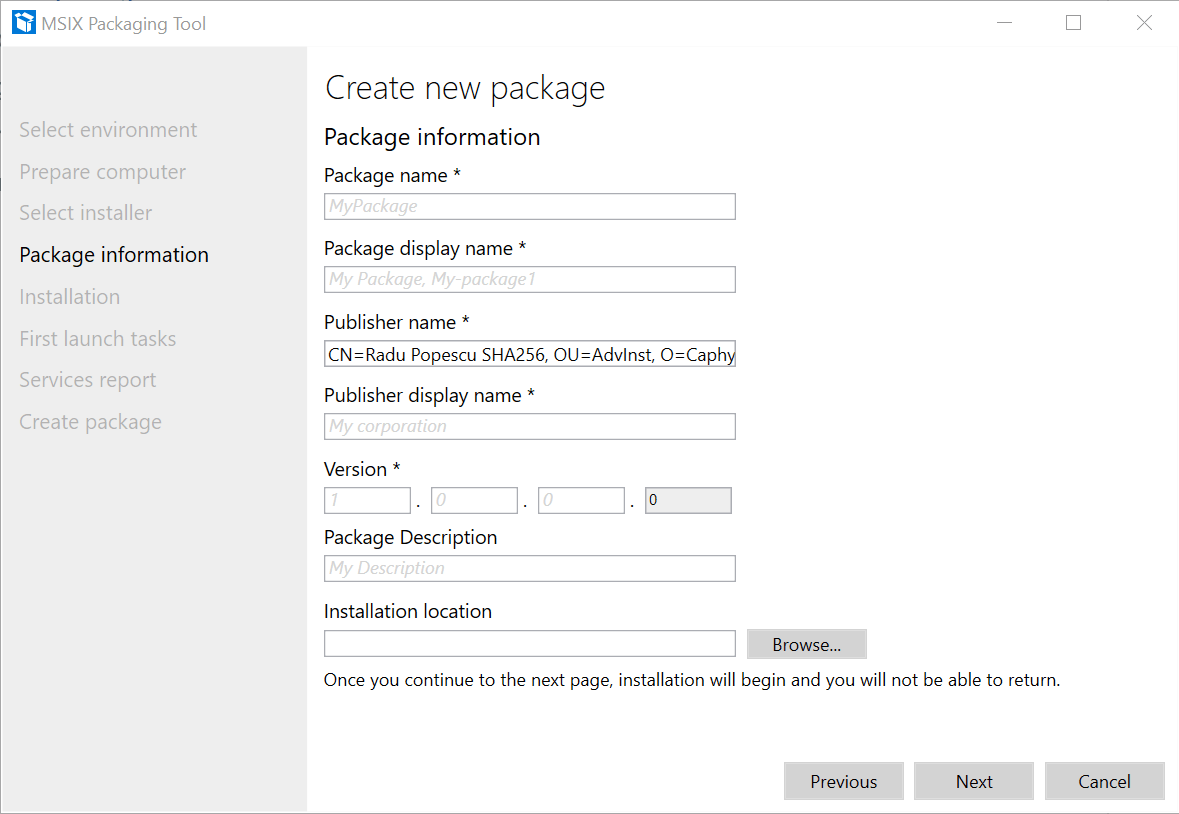
As the title suggests, here you will add the package information. You will also notice that the “Publisher name” has been prefilled as it automatically takes the information from the certificate.
Step 5. Installation
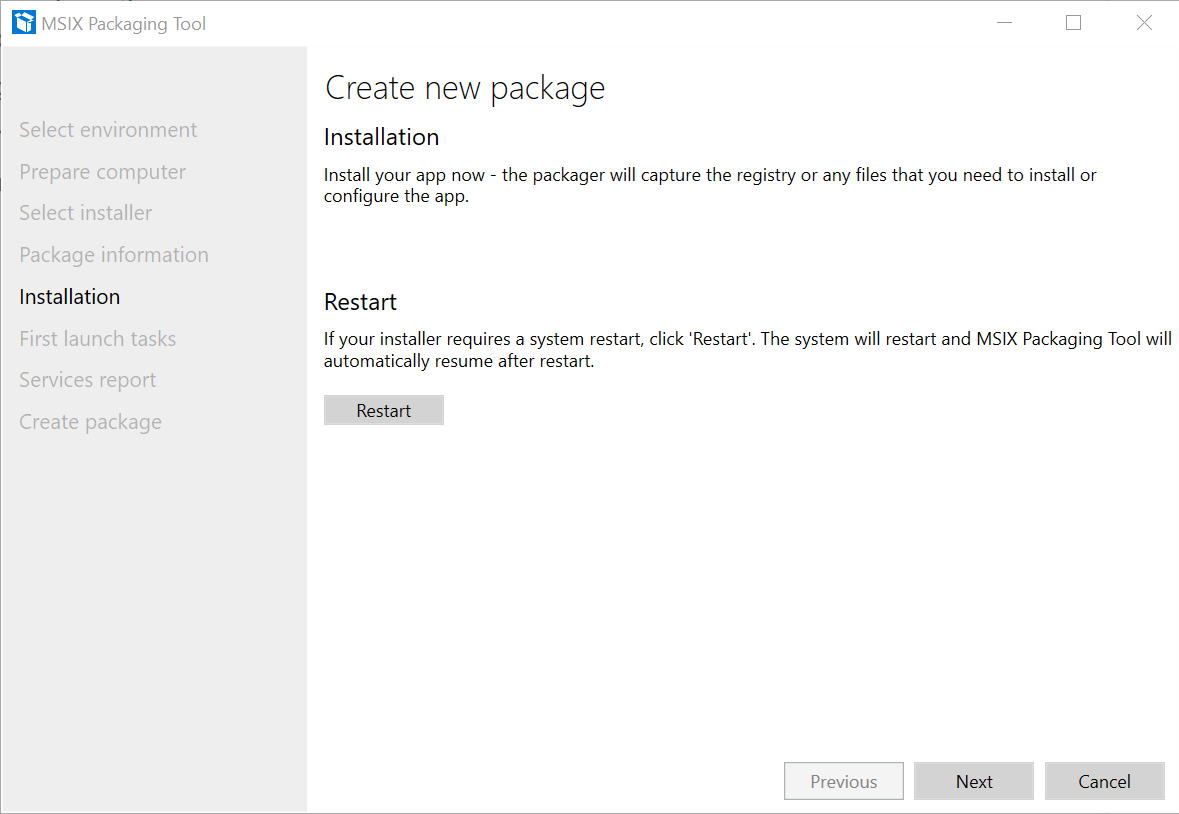
Once you reach the Installation step, you can either run the installation wizard of your base application or manually carry out the operations you need, such as copying, moving, deleting or configuring files, etc. Click next when you are finished.
Step 6. First launch tasks
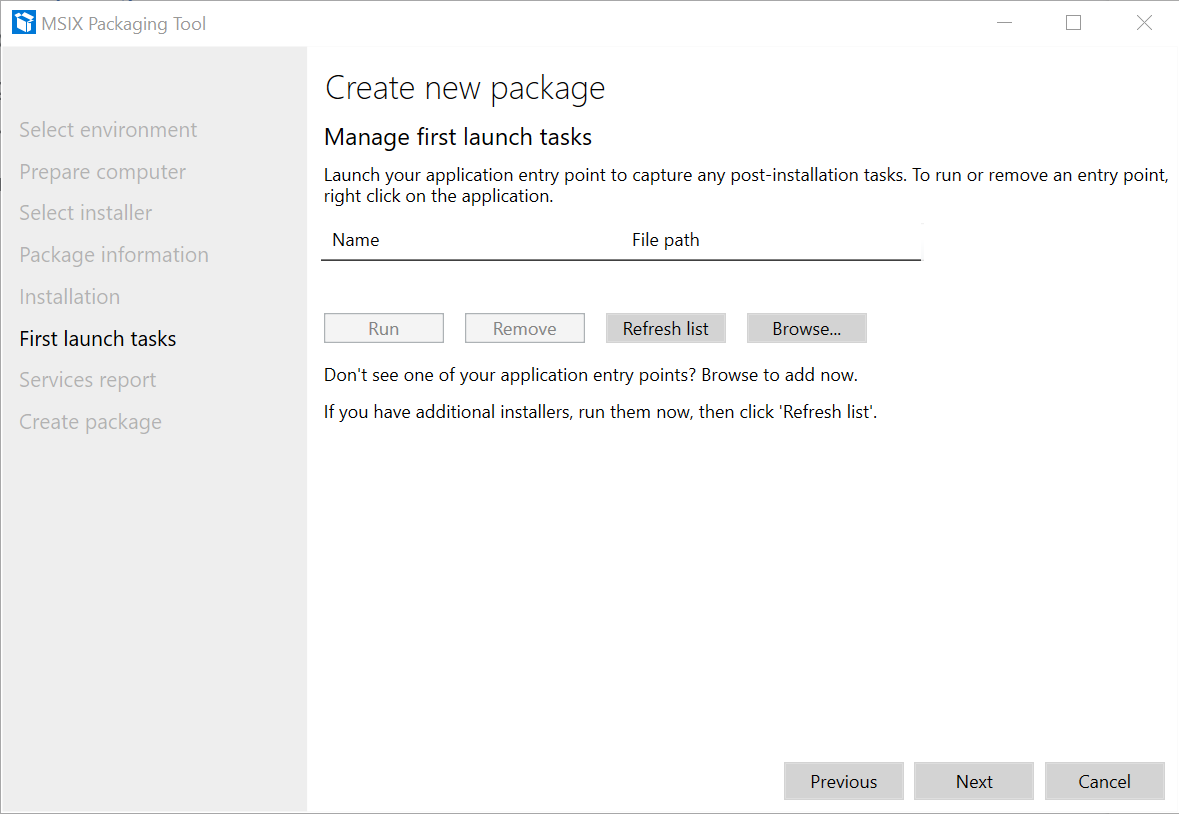
The MSIX Packaging tool will try to detect your application's entry point(s). For multiple shortcut entries, we will need to use PSF.
By the end of this step, the MSIX packaging tool will take the second snapshot. Note that the initial snapshot was taken right after the 2nd step, when the tool detected if there were any operations interfering with the repackaging process.
Step 7. Services report

If your application has any services, they will be listed here. Remember: MSIX services will run outside the container, that’s why they are treated separately.
Step 8. Create package
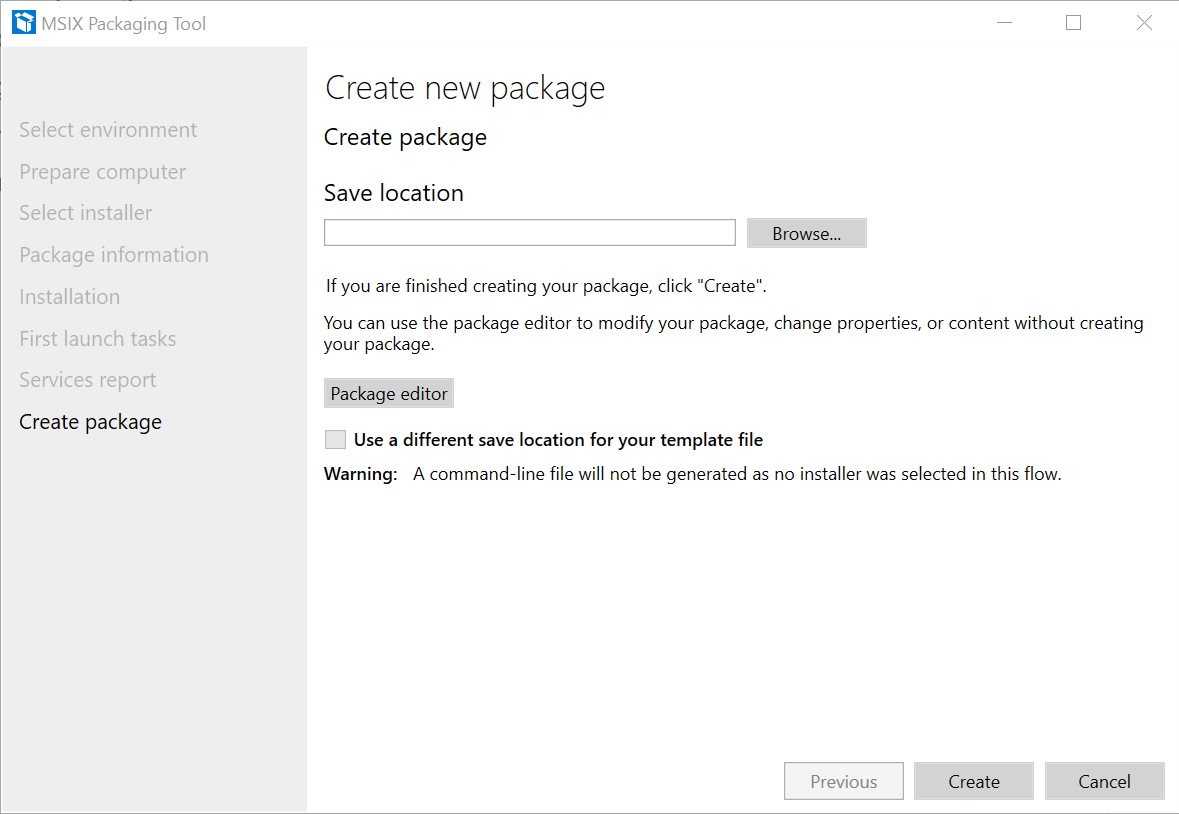
Last but not least, we've made it to the final step. Just use the browse button to select the location where you want to save the package.
2. Modification package
Let’s say you already have an MSIX package deployed, and you need to make a customization package for it. Or in other words, a “patch”. For that, you will need to create a modification package.
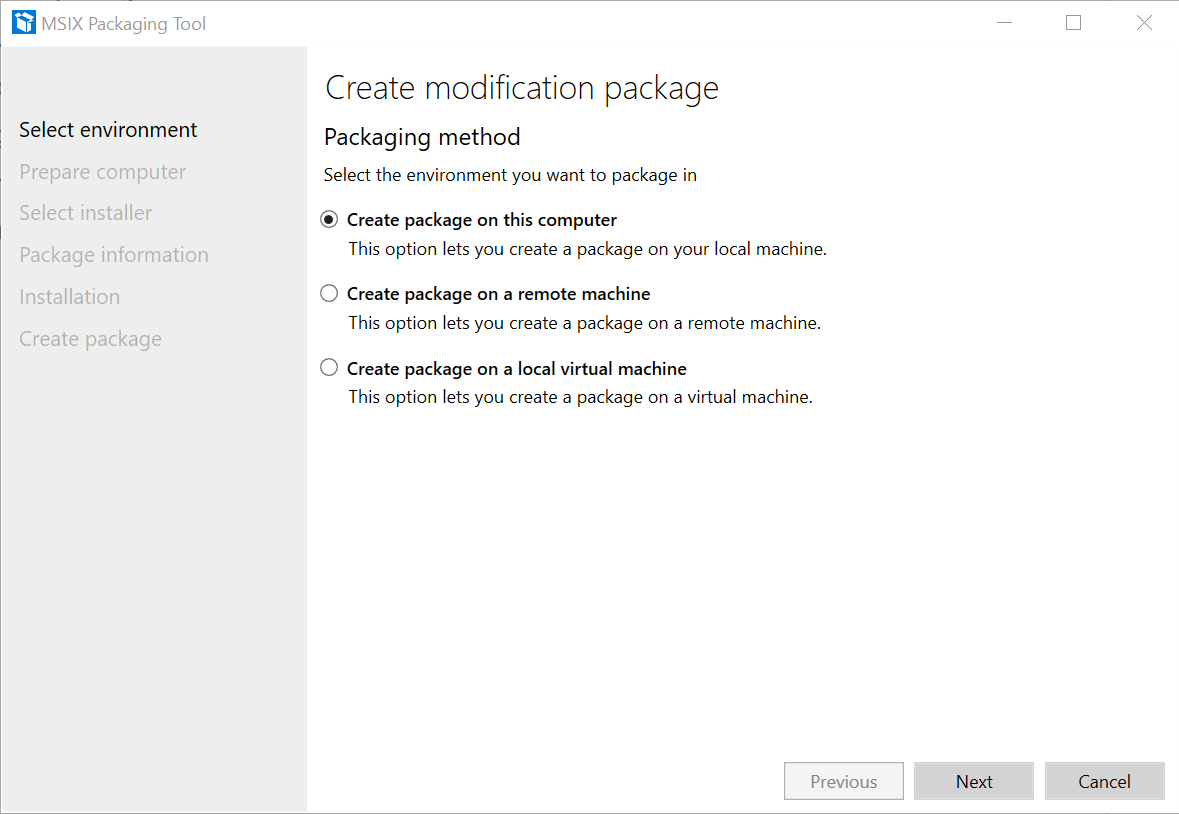
You can observe a lot of similarities between the Application Packaging and the Modification Packaging process.
The main difference here is that in the Select Installer step (3rd step), you need to provide the main MSIX package as a reference. The Package Information will be extracted from there.
However, if you don’t want to provide the previous MSIX or you don’t have access to the source files, you can skip adding the reference package and enter the information manually.
We recommend to always provide the main MSIX. This way, you will avoid any typos that could lead to repeating the package and wasting time.
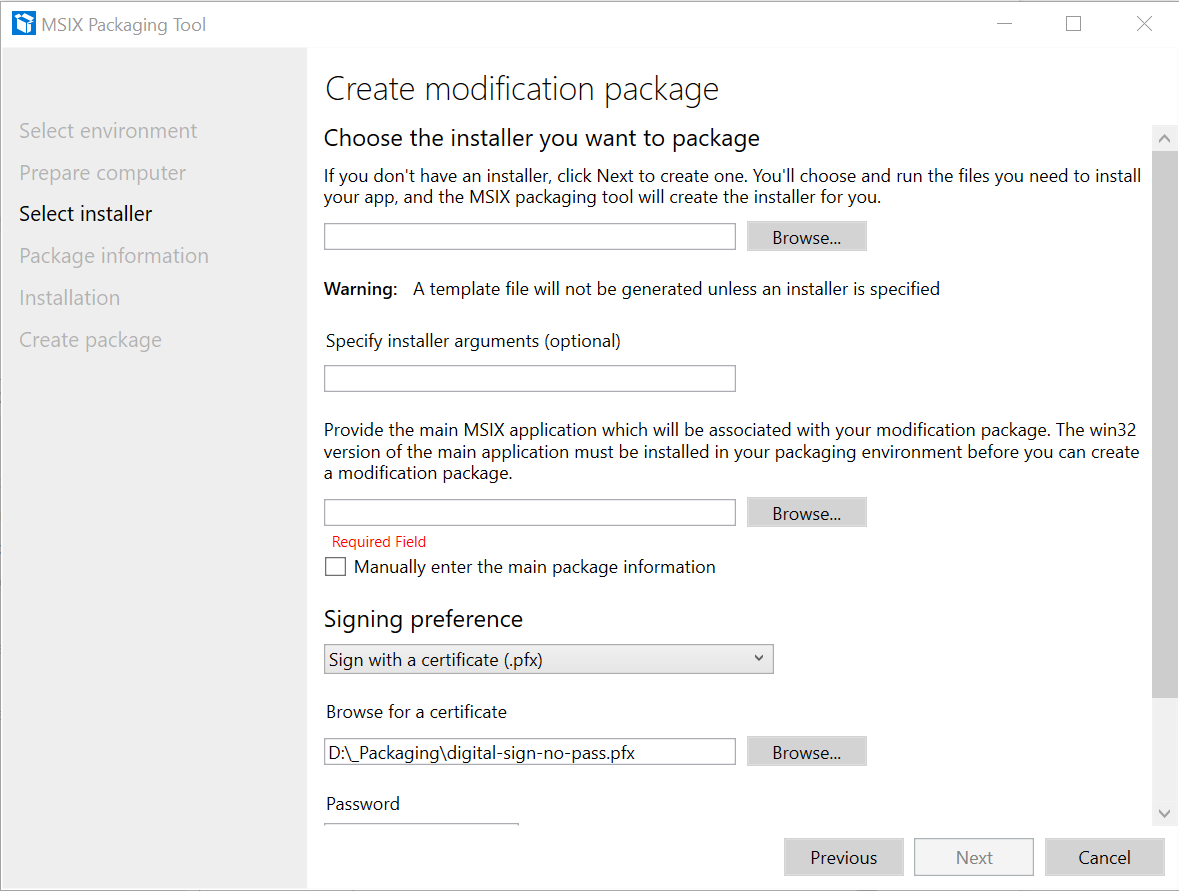
As mentioned above, the rest of the steps are similar to a simple Application packaging process. Follow them to complete the modification package.
To learn more about MSIX Modification Package, make sure you read
this
comprehensive article.
3. Package editor
When you already have an MSIX package and all you want to do is a quick edit…this option will do. Browse for the package and you will get access to its “guts”.
Besides that, you can also have the option to unpack the MSIX package to a defined output location.
Pro tips: Settings
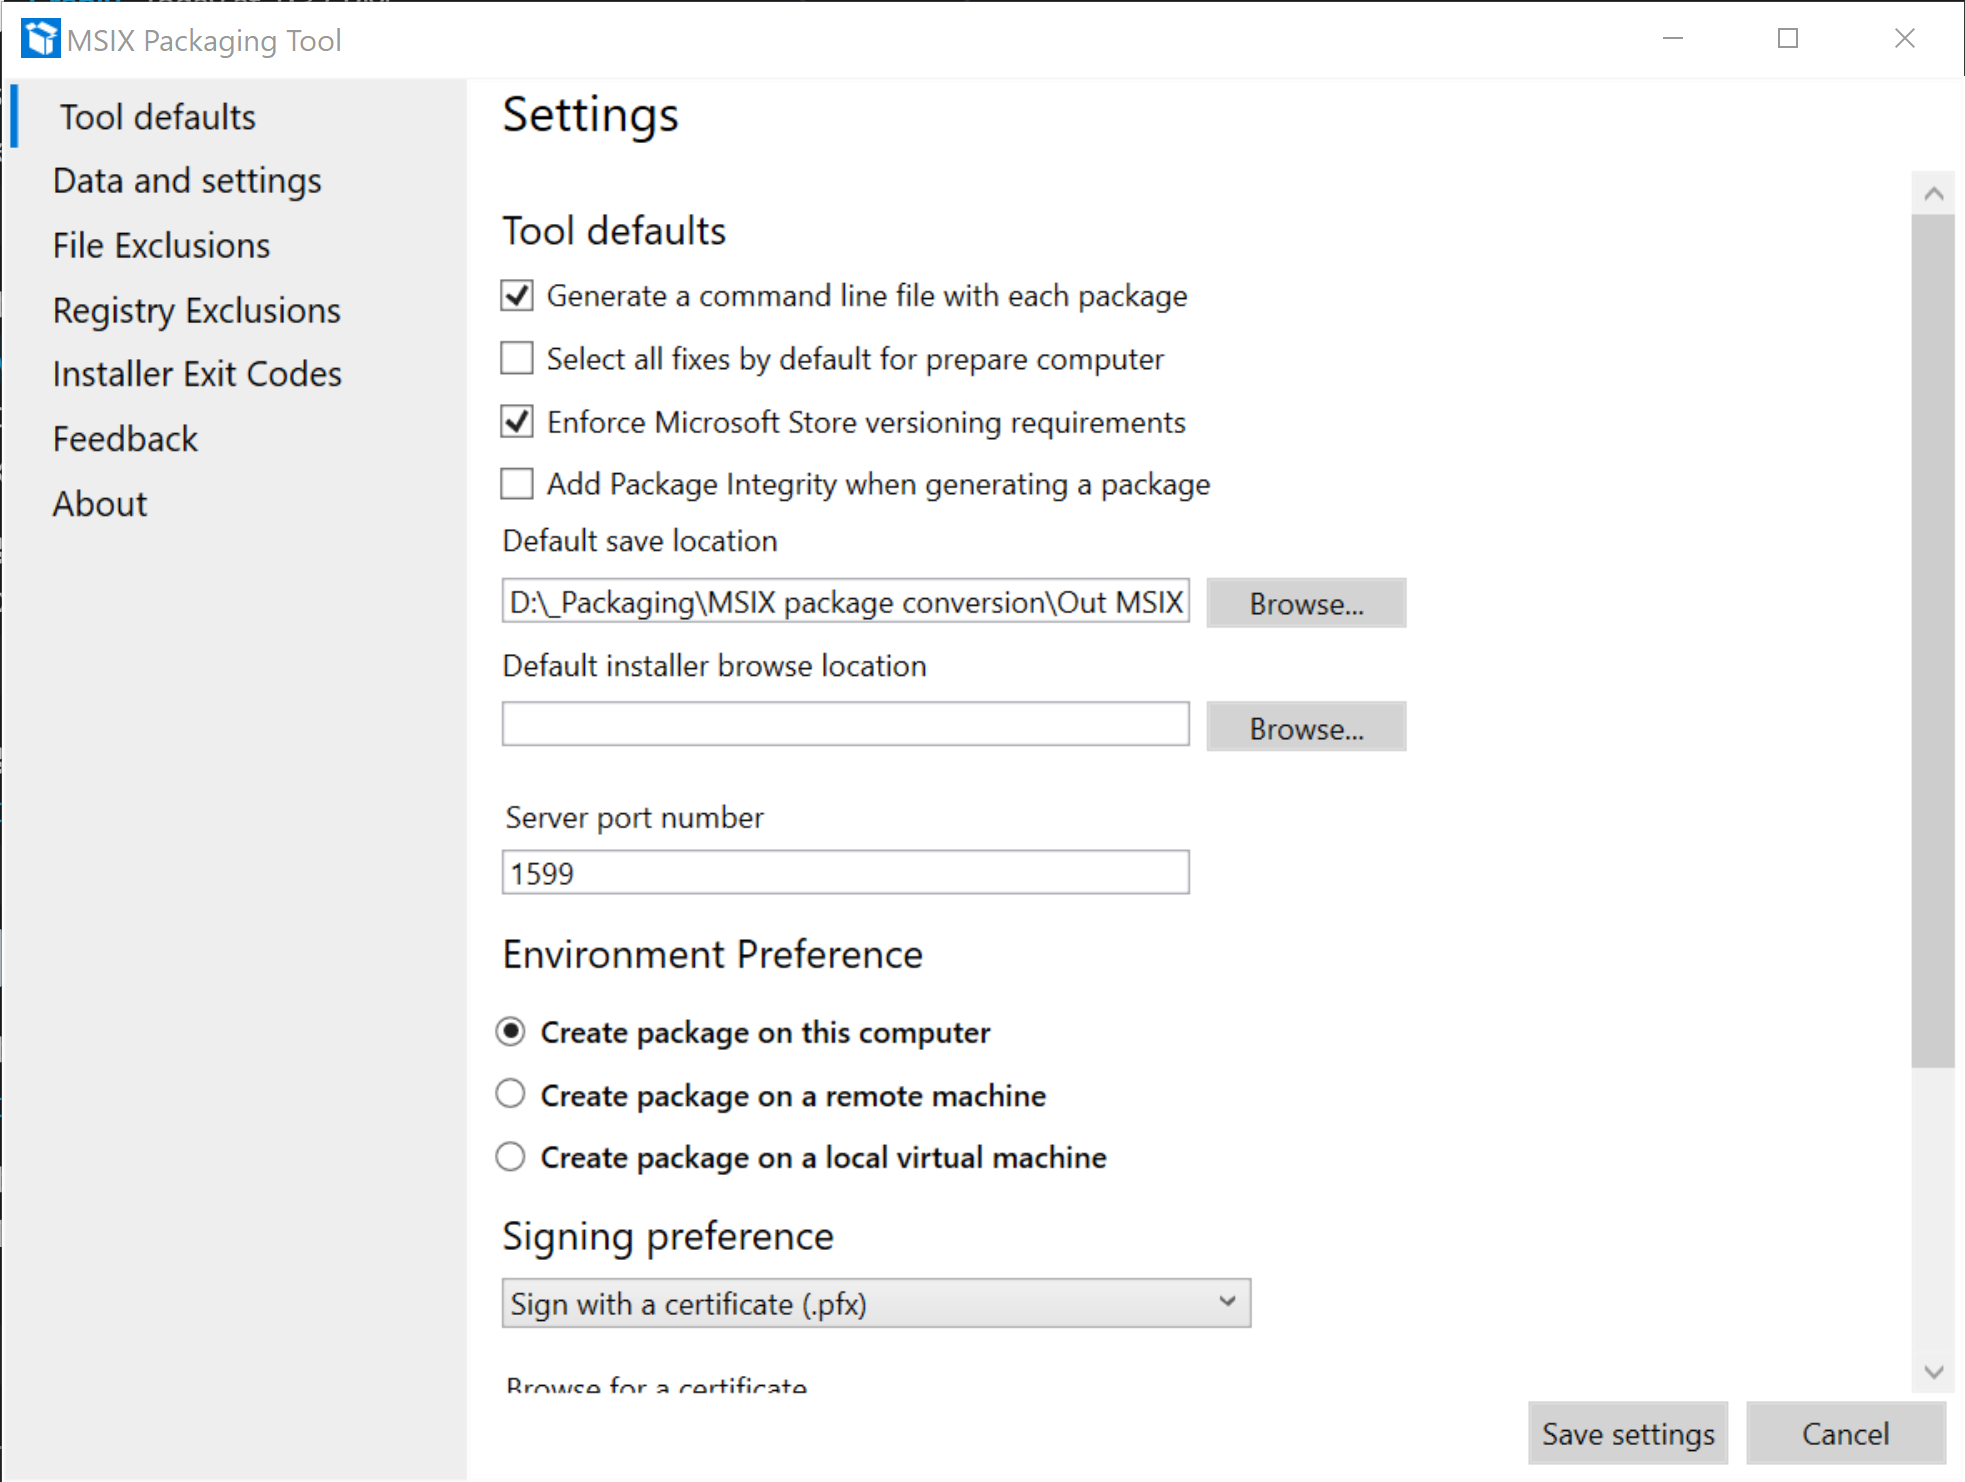
From the settings panel, there are some useful options that can come in handy.
Tool defaults:
- Always check the "Enforce Microsoft Store versioning requirements" option if you plan to publish your app to the Microsoft Store.
- Add a default certificate so that each time you plan to sign a package, you don't have to browse for it.
File & Registry exclusion:
- If you found any Files and Registries that interfere with your package, add them here so that you won’t have to worry about excluding them every time you work on another MSIX.
Installer exit codes:
- Add custom exit codes if you detect a different exit code for a reboot.
How to Convert "VLC" to MSIX Video
Congratulations! We have arrived at the demo part of this article. Below, you will find all the steps of converting VLC to MSIX using both the free Advanced Installer Express Edition and the MSIX Packaging Tool.
Advanced Installer Express: How to create your MSIX Package
How to Convert “VLC” to MSIX with Microsoft Packaging Tool
Conclusion
For a simple application that doesn't require PSF or any other customizations, the MSIX Packaging tools are quick and easy to work with. When it comes to further customizations and tweaks, as shown in the video, things tend to get more complicated. You need to edit the manifest.xml, create .json, export PSF files, etc.
On the other hand, with the Advanced Installer Express Edition, complicated packages are handled more efficiently. It has PSF support built-in, and the operations are easily done using the GUI. You don’t need to extract the PSF files, create .json, or edit the manifest.xml.
Nevertheless, with both tools, you will have the same result in the end: a functioning MSIX package.
Creating an MSIX package will give you the advantage of having a Microsoft Store ready app.
Make sure you check our guide on How to publish your app to Microsoft Store if you are planning to do so.
MSIX Packaging Tool: FAQ
What is the MSIX Packaging Tool?
The MSIX Packaging Tool allows you to repackage desktop applications into MSIX packages. It features both interactive and command lines for conversion, allowing you to convert apps without access to their source code.
Subscribe to Our Newsletter
Sign up for free and be the first to receive the latest news, videos, exclusive How-Tos, and guides from Advanced Installer.


