Environment variables - Wise Package Studio vs Advanced Installer
Environment Table
The Environment Table is used to create and set the values of environment variables.
Same as for all the others within the Windows Installer database tables, using the Environment table to manage the environment variables might prove to be a bit difficult even for the most experienced IT Professionals and requires a very good understanding of the installer database. From an application packaging perspective, some of the application packaging tools on the market come with their own wizard in order to make our life easier. Now let’s see what this means and how easy it is to manage an environment variable using the wizard.
Environment variables in Wise Package Studio
1. Open Wise Package Studio.
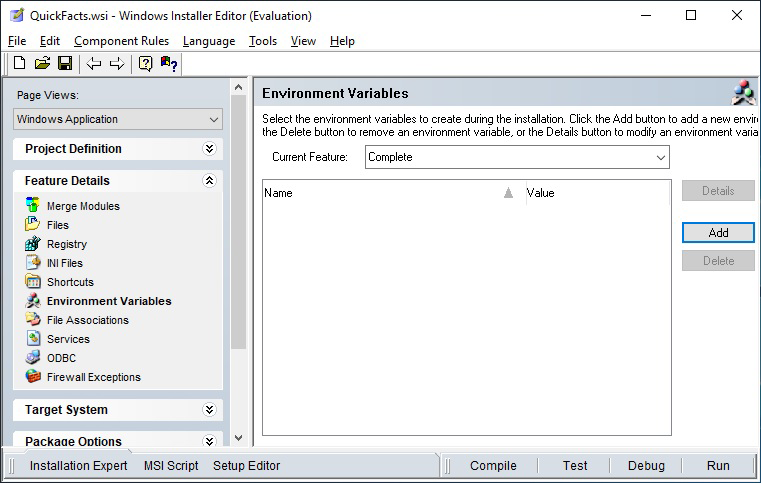
2. Go to Installation Expert and select the Environment Variables page.
- From the Current Feature drop-down list, select the feature you want the Environment Variable to be added to.
- Click on the Add button.

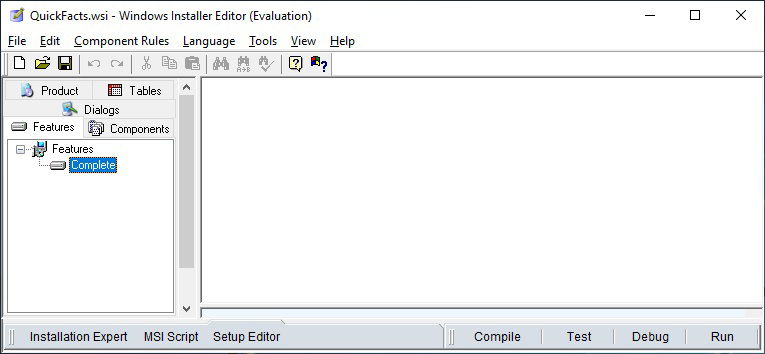
As an alternative, you can go to Setup Editor, and from either Feature or Components tab, right-click a feature or a component and select New > Environment Variable.

3. The “Environment Variable Details” dialog box appears where you can enter the environment variable’s details. Apart from “Name” and “Value”, there are a few other things which must be set for each environment you want to add:
- Operation – specify how to handle the environment variable during installation and uninstallation.
- Replacement – specify how to handle the environment variable in case it already exists on the target system.
- Windows NT based system environment variable - if this option is ticked then the package creates, modifies, or removes the specified environment variable as a system variable. Otherwise, the package creates, modifies, or removes the specified environment variable as a user variable.

Environment variables in Advanced Installer
1. Open Advanced Installer.
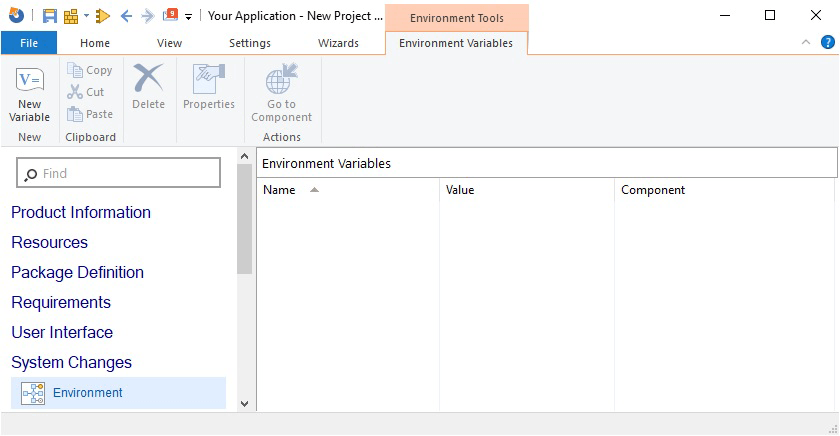
2. On the left pane, browse to “System Changes” and select “Environment” page.
- Right-click anywhere within the “Environment” page and select “New Variable.”
- Click on “New Variable” toolbar button OR Press “Insert” key whilst the focus is on the “Environment” page.

3. The New Environment Variable dialog box appears where you can enter the environment variable’s details.

Later, if you want to edit an environment variable which already exists in the package, you can do that by simply right-clicking on it from within the “Environment” page and then selecting “Properties”. Same if you want to copy, cut or delete it from the package.
Within the “Environment” page, Advanced Installer offers you the capability to quickly jump to “Organization” page where you can see what other resources are included within the same component, and vice-versa.
If you want to move an environment variable from a component to another, you can do that extremely easy, within the “Organization” page, by dragging the environment variable to whatever component you want it to be moved to.
Advanced Installer with its modern GUI is designed to be powerful and easy to use, helping you to considerably reduce the time allocated for packaging an application (or training new packagers) without dropping the quality of your work.
Subscribe to Our Newsletter
Sign up for free and be the first to receive the latest news, videos, exclusive How-Tos, and guides from Advanced Installer.