Create an MSI Installer by packaging an Electron application
Electron is an open-source framework to develop desktop GUI applications using web technologies. It combines the Chromium rendering engine and the Node.js runtime.
In this article, we will show you how to build an MSI package for an Electron application.
Let’s suppose you have a simple “Hello World” JavaScript desktop application that was developed using Electron and bundled into an EXE. When you run it, it will open the following window:
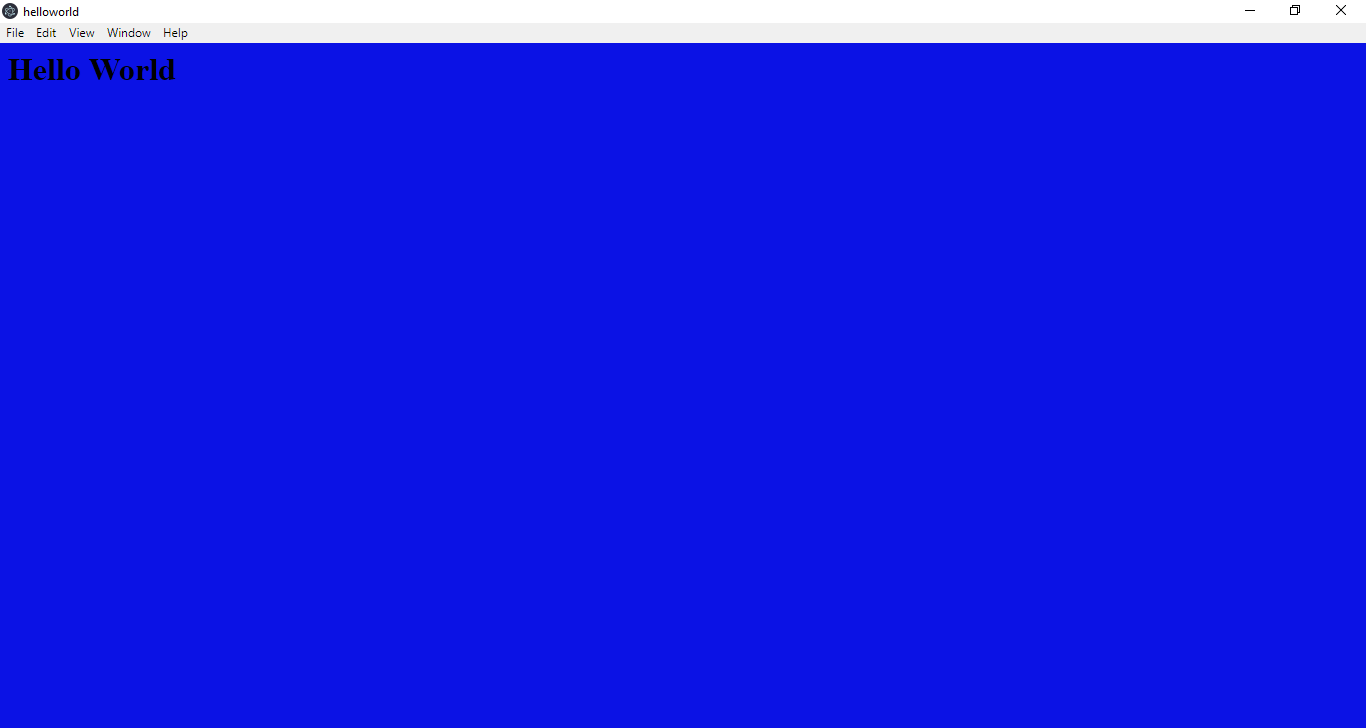
Package an Electron Application into an MSI Installer using Advanced Installer
Packaging an Electron application as an MSI is no different than packaging any other Win32 application. If you use Advanced Installer, the packaging process is even more straightforward, as you can create the MSI installer in just a few clicks.
Let’s see how.
Here are the step-by-step packaging instructions:
1. Launch Advanced Installer.
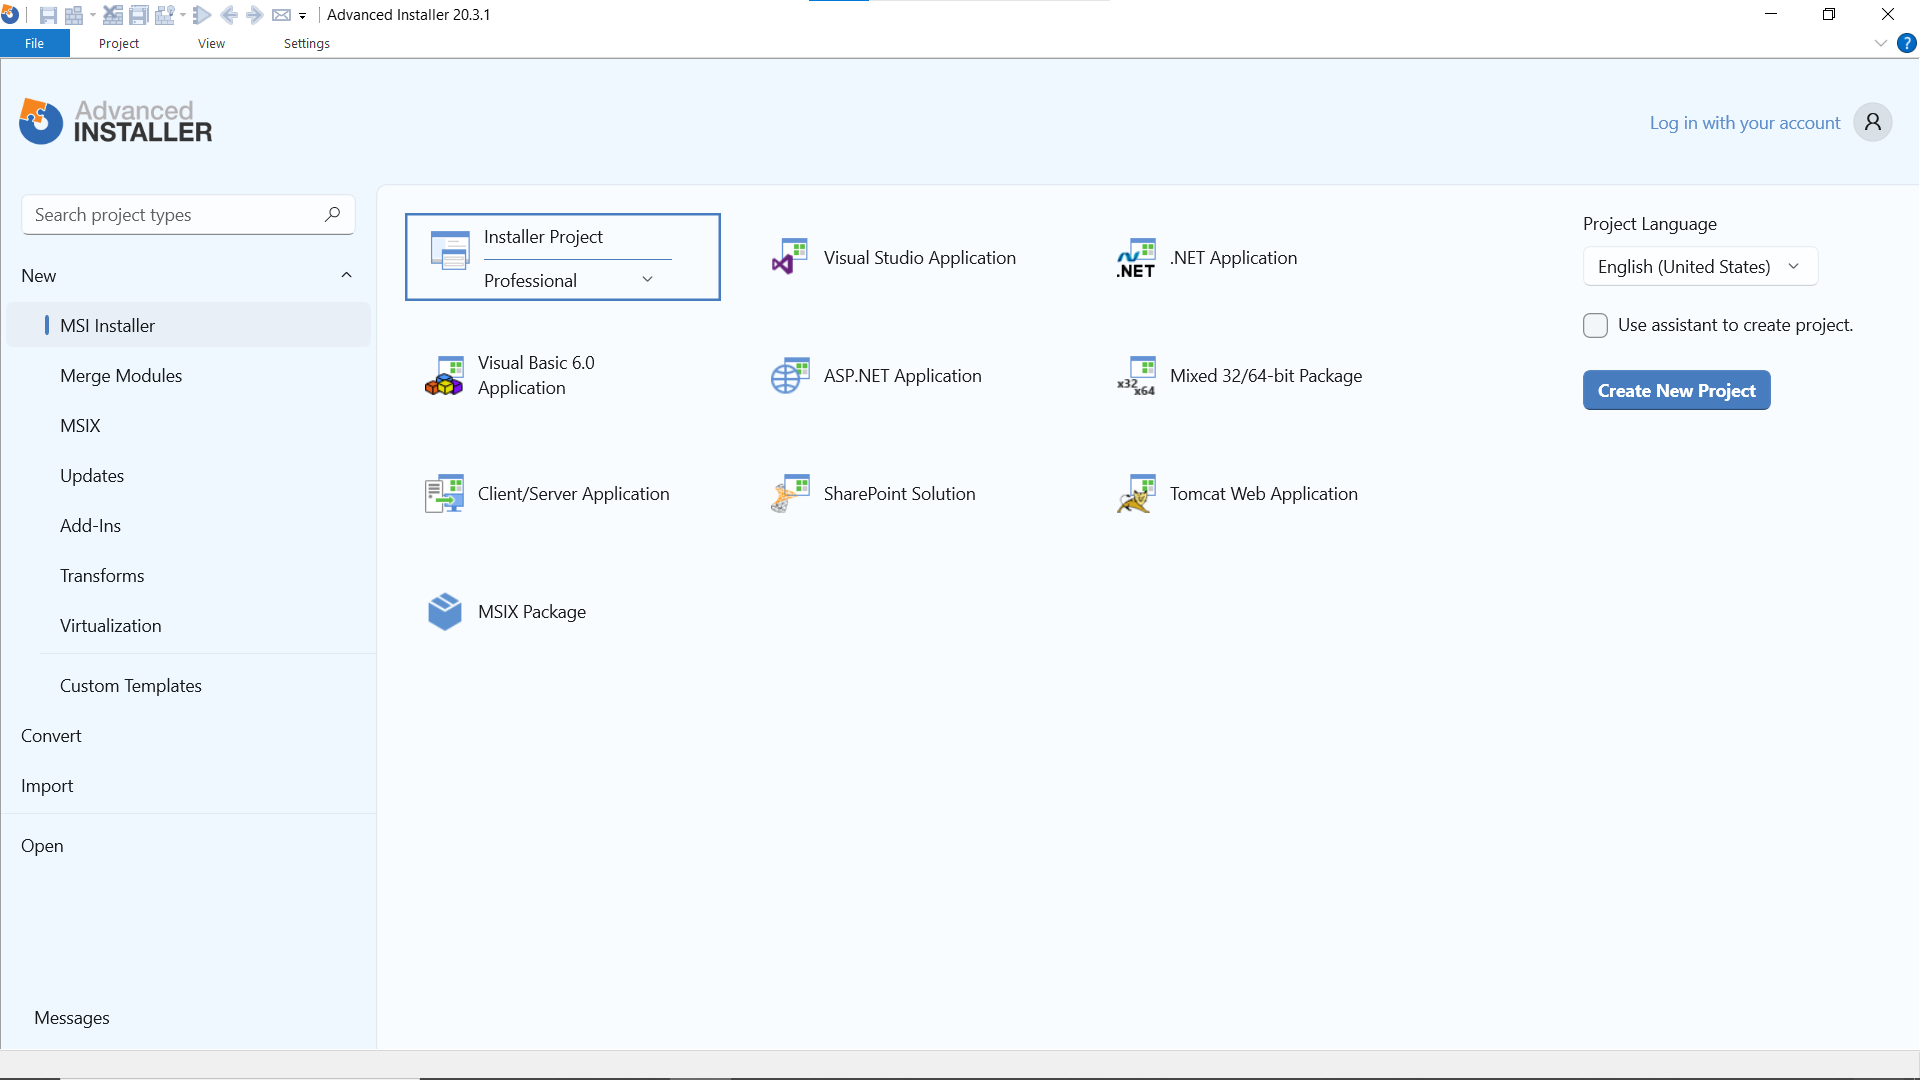
2. Select “Installer Project” and then click on “Create Project”.
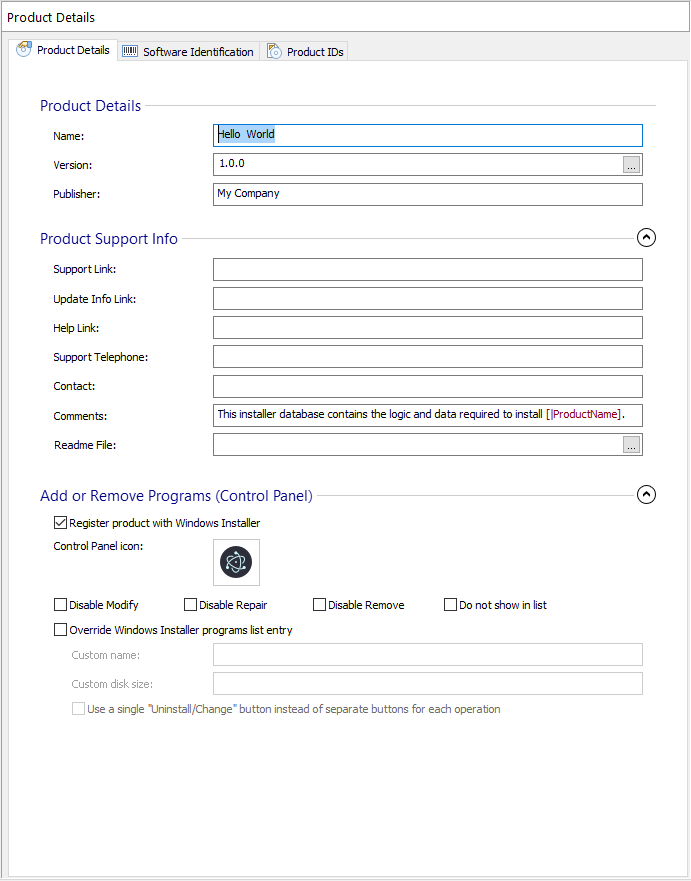
3. Enter your product details (here you can also set the Control Panel icon for your application).
4. On the left menu of Advanced Installer, browse to the “Files and Folders” page and drag and drop the binary files to the installation directory of your Electron application (e.g. “helloworld-win32-x64” folder).

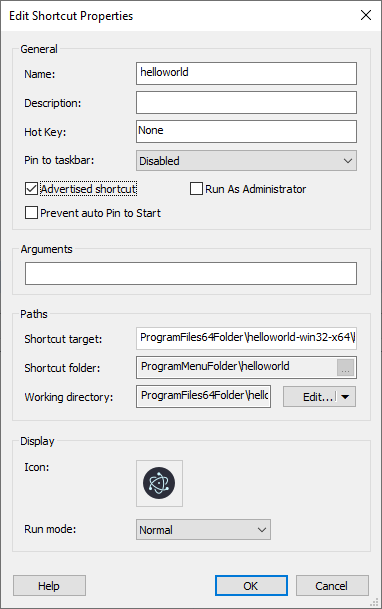
5. Create a shortcut to your EXE file – you can do this directly from the “Files and Folder” page by right-clicking on the .EXE file and then “New Shortcut to” -> “Installed File”.
6. Browse to the “Builds” page and set the configurations as per your requirements or use the defaults.

That’s it! Now, you can build your MSI package.
Experience the ease of building a professional MSI package for your Electron app with Advanced Installer's 30-day full-featured trial!
How to Parametrize a Setting?
You can create a flexible setting within your Electron MSI package by parametrizing it. This way, you can adjust it easily using either the "Property" table or command line during installation.
For this scenario, we're parametrizing the background color code of the “Hello World” window.
First, you need to identify the file that stores the setting you want to parametrize. In this case, it’s the Java script file itself.
const electron = require('electron');
const app = electron.app;
const path = require('path');
const url = require('url');
const BrowserWindow = electron.BrowserWindow;
var mainWindow;
app.on('ready',function(){
 mainWindow = new BrowserWindow({width: 1024, height: 768,backgroundColor: '#0b12e5'});
  mainWindow.loadURL(url.format({
  pathname: path.join(__dirname, 'test.html'),
  protocol: 'file:',
  slashes: true
 }));
});#0b12e5 is the HEX code for blue.
Now, to change the setting, follow these steps:
1. Add a public property and set its value.
1.1 On the left menu, browse to “Package Definition” and select the “Install Parameters” page.
1.2 Scroll down to the “Property” section, right-click and then select “New Property”.
Enter the property’s details into the “New Property” window.

#e4f407 is the HEX code for yellow.
2. Add a Text File Update to your MSI package that will replace the existing string within the editable text file with its new value.
2.1 On the left pane, browse to “Resources” and select the “Files and Folders” page.
2.2 Click on the “New Text File Update” toolbar button.
2.3 Enter the “Text File Update” details, making sure to add a reference to the property added previously in the “Replace” text box.

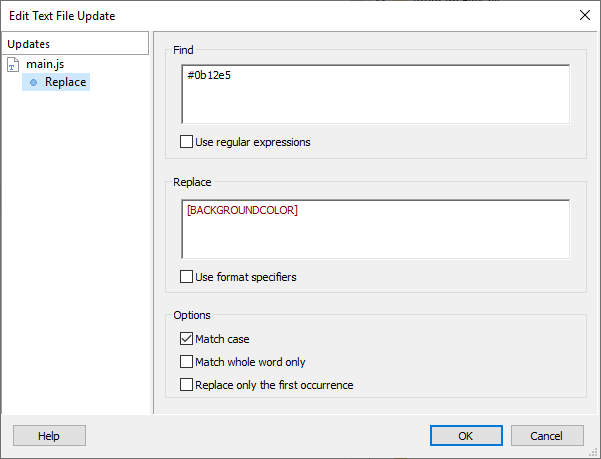
And that’s it! Now, you can rebuild your MSI package to include the changes above.
After installing the newly built MSI, check the JavaScript file where the background color setting is saved. You'll see that the initial value #0b12e5 has been replaced by #e4f407. When you run your application, you'll see the following window:

From now on, you can easily change the background color by updating the public property we set up. Simply add "BACKGROUNDCOLOUR=<HEX color code>" to your installation command line, as shown in the example below.
msiexec /i helloworld-win32-x64.msi BACKGROUNDCOLOUR=#4ebb08
#4ebb08 is the HEX code for green.

Now that you learned how to build and customize an MSI package for an Electron application, and since Microsoft is now focusing on MSIX packaging, maybe you are interested in learning how to create an MSIX package for the same Electron application.
Conclusion
To sum up, MSI is a widely used packaging format in the enterprise world. And, as you can see, creating an MSI installer for your Electron application is a simple and straightforward process, and it can be easily done using the Advanced Installer's powerful GUI.
Moreover, you can take advantage of Windows Installer features such as Public Properties and create flexible settings within your application.
Elevate your MSI packaging skills with Advanced Installer's comprehensive training program, MSI Packaging Training Essentials.
Start your training now!
