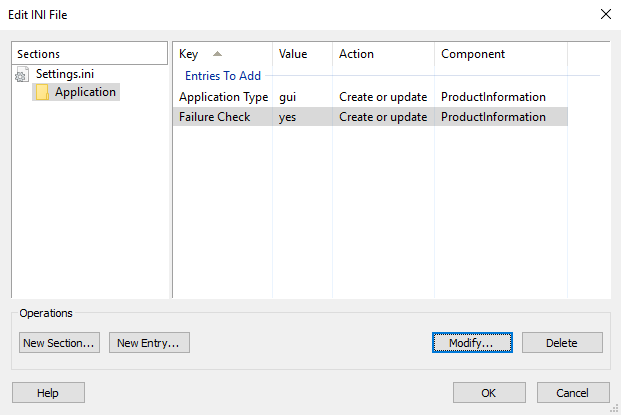
Edit INI File Dialog
Windows uses INI files to configure application settings. With the help of Advanced Installer’s dedicated Dialog, you can edit an INI file by adding, removing and modifying file sections and entries.

Add a section
Use the , the “New...” tree context menu item or press the Insert key while the focus is in the “Sections” panel.
Windows Installer only takes into considerations INI entries (not sections). Empty sections will
be discarded when this dialog is closed.
Add an entry to an INI file
Use the , the “New...” list context menu item or press the Insert key while the focus is in the entries panel (right panel). The new entry will be added to the selected section. If there are no sections, a default one will be created for you.
Modify a section or an entry
Use the , the “Modify...” tree/list context menu item or press the Space key while the item you want to edit is selected. The Edit INI Entry Dialog will be displayed for editing entries.
The section names are Formatted Type fields, so you will be
able to edit them using the Edit Formatted Type Dialog.
Delete a section or an entry
Use the , the “Delete” tree/list context menu item or press the Delete key while the item you want to remove is selected.
Set to a component
Use the “Set Component” context menu item to set a section or the entire file to a specific component.
Topics
- Edit INI Entry Dialog
The "Edit INI Entry" dialog in Advanced Installer.