Change Output Directory For Temporary PowerShell Files in Advanced Installer
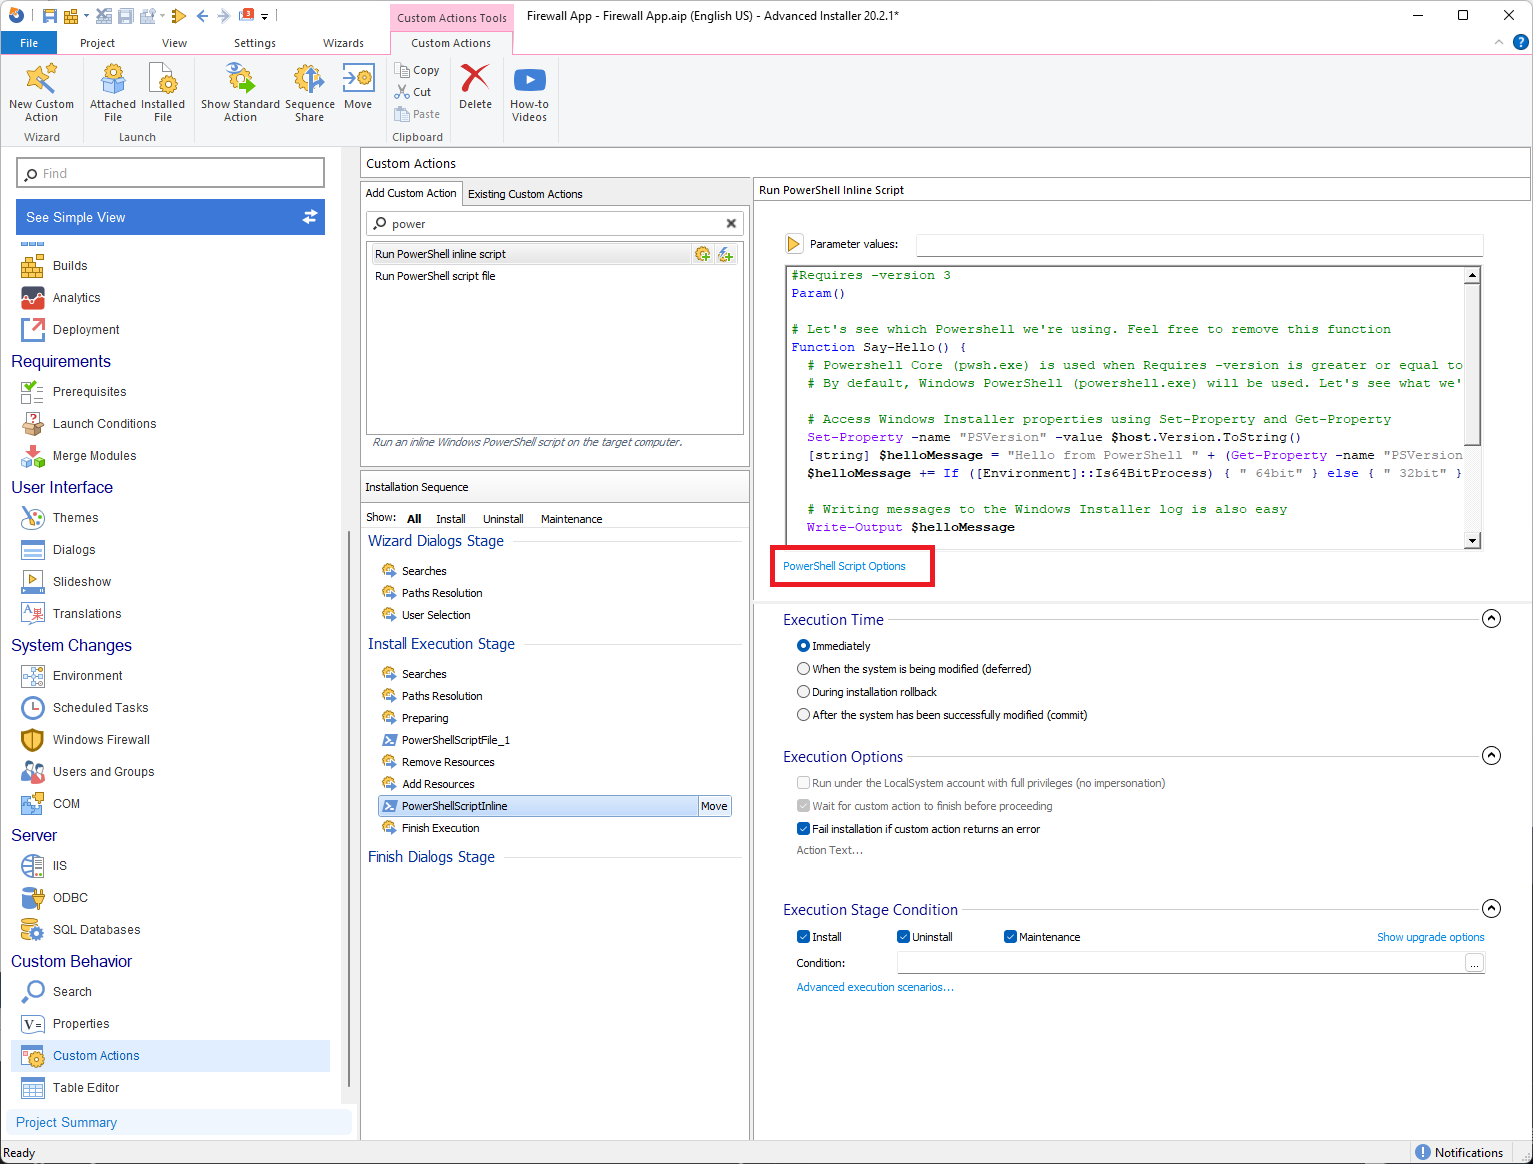
The Run PowerShell inline script is offered as a predefined Custom Action in Advanced Installer. This action lets you directly type a code into the Advanced Installer editor. After saving your project and building the MSI, the custom action will execute according to your configuration.
Advanced Installer automatically extracts the dynamically generated PowerShell files into the temp folder (C:\windows\temp). Do you want to change that?
In this article, we'll show you how to change the output directory for temporary PowerShell files in Advanced Installer.
Changing the output directory for temp PowerShell files
Starting with version 20.0 of Advanced Installer, users have the ability to change the output directory for temporary PowerShell files.
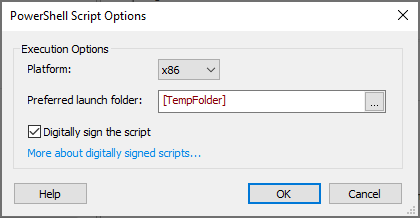
By navigating to the Custom Actions Page and adding the Run PowerShell inline script predefined Custom Action, you have an additional options dialog when you click on PowerShell Script Options under the editor window.

In this dialog, you will see three execution options:
- Platform:
- x86 - runs the 32-bit PowerShell executable
- x64 - runs the 64-bit PowerShell executable
- Auto - runs the Operating System bitness PowerShell executable (32-bit on x86 operating systems, 64-bit on x64)
- Preferred launch folder:
- This is where you define where you want to change the output directory for the temporary PowerShell Files
- Digitally sign the script:
- Use this option to digitally sign the PowerShell script

It is very important to understand that the directory which is set under the Preferred launch folder must be accessible during the installation.
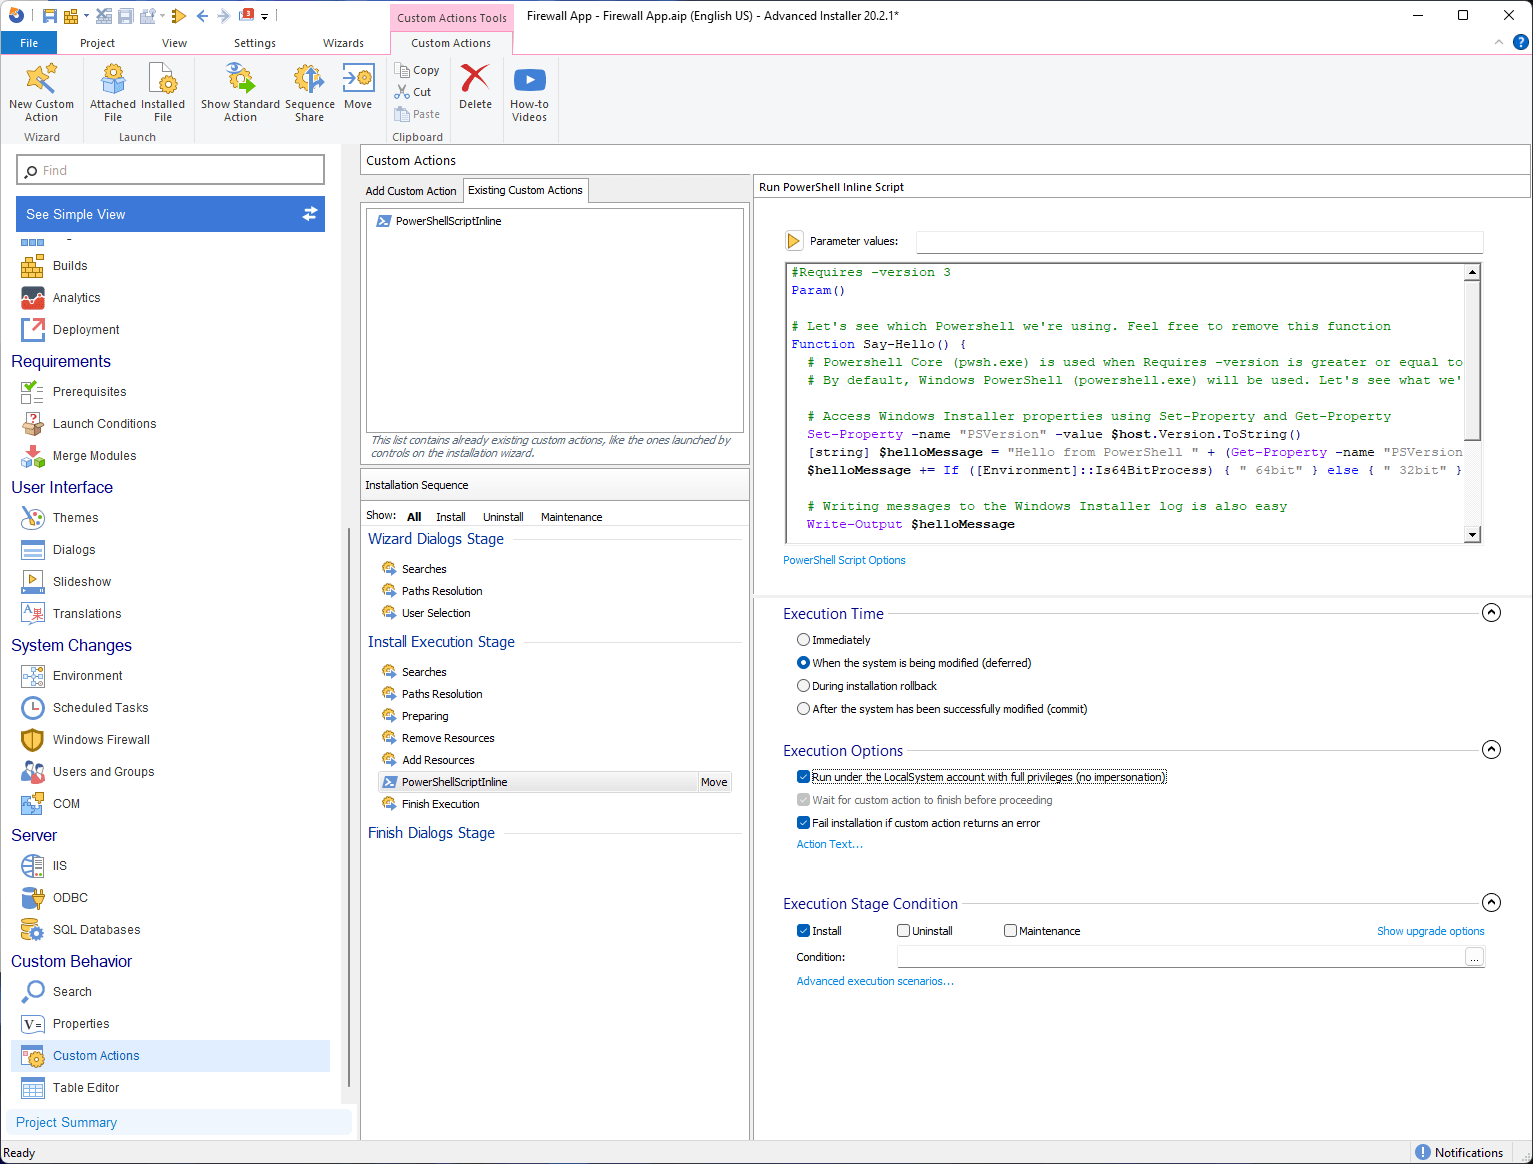
For instance, if the [WindowsVolume] is selected, then the action must be set to “Deferred” and admin privileges are required during the installation.
If the set Preferred launch folder is not accessible during the installation, then it will go to the [TempFolder] by default.
Now, we are using the default message script provided by Advanced Installer when working with PowerShell inline scripts, and configure the custom action that the temporary PowerShell files are extracted directly in C:\:

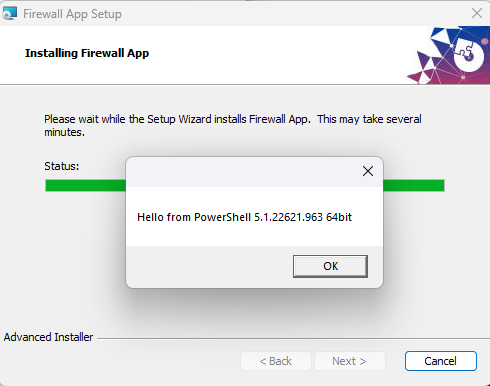
Once everything is set up and we install the application, we will see the standard message from the custom action:

And if we check closely, the temporary PowerShell files are extracted directly in C:\:

Conclusion
Now you know how to change the output directory for temp PowerShell files within Advanced Installer. We hope you found this post helpful.
Leave a comment below for any feature or topic that you want us to cover.
