Packaging Series: Repackaging Blender as MSIX
Blender is a free and open source 3D creation suite which includes a variety of tools such as Modeling, Rendering, Animation, Video Editing and many types of Simulations. Its source file can be downloaded from here and it comes in MSI format.
Step-by-step repackaging instructions
- Open Advanced Repackager on a Virtual Machine
- Click Capture Setup
- Browse and select the Blender MSI installer
- Press Start Local from the toolbar
- Select the location where the project is saved
- Install Blender
- Check MSIX/APPX Package in the top left corner and uncheck all the others
- Click Open in Advanced Installer
Once you have captured the installation, all you need to do is to clean it up and remove all the resources which were captured during installation, but they are not related to Blender. You can also delete the “Uninstall Blender” shortcut as it is not needed anymore. The uninstall of the MSIX package is entirely managed via MSIX technology.
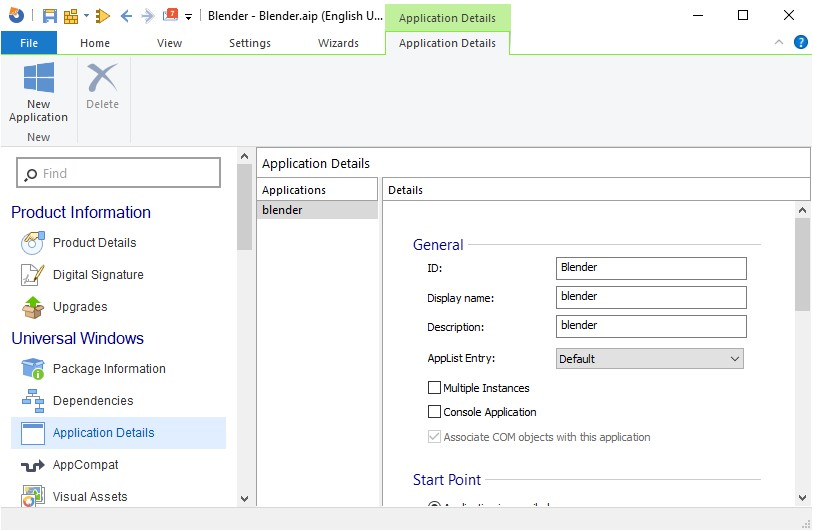
Then you must go to “Application Details” page, select the Blender application and set “AppList entry” to “Default”. This is needed to create a shortcut in Start Menu after installation.

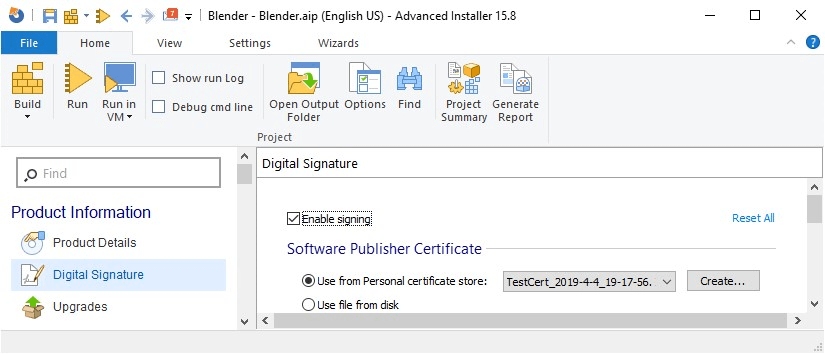
Now you can go to the “Digital Signature” page and sign your MSIX package with a certificate.

Here it is a copy of the report generated for my Blender MSIX package after we cleaned the capture up and did all the changes above, just in case you want to have a quick look to see what’s been left within the package we created.
And that’s all. Now you can build your MSIX package for Blender.
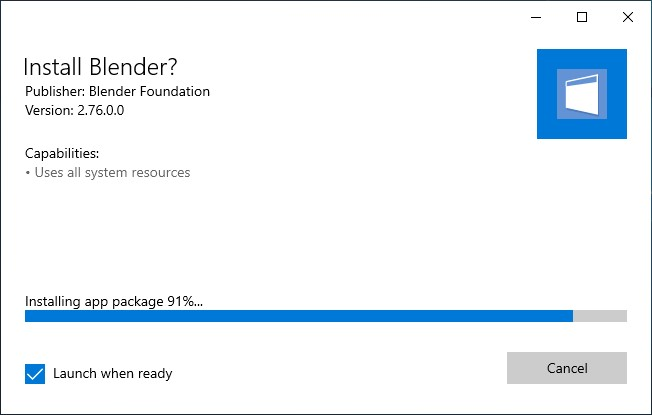
If you take the MSIX package created and load it to a machine, you will see that it installs and launch successfully. Please be aware that MSIX has been first introduced on Windows 10 1809, but it is now supported on 1803 and 1709 as well - you can check MSIX support on Windows 10 builds 1709 and 1803 to see what the limitations are.

Video Tutorial
Subscribe to Our Newsletter
Sign up for free and be the first to receive the latest news, videos, exclusive How-Tos, and guides from Advanced Installer.