Automating the Repackaging Process of SCCM Applications in a Remote Virtual Machine
Manually repackaging batch applications can be time consuming, especially when you have to deploy the applications on more than one computer.
A solution that we found here at Advanced Installer is to leverage the Repackager functionality for command-lines to automate the repackaging process of applications present in an SCCM environment and with the usage of remote virtual machines.
Advanced Installer Repackager is included in the Architect edition and it is used to automate the repackaging process of your applications. Try it out though our 30-day full-featured trial.
COM support is in development and it is expected to be available in 2022Q2 - 2022Q3.
The Repackager can connect to a local virtual machine running on the host computer or to a remote server hosting the virtual machine.
In this article, we'll explain how to automate the repackaging of SCCM applications by connecting to a VMware virtual machine that is housed in the vCenter.
Must Follow Steps Before Automating the Repackaging Process
Before we can start automating the repackaging process, there are a few steps that we need to complete first.
Let's go through each of them.
1. Export and parse the applications list from the SCCM catalog
As mentioned above, the applications we will convert are existing applications that are available in SCCM but do not meet the standards of the packaging industry.
We’ll focus on legacy EXE installers to convert them into MSI and MSIX.
Advanced Installer offers the capability of creating both MSI and MSIX packages at once. This functionality is useful because if there are files that are not supported by the MSIX technology due to its limitations (e.g. drivers) then you will need to have an MSI package ready for testing/deployment.
Here’s what the .csv demo catalog file contains:
"DisplayNameSCCM,""Title"",""Version"",""Location"",""Commandline"""
If we were to put the .csv content into a table, it would look like this:
DisplayName SCCM | Title | Version | Location | Commandline |
|---|---|---|---|---|
VLC | VLC media player | 3.0.7.1 | \\catalog\VLC | /L=1033 /S |
….. | ….. | …. | …. | ….. |
Here's an example of the script to handle the SCCM export:
$Applications = Get-CMApplication -name "K*"
ForEach($Element in $Applications)
{
    $csv = New-object psobject -property @{
    'Commandline' = ([xml]($Element.SDMPackageXML)).AppMgmtDigest.DeploymentType.Installer.CustomData.InstallCommandLine
    'Version' = $Element.SoftwareVersion
    'Location' = ([xml]($Element.SDMPackageXML)).AppMgmtDigest.DeploymentType.Installer.Contents.Content.Location
    'DisplayNameSCCM' = $Element.LocalizedDisplayName
    'Title' = ([xml]($Element.SDMPackageXML)).AppMgmtDigest.Application.DisplayInfo.Info.Title
    }
    $csv | select-object 'DisplayNameSCCM','Title','Version','Location','Commandline' | Export-csv -Append -path ('FileSystem::' + $Outfile)
}After we export the applications from SCCM, we need to parse them using a simple script as such:
param ($inputList)
# get .csv structure
$header   = 'DisplayNameSCCM' ,'Title','Version','Location','Commandline'
#get packages
$packages = Get-Content $inputList
# parse packages
$packages = $packages[2..($packages.Count - 1)]
$packages = $packages.Replace("`"", "")
# save .csv file temporary
$packages | Out-File -FilePath ($inputList + "-temp")
#parse temp .csv file
$parsedPackages = Import-csv -Path ($inputList + "-temp") -Header $header
$parsedPackages
#remove temp .csv file
Remove-Item -Path ($inputList + "-temp")Once we have parsed the entire list of applications, we can execute the script that handles the automation using Advanced Installer Repackager automation functionality. But first, we need to make sure we are connected to a remote virtual machine.
2. Prepare the Host OS to connect to the RemoteVM
In order to manage VMs from vCenter, we need to use the Vmware.PowerCLI module. Run the following command from an elevated PowerShell Window:
if(!(Get-Module -Name VMware.PowerCLI -ListAvailable))
    {
        Write-Host "Installing VMware PowerCLI module...`n" -foreground Yellow
        Install-Module VMware.PowerCLI -AllowClobber
}The above cmdlet requires admin privileges, so make sure to run PowerShell with administrator rights.
3. Configure the virtual machine on the vCenter
Advanced Installer Repackager has a built-in functionality for connecting to a Hyper-V server or vCenter that runs VMware.
Check this step-by-step guide on how to connect to a virtual machine.
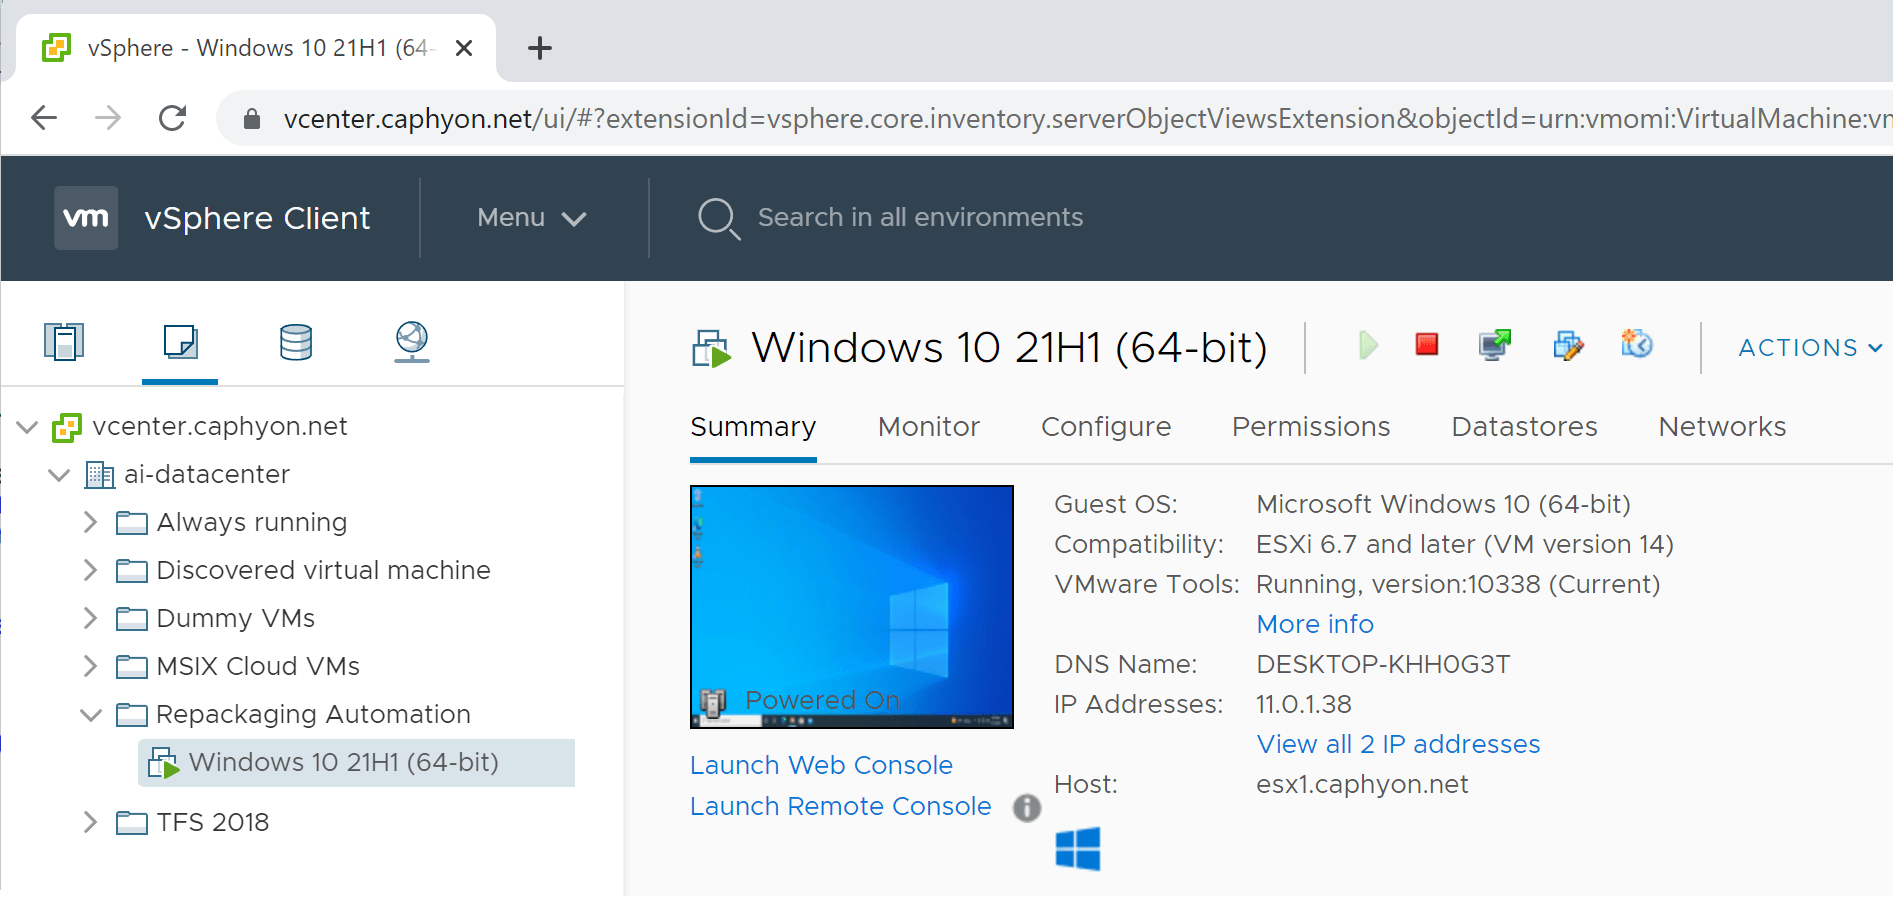
For the repacking process, we configured a Windows 10 21H1 (64-bit) as you can see below:

For a better repackaging experience on both VMware and Hyper-V virtualization providers, install the Advanced Installer tools.
To prevent having to reinstall the tools, copy and install Advanced Installer Tools (osprovision.exe) from the following directory, then save the snapshot.
C:\Program Files (x86)\Caphyon\Advanced Installer 19.2\bin
Here's the flow of using a virtual machine:

You can read more about the best practices when it comes to repackaging in the Repackaging Best Practices.
How to Automate the Repackaging Operation?
Once we have all the configurations done and an up and running virtual machine, we can move on to automating the repackaging process.
1. Generate the standard automation script
To generate the correct value of the PowerShell script that handles the repackaging operation, you can start a simple repackaging operation through GUI and enable the PowerShell file generation for automation:
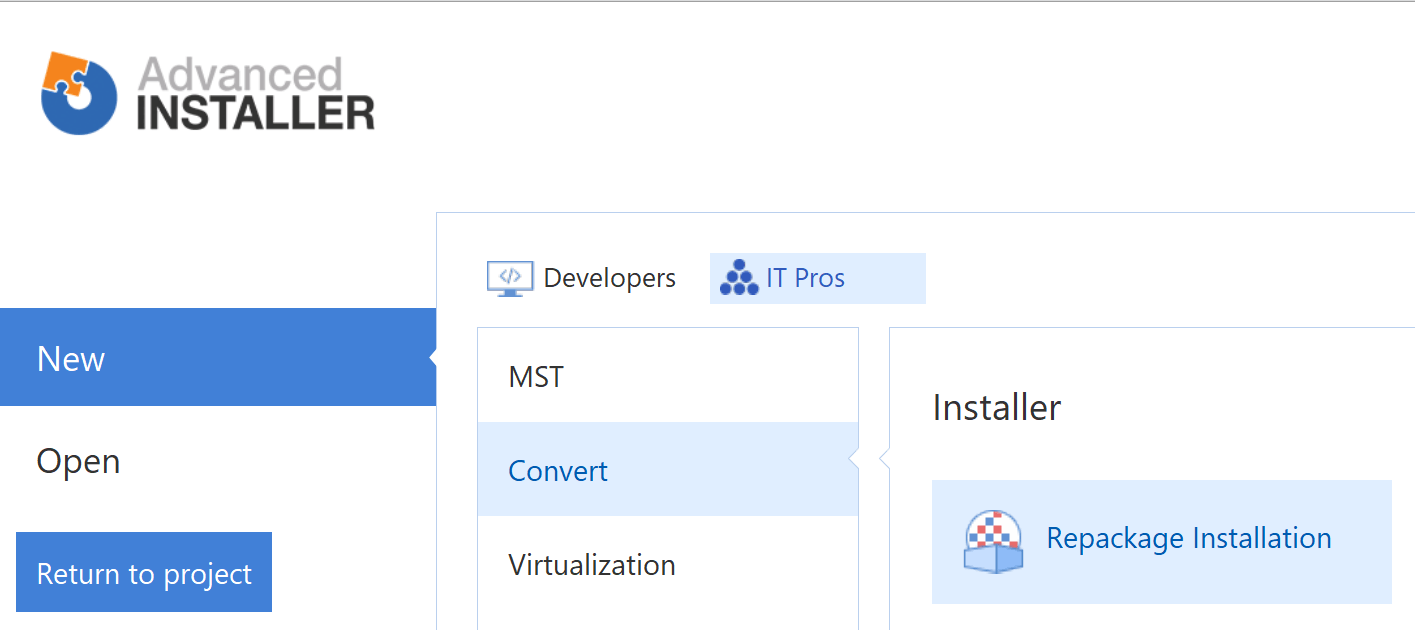
2. Select Repackage Installation template:

3. From the Project Options tab, enable the Generate .ps1 file with settings from this session (usable for automation scenarios) option:

4. Continue the Repackaging operation as usual.5. By the end, the powershell file will have all the settings from the session that will be used.
6. The following PowerShell code will handle the repackaging operation:
Function RepackagingInVsphere ($ProductName, $SetupPath, $SetupCMD,  $VMProfileId)
    {
        $RepackagerCommandLine = @(
                        "/ProductLanguage `"1033`" ",
                        "/ProductName `"$ProductName`" ",
                        "/SetupPath `"$SetupPath`" ",
                        "/SetupCmdLine `"$SetupCMD`" ",
                        "/VmName `"Windows 10 21H1 (64-bit)`" ",
                        "/VmUser `"$vm_user`" ",
                        "/VmPassword `"$vm_pass`" ",
                        "/VmPath `"ai-datacenter/vm/Repackaging Automation/Windows 10 21H1 (64-bit)`" ",
                        "/VmServerName `"vcenter.caphyon.net`" ",
                        "/VmServerPassword `"$pass`" ",
                        "/VmServerAuthType `"0`" ",
                        "/VmServerUsername `"$user`"",
                        "/VmServerPort `"443`" ",
                        "/VmSlaveInstance " ,
                        "/VmHostType `"5`" ",
                        "/VmServer `"$VMProfileId`" ",
                        "/ProccesMonitor",
                        "/Configuration `"Default`" ",
                        "/OutputPath `"$output_RPKS`" "
                    )
Start-Process -FilePath "$($AdvinstPath)\bin\x64\RepackagerCLI.exe" -ArgumentList $RepackagerCommandLine -Wait -PassThru -NoNewWindowAs you can see, there are some parameters that do not change when repackaging.
Conclusion
And there you have it! With these steps, you can successfully automate the repackaging operation of your applications from SCCM on a remote virtual machine.
We hope you find it useful!
Subscribe to Our Newsletter
Sign up for free and be the first to receive the latest news, videos, exclusive How-Tos, and guides from Advanced Installer.